Here’s In-Depth Knowledge of How to Work with Text:
1. Using HTML Elements to Format Text
Text formatting improves the visual appeal of text in any document. HTML includes various tags to format the appearance of text on a web page and make it more appealing to site visitors. In this blog, we will go over what HTML formatting is. In an HTML file, you’ll learn how to use HTML text formatting tags to bold, italicize, emphasize, tiny, large, insert, delete, superscript, and subscript text.
HTML has two sorts of text formatting elements: physical style elements and logical style elements.
Physical Style Elements: Physical style factors influence the appearance of text, regardless of its context or content. These elements have been discarded in favor of CSS-based styling but are still supported for compatibility. Physical style features include:
- <b>: Displays text with a bold font.
- <i>: Displays text in an italic font.
- <u>: Text is underlined.
- <big>: Increases the font size of text.
- <small>: Reduces font size of text.
- <tt>: Displays text in monospace or typewriter font.
- <strike> or <s>: Displays text with a strikethrough effect.
- <font>: Determines the font, color, and text size. (Deprecated).
Example:
<b>This text is bold</b>
<i>This text is italic</i>
<u>This text is underlined</u>
Logical Style Elements: Logical style components indicate the text’s meaning or significance rather than directly govern its appearance. These components are favored for semantic markup because they provide information about the text’s structure and purpose that can be used by assistive devices and search engines. Logical style aspects include:
- <em>: Italics are commonly used to indicate emphasis.
- <strong>: Shows significant importance, usually in bold.
- <mark>: Highlights text for reference or emphasis, typically with a yellow backdrop.
- <cite>: Tag indicates a source citation or reference.
- <dfn>: shows the definition of a term.
- <code>: Indicates computer code or a programming phrase.
- <samp>: represents a sample output from a computer program.
- <kbd>: Text entered by the user, usually displayed in a monospace font.
- <var>: Tag represents a variable or placeholder in a computer program or mathematical equation.
- <abbr>: Refers to an abbreviation or acronym, with the option of offering a detailed explanation or expansion.
| Attribute | Description |
| class | indicates a class name for an element |
| dir | indicates the directionality of text, such as left-to-right or right-to-left |
| id | indicates a unique id for an element |
| lang | indicates language code for the content in an element |
| style | indicates an inline style for an element |
| title | indicates a title for an element |
In addition to the properties listed above, there are other attributes, such as cite and datetime, that can only be used with the INS and DEL elements. The INS and DEL components are used to display content insertion underneath and deletion by striking through it in an HTML element. The cite property is used to explain why an item was inserted or deleted. The citation attribute’s value is a Universal Resource Locator (URL), which refers to another document that describes the inserted or deleted material.
In HTML, the datetime value property is used with the element to construct a control for entering a date and time (including time zone). It is widely used in forms that need users to submit date and time information. The datetime value property follows the ISO 8601 standard, which specifies how to encode date and time values.
The datetime value attribute has two components:
1. Date Component: The date is specified in the format YYYY-MM-DD, where:
- YYYY denotes the year (for example, 2024).
- MM denotes the month (e.g., 01 for January, 02 for February).
- DD denotes the day of the month (from 1 to 31).
2. Time Component: The time is specified in the format HH:MM:SS, where
- HH stands for the hour in 24-hour format (00-23).
- MM stands for minutes (00 to 59).
- SS stands for seconds (from 00 to 59).
The datetime value feature can also include a time zone offset, either by Z for UTC or ±HH:MM for a specific time zone. For example, 2024-03-05T12:30:00Z represents March 5, 2024, at 12:30:00 UTC, whereas 2024-03-05T12:30:00-05:00 shows the same date and time but with a UTC-05:00 time zone offset (Eastern Standard Time).
This is an example of using the DateTime value attribute with an element:
<label for="meeting-time">Choose a meeting time:</label>
<input type="datetime-local" id="meeting-time" name="meeting-time" value="2024-03-05T12:30:00">
In this example, the datetime-local input type is used to generate a date and time input field, while the value property defines the input field’s default date and time value.
Definitions of the mark element, strong element, code element, and small element:
Here’s a detailed explanation of each element:
1. Mark Element:
The <mark> element highlights or marks a segment of text within a document. It is usually presented with a background colour to make it stand out visually. The element indicates significant text. For example:
<p>This paragraph contains some <mark>important</mark> information.</p>2. Strong Element:
The <strong> element indicates that the enclosing text has high importance, relevance, or urgency. Browsers usually display text within <strong> elements as bold. The <strong> element is not only used for styling but also to express meaning. For example:
<p><strong>Warning:</strong> Do not proceed without reading the instructions carefully.</p>3. Code Element:
The <code> element defines a bit of computer code within the text. It is usually rendered in a monospace typeface to set it out from the surrounding text. The <code> element is typically used to display code snippets, programming phrases, or commands. For example:
<p>To display the current date in JavaScript, use the <code>Date</code> object.</p>4. Small Element:
The <small> element indicates that the enclosed text is smaller or less important than the surrounding text. It is commonly used for disclaimers, legal notices, and supplemental information. Browsers may display content within <small> elements in lower font sizes. For example:
<p><small>Disclaimer: This information is subject to change without notice.</small></p>These features add semantic meaning to the content, which can help with accessibility, SEO (Search Engine Optimisation), and overall document structure. It is critical to employ these elements effectively based on the content and value of the text, rather than solely for stylistic considerations.
Solutions: (Practical implementation of the elements stated above)
1. Creating Keyboard Shortcuts in HTML using access key Attribute:
The accesskey property in HTML defines a keyboard shortcut for an element. When a user presses the defined key or key combination in conjunction with the given access key, the browser activates the element associated with that access key. However, the behavior of the accesskey attribute can differ between browsers and platforms.
Here’s an example of how to apply the accesskey attribute:
<!DOCTYPE html>
<html lang="en">
<head>
<meta charset="UTF-8">
<meta name="viewport" content="width=device-width, initial-scale=1.0">
<title>Accesskey Example</title>
</head>
<body>
    <h1>Accesskey Example</h1>
    <p>Press Alt+C (or Option+C on Mac) to focus the input field:</p>
    <input type="text" accesskey="c">
</body>
</html>
In this example, the input field’s accesskey property is set to “c”. When the user clicks Alt+C (or Option+C on Mac), the input field receives focus, allowing them to begin typing without having to click on it manually. The exact key combination to activate the access key may differ based on the browser and operating system.
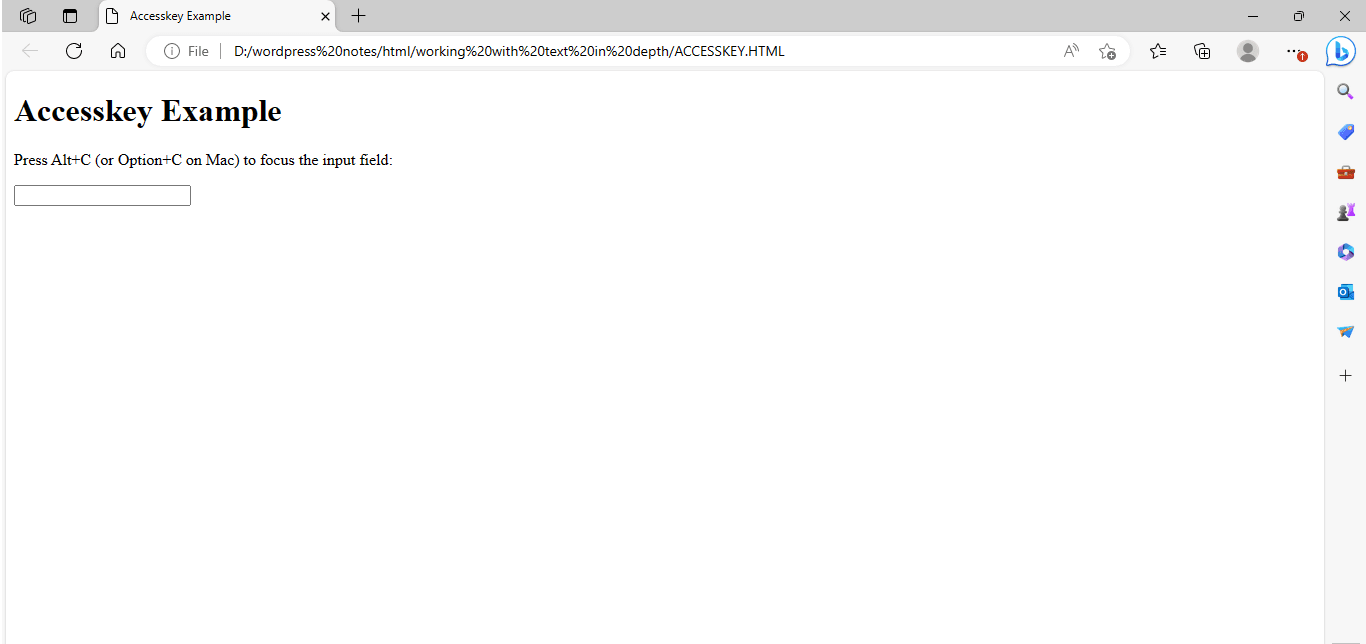
Figure 1.1 – Displaying the output of the accesskey attribute
It is crucial to note that the accesskey attribute is not widely used, and it may not be well-supported or consistent across browsers and platforms. For more complicated keyboard shortcuts or consistent behavior, JavaScript event listeners, as illustrated in the preceding example, are often preferred.
2. Displaying Mark Element:
In HTML, the <mark> element is used to highlight or mark a segment of text that is relevant or important within the surrounding text. Browsers normally render text within <mark> elements with a yellow background to visually separate it from the rest of the content, but the actual styling might vary based on the browser and CSS rules used.
Here’s an example of how you can use the element to highlight text:
<!DOCTYPE html>
<html lang="en">
<head>
<meta charset="UTF-8">
<meta name="viewport" content="width=device-width, initial-scale=1.0">
<title>Using the Mark Element</title>
</head>
<body>
    <h1>Using the Mark Element</h1>
    <p>This is some <mark>highlighted</mark> text.</p>
    <p>Here is another <mark>important</mark> piece of information.</p>
</body>
</html>
This example uses <mark> tags to visually highlight the phrases “highlighted” and “important” with a default yellow background. The <mark> element highlights important areas of text.

Figure 2.1 – Displaying the output of the mark element
3. Overriding text direction using the BDO element in HTML:
In HTML, the (Bi-Directional Override) element is used to override the inherent directionality of text, especially when it needs to be forced in a specific direction (left-to-right or right-to-left). This is useful when working with material written from right to left, such as Arabic or Hebrew.
Here’s an example of how you can use the BDO element to override text direction:
<!DOCTYPE html>
<html>
<head>
    <title>BDO Element Example</title>
</head>
<body>
    <h1>BDO Element Example</h1>
    <p><bdo dir="rtl">This is some text with RTL direction.</bdo></p>
    <p><bdo dir="ltr">This is some text with LTR direction.</bdo></p>
</body>
</html>
To change the text orientation in this example, use the <bdo> element. The “dir” attribute specifies the directionality: “rtl” for right-to-left, “ltr” for left-to-right.

Figure 3.1 – Displaying Output of the BDO element
4. Showing Variables and Arguments using the VAR Element in HTML
The <var> HTML element indicates that the content represents a variable or argument in a mathematical expression or programming environment. Browsers often render italics to separate it from the surrounding text. Here is an example of how to utilize the <var> element.
<!DOCTYPE html>
<html>
<head>
    <title>Var Element Example</title>
</head>
<body>
    <h1>Var Element Example</h1>
    <p>The formula to calculate the area of a circle is: A = <var>π</var>r<sup>2</sup></p>
    <p>In the function <code>calculateArea(radius)</code>, <var>radius</var> is the argument representing the radius of the circle.</p>
</body>
</html>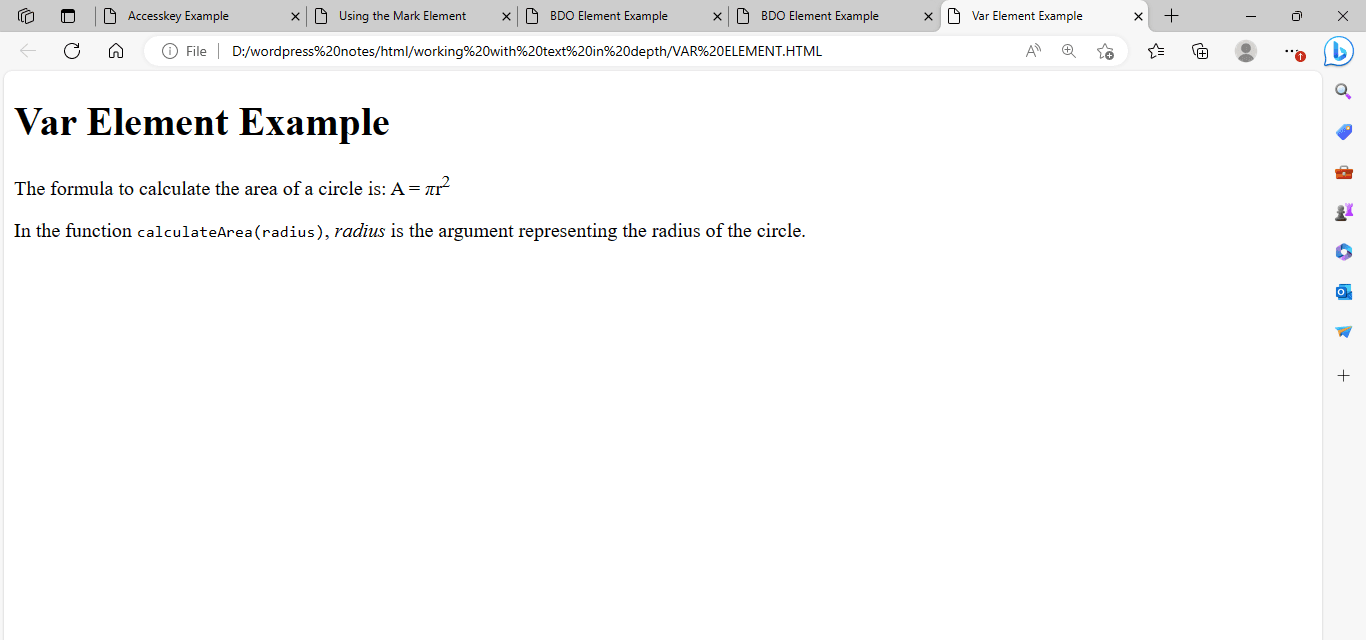
Figure 4.1 – Displaying the output of the above VAR element.
In this example:
- The <var> element represents the variable π (pi) in the calculation for the area of a circle.
- The <var> element also represents the argument radius in the function calculateArea(radius).
- When rendered in a browser, the information within the <var> element is often displayed in italics, suggesting that it represents a variable or argument.
5. Displaying Inserted and Deleted text in HTML
To display inserted or deleted content in HTML, use the <ins> and <del> elements, respectively. These elements are frequently used in documents to indicate changes between different versions of information. Here’s an example:
<!DOCTYPE html>
<html>
<head>
    <title>Inserted and Deleted Text Example</title>
</head>
<body>
    <h1>Inserted and Deleted Text Example</h1>
    <p>This is some <del>deleted</del> text.</p>
    <p>This is some <ins>inserted</ins> text.</p>
    <p>This is some <del>deleted</del> and <ins>inserted</ins> text.</p>
</body>
</html>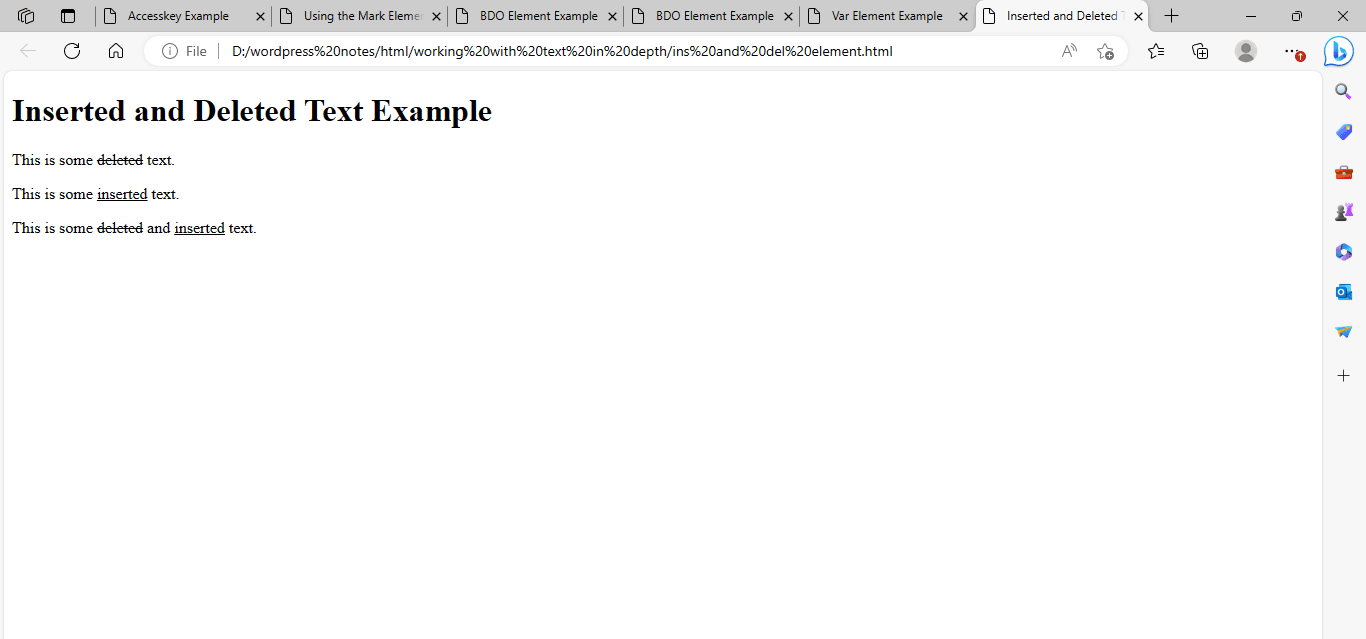
Figure 5.1 – Displaying the output of the INS and DEL element
In this example:
- The <del> element indicates that the text has been erased. By default, browsers display removed text in a strikethrough manner.
- The <ins> element is used to mark text that has been inserted. By default, browsers render inserted text with an underlined style.
- These features are useful for highlighting content changes in revision history or document comparisons.
6. Using HTML to display Long and Short Quotations
In HTML, utilize the <blockquote> element for extensive quotations and the <q> element for brief inline quotations. Here’s an example:
<!DOCTYPE html>
<html>
<head>
<title>Quotations Example</title>
</head>
<body>
<h1>Quotations Example</h1>
<h2>Long Quotation using <code><blockquote></code>:</h2>
<blockquote>
<p>This is a long quotation that spans multiple lines. It should be indented or styled differently from the surrounding text to indicate that it is a quotation.</p>
<footer>Author or Source</footer>
</blockquote>
<h2>Short Inline Quotation using <code><q></code>:</h2>
<p>According to <q>Albert Einstein</q>, "Imagination is more important than knowledge."</p>
</body>
</html>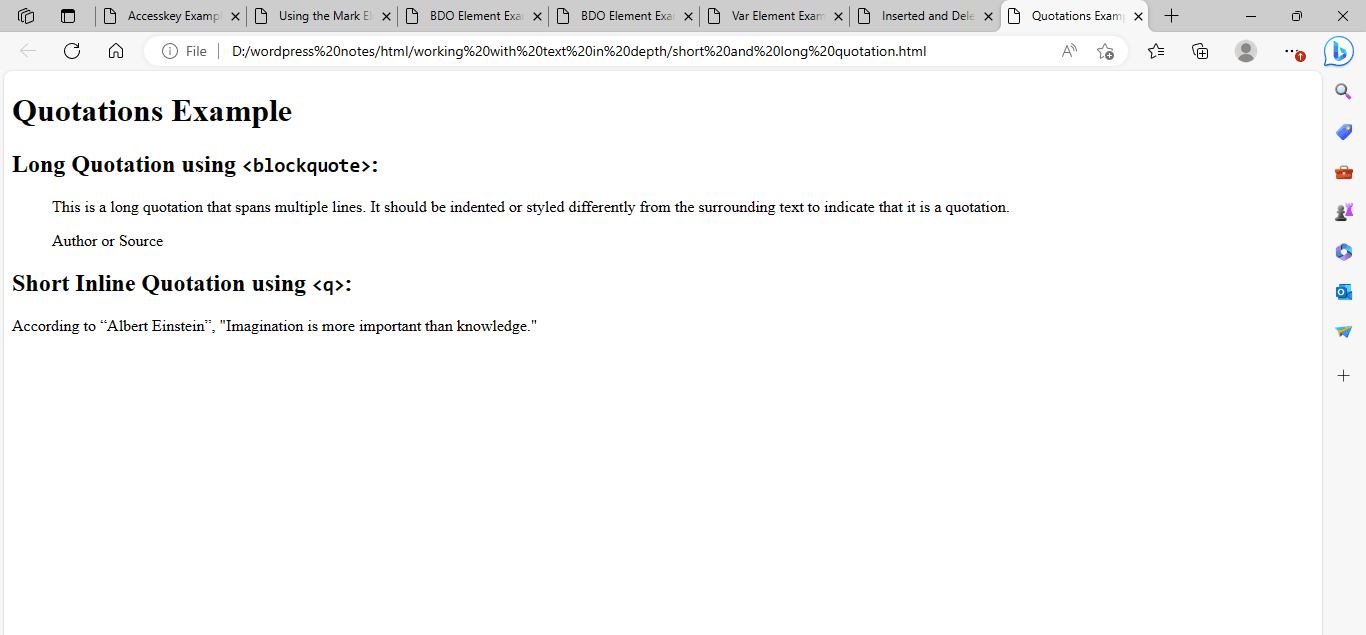
Figure 6.1 – Displaying the output of the long and short quotation
In this example:
- The <blockquote> element is used for large quotations. It can include one or more paragraphs and is usually indented or styled to distinguish it from the surrounding content. It is frequently followed with a <footer> element to denote the source or author of the quotation.
- The <q> tag is used for brief inline quotations. It is often displayed with quotation marks around the content.
- These components help to semantically mark up quotations in HTML, which is useful for styling and accessibility.
7. Defining New Terms Using HTML
The <dfn> (Definition) element in HTML allows you to define new terms or concepts. The <dfn> element indicates that the enclosing text is the defining instance of the word. Here’s an example.
<!DOCTYPE html>
<html>
<head>
    <title>Definition Example</title>
</head>
<body>
    <h1>Definition Example</h1>

    <p><dfn>HTML</dfn> stands for HyperText Markup Language.</p>

    <p><dfn>OpenAI</dfn> is an artificial intelligence research lab.</p>
</body>
</html>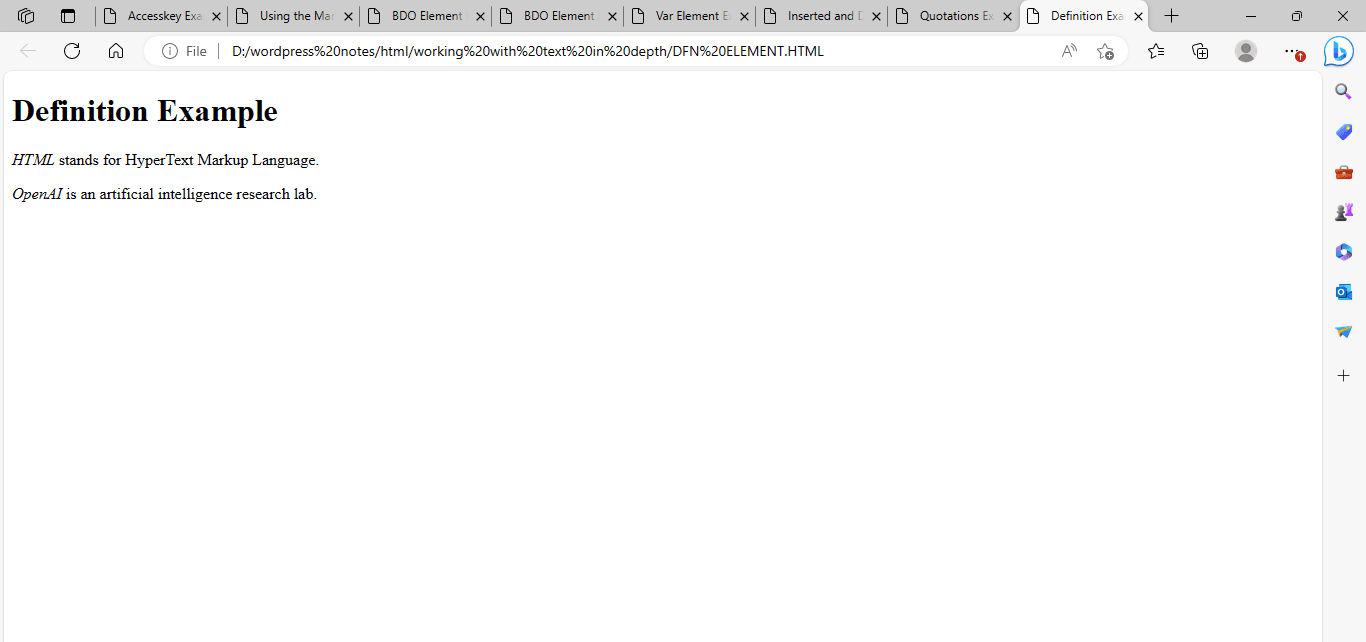
Figure 7.1 – Displaying the output of the DFN element
In this example, the names “HTML” and “OpenAI” are defined using the <dfn> element. Using <dfn> tells browsers and other user agents that the surrounding text contains the definition of the word.
8. Emphasizing text with the EM and STRONG Element
HTML’s <em> (emphasis) and <strong> (strong importance) elements lend semantic meaning to text by signifying emphasis or importance, respectively. These components can also influence the styling of text, often rendering <em> text in italics and <strong> text in bold, but the exact presentation can be modified with CSS.
Here’s an example of using <em> and <strong> element:
<!DOCTYPE html>
<html>
<head>
    <title>Emphasis and Strong Importance Example</title>
</head>
<body>
    <h1>Emphasis and Strong Importance Example</h1>

    <p><em>This text is emphasized</em> but not necessarily more important.</p>

    <p><strong>This text is strongly emphasized</strong> and indicates strong importance.</p>
</body>
</html>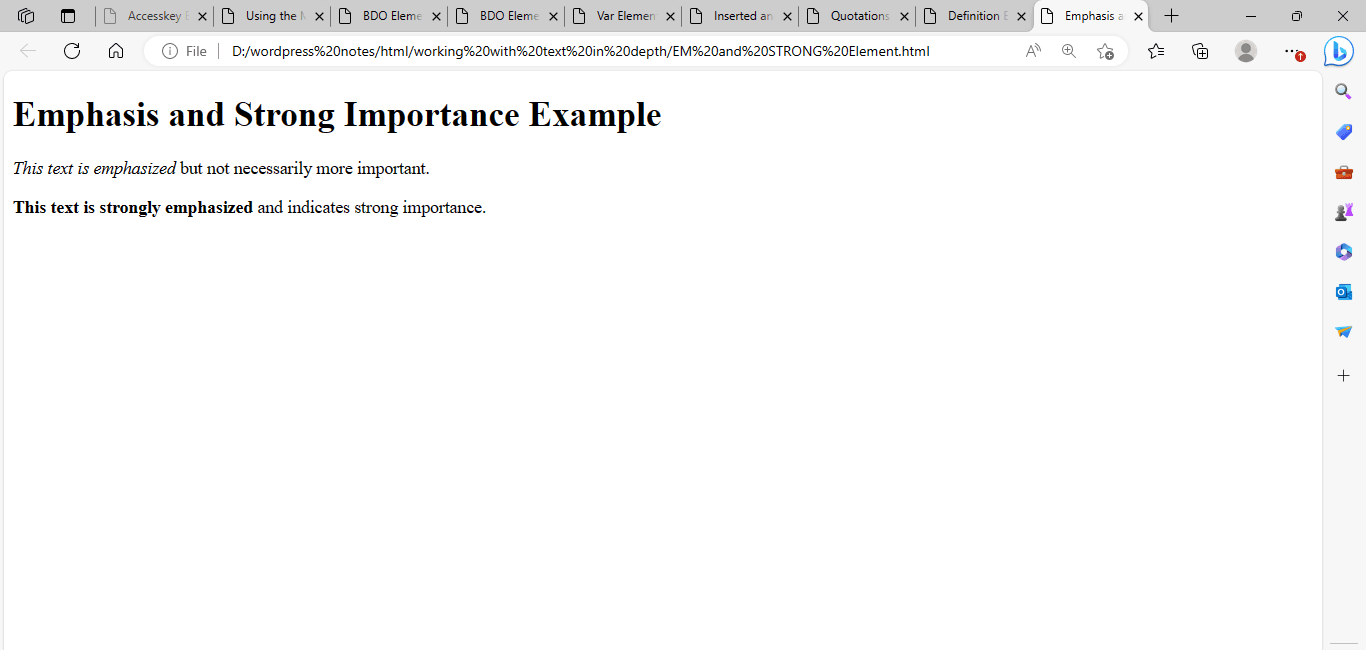
Figure 8.1 – Displaying the output of the EM and STRONG element
In this example, the <em> element is used to provide emphasis to the text, while the <strong> element indicates significant importance. The actual rendering of these items may vary based on the browser and CSS styles used on the website.
9. Displaying Plain, Bold, and Italic text using HTML
To show plain, bold, and italic text in HTML, use the <P> (paragraph), <B> (bold), and <I> (italic) elements, respectively. Here’s an example:
<!DOCTYPE html>
<html>
<head>
    <title>Text Formatting Example</title>
</head>
<body>
    <p>This is plain text.</p>

    <p>This is <b>bold</b> text.</p>

    <p>This is <i>italic</i> text.</p>
</body>
</html>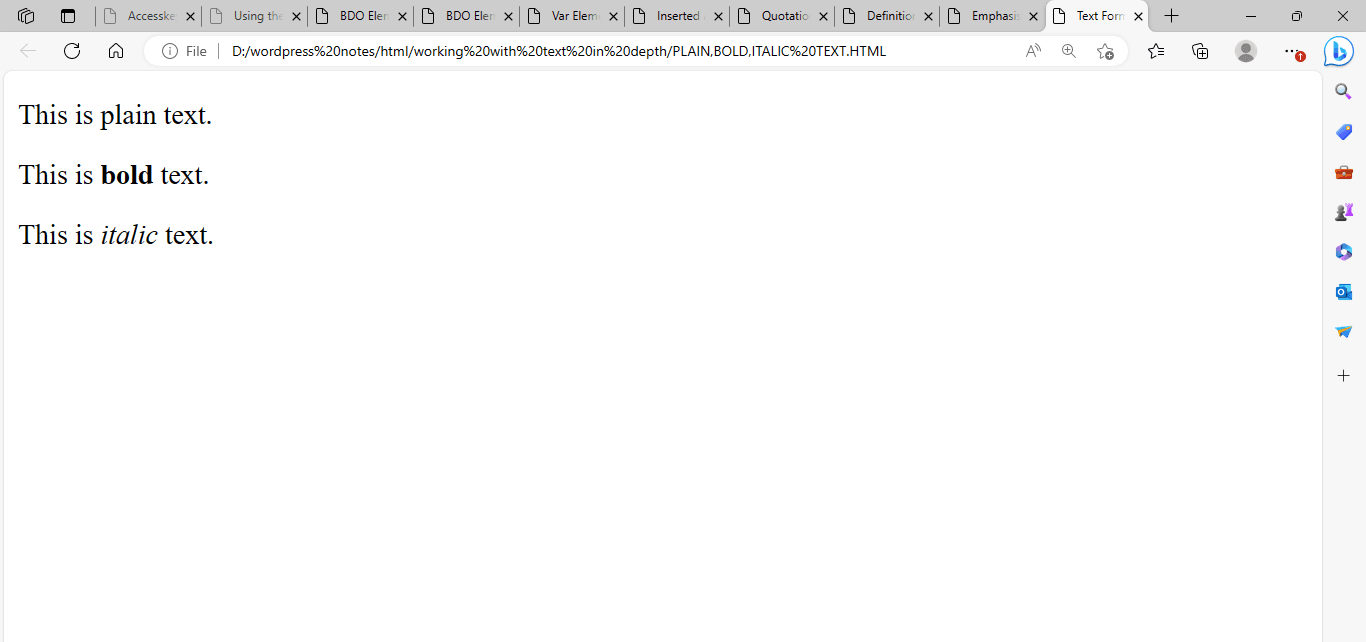
Figure 9.1 – Displaying the output of the Plain, Bold, and Italic text
In this example, the <p> element creates paragraphs, while the <b> and <i> elements apply bold and italic styles to the text, respectively.
10. Displaying small text, abbreviation, and keyboard text in HTML
The <small>, <abbr>, and <kbd> elements in HTML can be used to display small text, abbreviations, and keyboard text. Here’s an example.
<!DOCTYPE html>
<html>
<head>
    <title>Text Formatting Example</title>
</head>
<body>
    <p>This is <small>small text</small>.</p>

    <p><abbr title="Hypertext Markup Language">HTML</abbr> is a markup language.</p>

    <p>Press <kbd>Ctrl</kbd> + <kbd>C</kbd> to copy text.</p>
</body>
</html>
Figure 10.1 – Displaying the output of the abbreviations, Small, and Keyboard text
In this example:
- The <small> element indicates that the enclosing text is smaller in size or less essential.
- The <abbr> element defines an abbreviation or acronym, and the title attribute provides a full explanation or extension of the term (which is displayed as a tooltip in most browsers).
- The <kbd> element specifies text that reflects user input, such as keyboard keys.
11. Displaying Subscripted and Superscripted Text
To show subscripted and superscripted text in HTML, use the <sub> and <sup> elements, respectively. Here’s an example.
<!DOCTYPE html>
<html>
<head>
    <title>Subscript and Superscript Example</title>
</head>
<body>
    <p>This is H<sub>2</sub>O (water).</p>

    <p>x<sup>2</sup> + y<sup>2</sup> = r<sup>2</sup> (Pythagorean theorem).</p>
</body>
</html>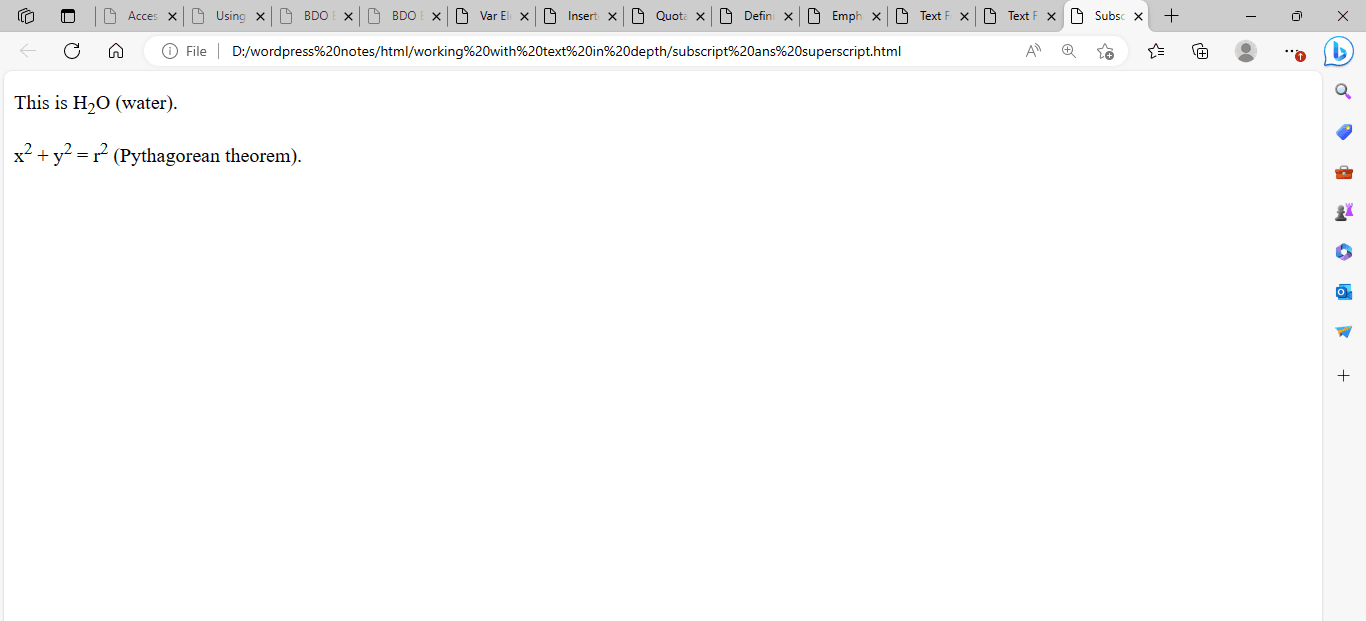
Figure 11.1 – Displaying the output of the Subscript and Superscript text
In this example:
- The <sub> element displays subscripted text, which is normally shown below the baseline.
- The <sup> element displays superscripted text, which is normally shown above the baseline.
12. Displaying Program Code and Sample Program Output
To display program code and sample output in HTML, use the <code> and <samp> elements, respectively. This is an example:
<!DOCTYPE html>
<html>
<head>
    <title>Code and Sample Output Example</title>
</head>
<body>
    <h1>Code and Sample Output Example</h1>

    <h2>Code Example:</h2>
    <pre><code>function greet(name) {
    console.log('Hello, ' + name + '!');
}
greet('Alice');</code></pre>

    <h2>Sample Output:</h2>
    <samp>Hello, Alice!</samp>
</body>
</html>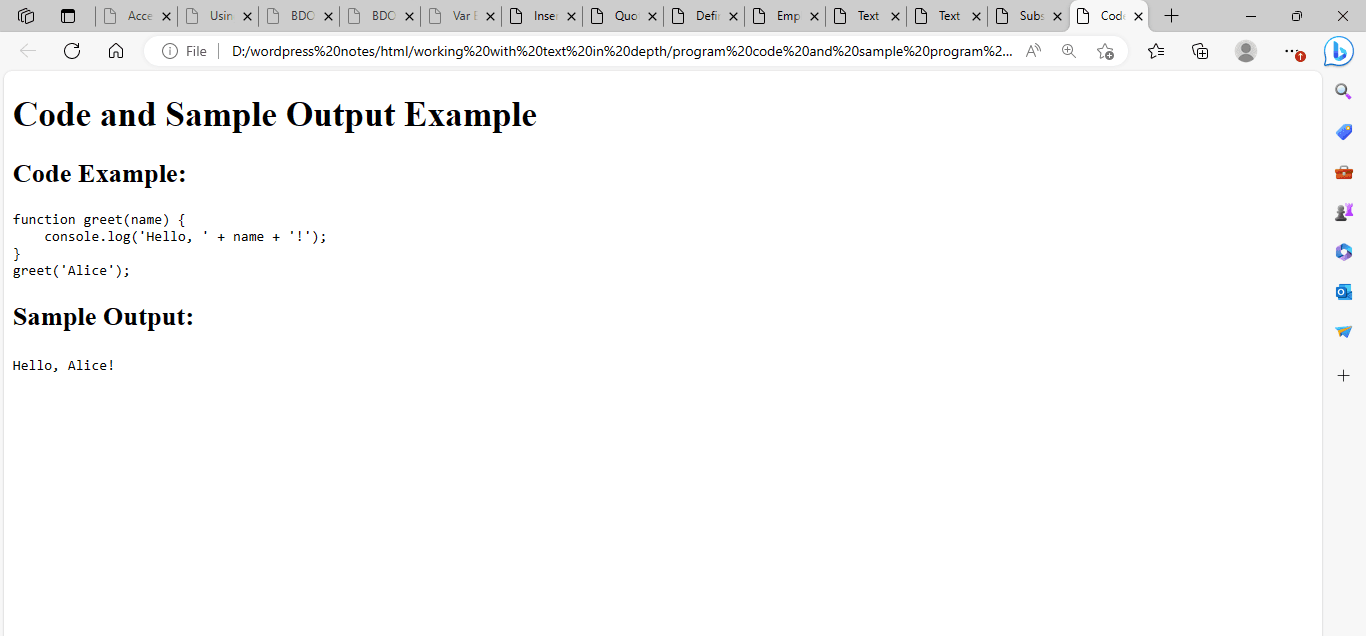
Figure 12.1 – Displaying the output of the Program code and Sample program code
In this example:
- The <code> element wraps the program code snippet. The <pre> element preserves code formatting, including line breaks and indentation.
- The <samp> element displays the sample program output.