Simple Methods of Using Multimedia Elements in HTML: To begin, first refer – working-with-multimedia
Setting the Background Sound Using the AUDIO Element
To set background sound using the <audio> element in HTML, use the following example: This example assumes that you have an audio file called background-sound.mp3 in the same directory as your HTML file. Here’s an example that uses JavaScript to play background sound. This approach gives you more control over playback and can help bypass some browser restrictions on auto-playing audio:
<!DOCTYPE html>
<html>
<head>
    <title>Background Sound Example</title>
</head>
<body>
    <h1>Background Sound Example</h1>

    <audio id="backgroundAudio">
        <source src="background-sound.mp3" type="audio/mpeg">
        Your browser does not support the audio element.
    </audio>

    <script>
        var backgroundAudio = document.getElementById("backgroundAudio");
        backgroundAudio.volume = 0.2; // Set the volume (0.0 to 1.0)
        backgroundAudio.loop = true; // Enable looping
        backgroundAudio.play(); // Start playback
    </script>

    <p>This is a paragraph of text.</p>
</body>
</html>
In this example, the JavaScript code chooses the <audio> element by its ID (backgroundAudio), adjusts the volume to 0.2 (20% volume), activates looping, and starts playback. Adjust the volume and other parameters according to your needs.
Figure 1 – Displaying the setting and playing of background sound on a Web page
To display an audio player with playing controls, use the <audio> element and the controls property. Here’s an example:
<!DOCTYPE html>
<html>
<head>
    <title>Audio Player Example</title>
</head>
<body>
    <h1>Audio Player Example</h1>

    <audio controls>
        <source src="background-sound.mp3" type="audio/mpeg">
        Your browser does not support the audio element.
    </audio>

    <p>This is a paragraph of text.</p>
</body>
</html>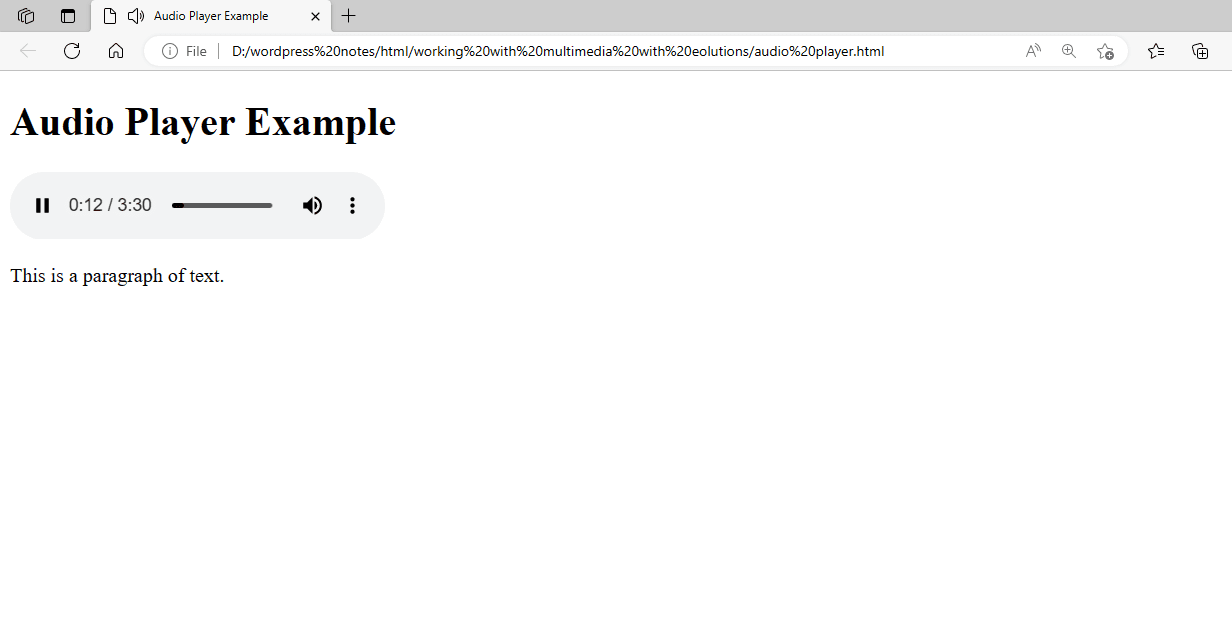
Figure 2 – Showing the AUDIO Player
In this example, the controls property adds a default audio player to the page, allowing the user to play, pause, modify volume, and navigate the audio file. The <source> element identifies the audio file (background-sound.mp3) and its MIME type (audio/mpeg). If the browser does not support the <audio> element or the supplied audio format, the message “Your browser does not support the audio element.” will appear.
Using the VIDEO Element
The <video> HTML element embeds videos on a webpage. Here’s a basic example of using the <video> element:
<!DOCTYPE html>
<html>
<head>
    <title>Video Player Example</title>
</head>
<body>
    <h1>Video Player Example</h1>

    <video controls width="640" height="360">
        <source src="example.mp4" type="video/mp4">
        Your browser does not support the video tag.
    </video>

    <p>This is a paragraph of text.</p>
</body>
</html>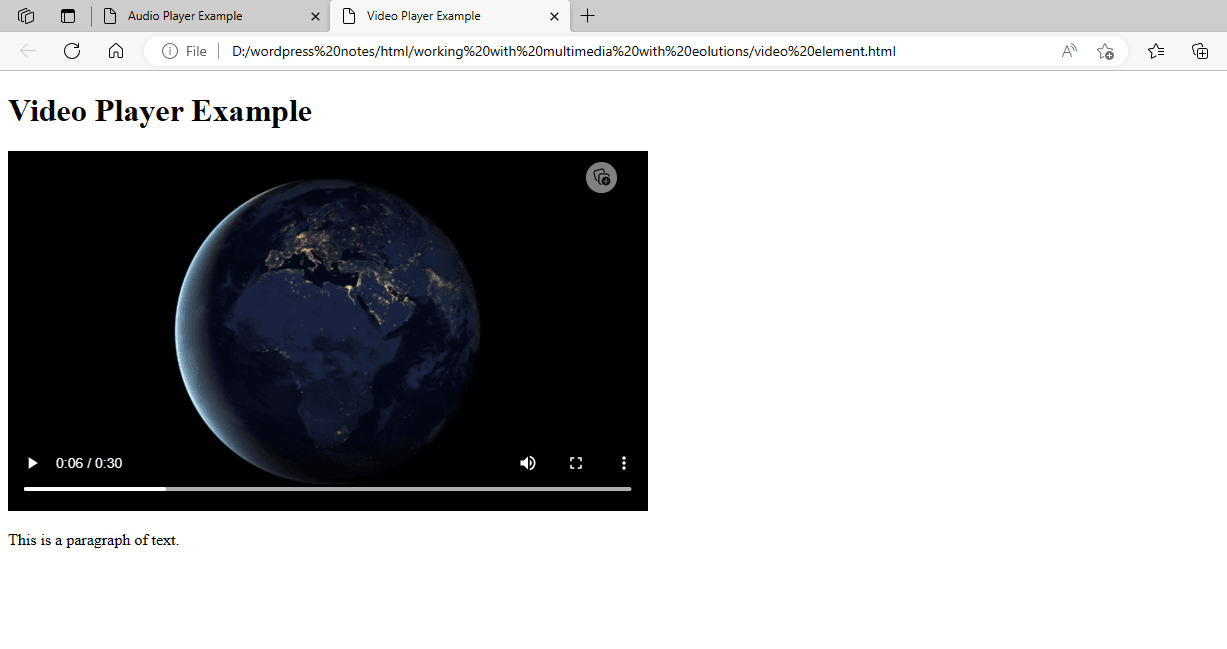
Figure 3 – Displaying the Video File
The <video> element embeds a video file (example.mp4) with the controls attribute, providing playback controls (play, pause, and volume) to the video player. The width and height properties determine the proportions of the video player. The <source> element identifies the video file (example.mp4) and its MIME type (video/mp4). If the browser does not support the <video> element or the supplied video format, the message “Your browser does not support the video tag.” will shown.
You can replace example.mp4 with the URL or file path of your video clip and alter the width and height properties to suit your needs
Embedding an Audio File Using the EMBED Element
The <embed> element is commonly used to embed multimedia information, although, for audio, the <audio> element is more appropriate. Here’s an example of using the <embed> element to embed audio files:
<!DOCTYPE html>
<html>
<head>
    <title>Embed Audio Example</title>
</head>
<body>
    <h1>Embed Audio Example</h1>

    <embed src="audio-file.mp3" autostart="true" loop="false" width="600" height="100">
</body>
</html>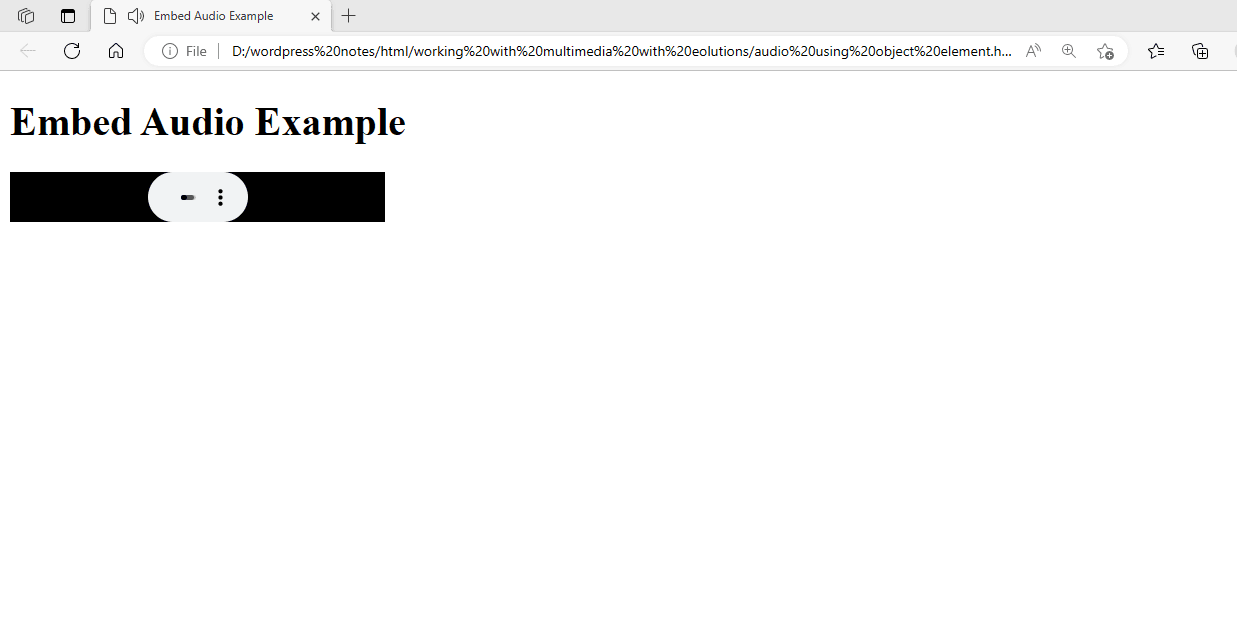
Figure 4 – Displaying the Embedded Audio File
This example uses the <embed> element to embed an audio file (audio-file.mp3). The src element defines the URL of the audio file. The autostart attribute is set to “true” so that the music starts playing automatically as the page loads. The loop property is set to “false” to keep the audio from looping indefinitely. The width and height attributes are set to “600” and “100”, respectively.
The <embed> element is not the preferred technique to embed audio in current HTML. The <audio> element offers greater control and interoperability with many browsers.
Embedding a Video File Using the EMBED Element
The <embed> HTML element is often used to embed multimedia material, such as videos. Here’s an example of using the <embed> element to embed a video file.
<!DOCTYPE html>
<html>
<head>
    <title>Embed Video Example</title>
</head>
<body>
    <h1>Embed Video Example</h1>

    <embed src="video file 2.mp4" type="video/mp4" width="640" height="360">
</body>
</html>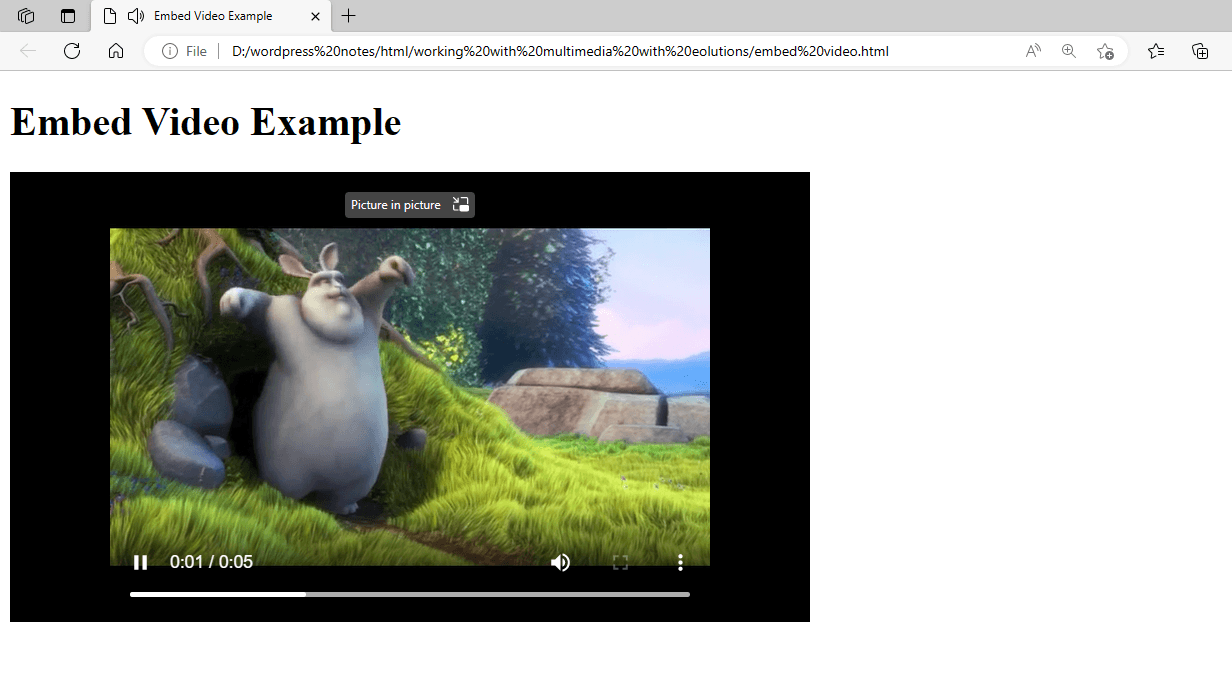
Figure 5 – Displaying the Embedded Video File
This example uses the <embed> element to embed a video file (video-file.mp4). The src element contains the URL of the video file. The type element provides the video file’s MIME type (video/mp4). The width and height variables provide the dimensions of the embedded video player.
The <embed> element is not the recommended approach for embedding videos in current HTML. The <video> element offers greater control and interoperability with many browsers.
Embedding a Video File from Other Websites
To embed a YouTube video using the <element> element with <param> components, use the example below. The preferred approach to embedding YouTube videos is to use the <iframe> embed code provided by YouTube. To demonstrate, try embedding a YouTube video with the <embed> and <param> components as follows:
<!DOCTYPE html>
<html>
<head>
    <title>Embed YouTube Video Example</title>
</head>
<body>
    <h1>Embed YouTube Video Example</h1>

    <embed src="https://www.youtube.com/v/w9yZ-4lTqkM" type="application/x-shockwave-flash" width="640" height="360">
    <param name="movie" value="https://www.youtube.com/v/w9yZ-4lTqkM">
    <param name="allowFullScreen" value="true">
    <param name="allowScriptAccess" value="always">
</body>
</html>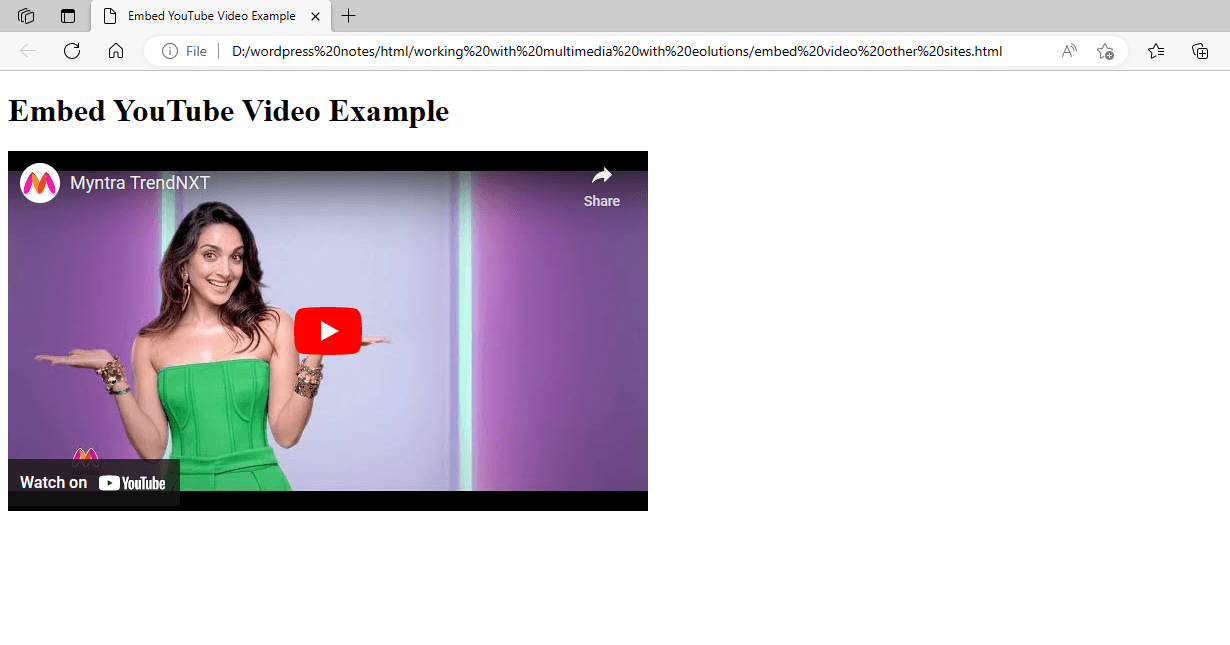
Figure 6 – shows the embedded video from other sites
In this example, replace VIDEO_ID with the ID of the YouTube video you want to embed. Please note that this method may not work as YouTube primarily supports <iframe>-based embeds. For YouTube videos, use the <iframe> embed code given by YouTube.
Adding Multimedia Files Using the OBJECT Element
HTML’s <object> element embeds multimedia files, including photos, audio, and video. Here’s an example of using the <object> element to incorporate a multimedia file.
<!DOCTYPE html>
<html>
<head>
    <title>Embed Audio Example</title>
</head>
<body>
    <h1>Embed Audio Example</h1>

    <object data="music.mp3" type="audio/mpeg" width="300" height="40">
        <param name="src" value="audio-file.mp3">
        <param name="autoplay" value="false">
        Your browser does not support the audio element.
    </object>
</body>
</html>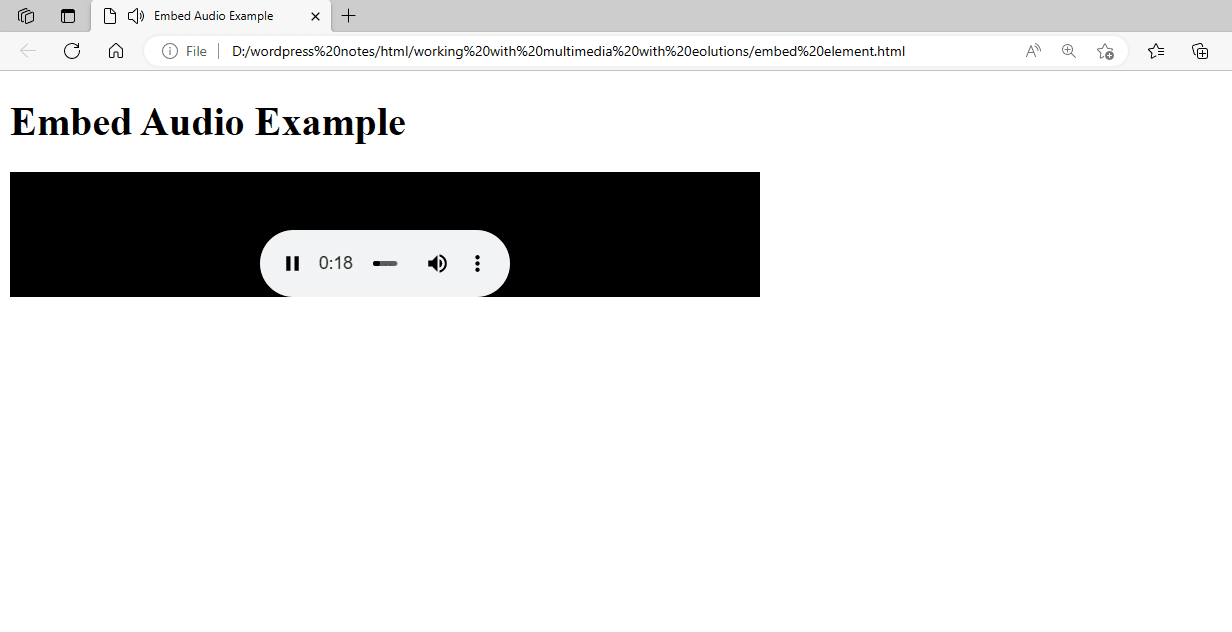
Figure 7 – Adding Audio to a Web Page using the OBJECT Element
In this case, replace audio-file.mp3 with the URL or path of your audio file. The data attribute contains the audio file’s URL, while the type attribute specifies its MIME type (audio/mpeg for MP3 audio). The <param> components specify embedded content parameters, including the audio source (src) and autoplay options.
In modern web programming, audio files are typically embedded using the <audio> element rather than the <object> element.
Using the FIGURE and FIGCAPTION Elements
HTML5’s <figure> and <figcaption> components gather and caption individual pieces of content, such as images, videos, diagrams, or code snippets. Here’s an example of how you can apply them:
<!DOCTYPE html>
<html>
<head>
    <title>Figure and Figcaption Example</title>
    <style>
        figure {
            border: 1px solid #ccc;
            padding: 10px;
            max-width: 180px; /* Optional: Set a maximum width */
            margin: 0 auto; /* Optional: Center the figure */
        }
        figcaption {
            font-style: italic;
            font-size: 0.8em;
            text-align: center;
            margin-top: 5px;
        }
    </style>
</head>
<body>
    <h1>Figure and Figcaption Example</h1>

    <figure>
        <img src="car.jpg" alt="A small car">
        <figcaption>Figure showing you a small car.</figcaption>
    </figure>
</body>
</html>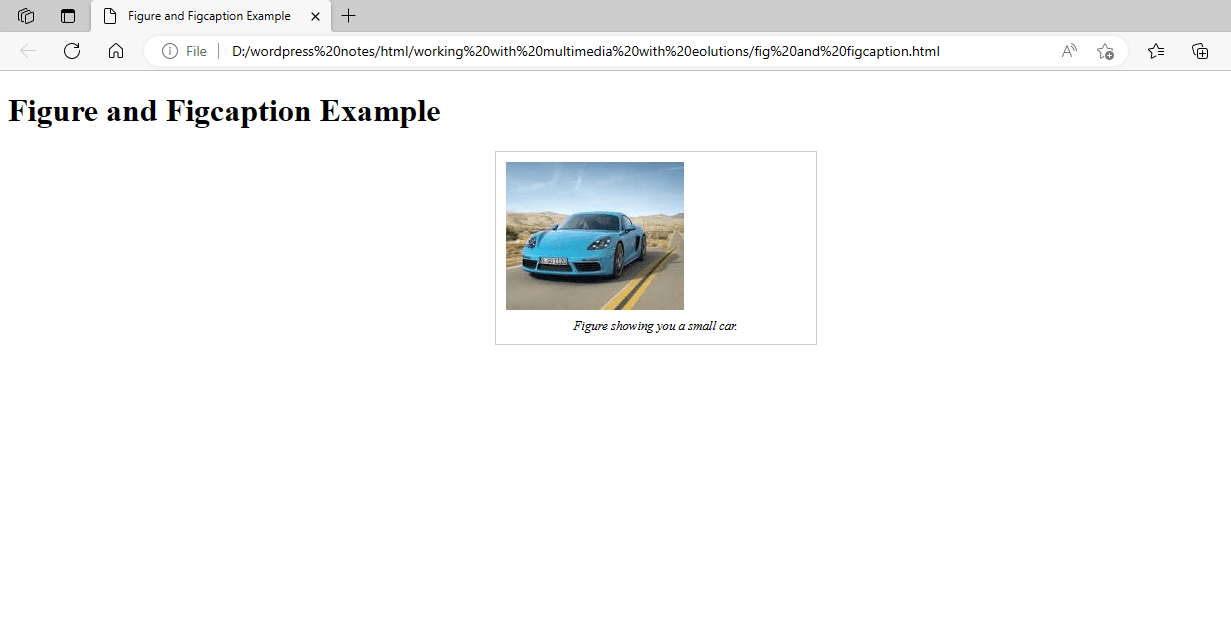
Figure 8 – Showing an Image and its Caption
CSS styles the <figure> element with a border, and padding, and restricts its maximum width. The <figcaption> is stylized as italic, smaller, and centered beneath the image. Adjust the CSS properties to meet your design requirements.