To start practicing this – Quick Solutions for Understanding of Elements in HTML, first understand what exactly it is: HTML5: Understanding Elements.
Working with Root and Metadata Elements:
The HTML element is the HTML document’s root element, and the metadata elements include HEAD, TITLE, BASE, LINK, COMMAND, META, NOSCRIPT, SCRIPT, and STYLE elements. To further understand how metadata elements are used, let’s build an HTML file called rootmetadata.html. Below is the code for the rootmetadata.html file.
<!DOCTYPE HTML>
<HTML>
<HEAD>
<STYLE type="text/css">
       body {color:green}
</STYLE>
<META Name="Politics" contents="some of the great politicians.">
<TITLE>
      Great Politicians
</TITLE>
<BASE href="http://www.html5.org/pr/html/semantics.html#semantics"
target="parent"/>
</HEAD>
<BODY>
      <H1>Great Politicians</H1>
      <P>This content is related to the great politicians in india.</P>
      <A href="semantics.html#the-base-element">BASE Element</A>
      <A href="semantics.html#semantics">HTML5</A>
</BODY>
</HTML>
In the above code, we used the HEAD, STYLE, METAL, TITLE, BASE, and BODY elements. In the HEAD element, we utilized the STYLE element to establish the document’s style sheet. We specified the document’s description in the META element and its title in the TITLE element. The BODY element defines the body of the document, which includes the H1 element to display the header, the P element to display the paragraph, and the A element to display the content’s links.
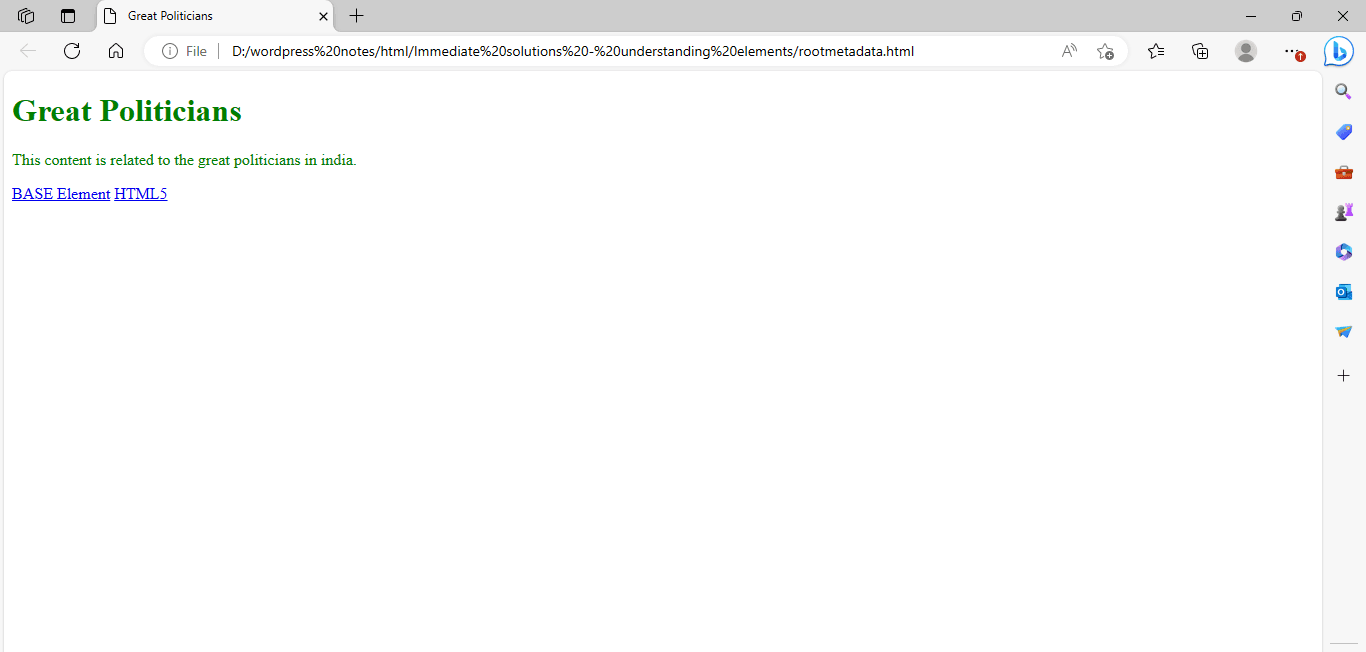
Figure 1 – Showing the use of the metadata elements
Working with Script and Noscript Elements:
The SCRIPT element is used in HTML documents to include JavaScript in the code. JavaScript enables you to increase the functionality of an HTML document. The NOSCRIPT element is used to display alternative text for browsers that do not support scripts. To further understand how to use the SCRIPT and NOSCRIPT elements, let’s construct an HTML file called script-noscript.html. To do this, write the code shown in below in Notepad.
<!DOCTYPE HTML>
<HTML>
<HEAD>
<SCRIPT type="text/JavaScript">
        document.write("Have a nice day.")
</SCRIPT>
</HEAD>
<BODY>
<NOSCRIPT>
JavaScript is disabled or not supported on the browser
</NOSCRIPT>
</BODY>
</HTML>
In the above code, we used the SCRIPT element to show the words “Have a nice day” on the web browser. If the Web browser does not support JavaScript or JavaScript is disabled, the content written within the NOSCRIPT element will be displayed.
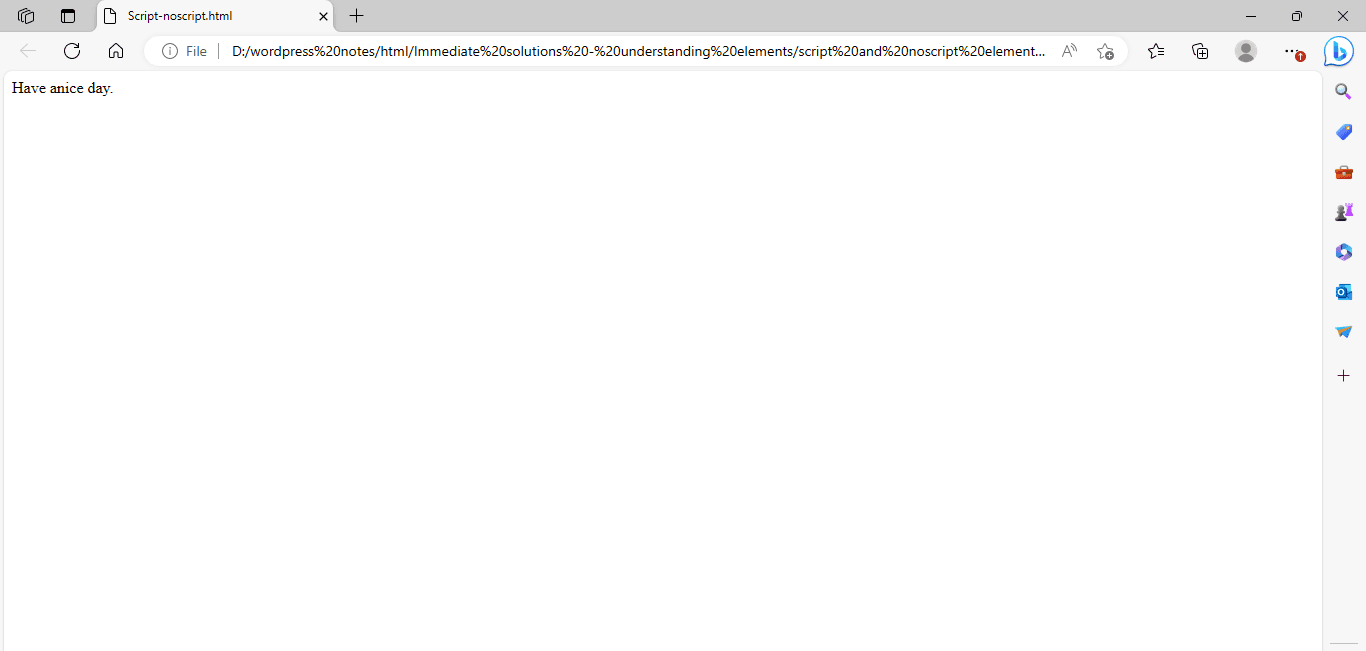
Figure 2.1 – Showing the use of the SCRIPT elements
Now, deactivate JavaScript in your Web browser to see how the NOSCRIPT element functions. Google Chrome is the Web browser we’re using. To disable JavaScript on the Google Chrome browser, follow the steps below:
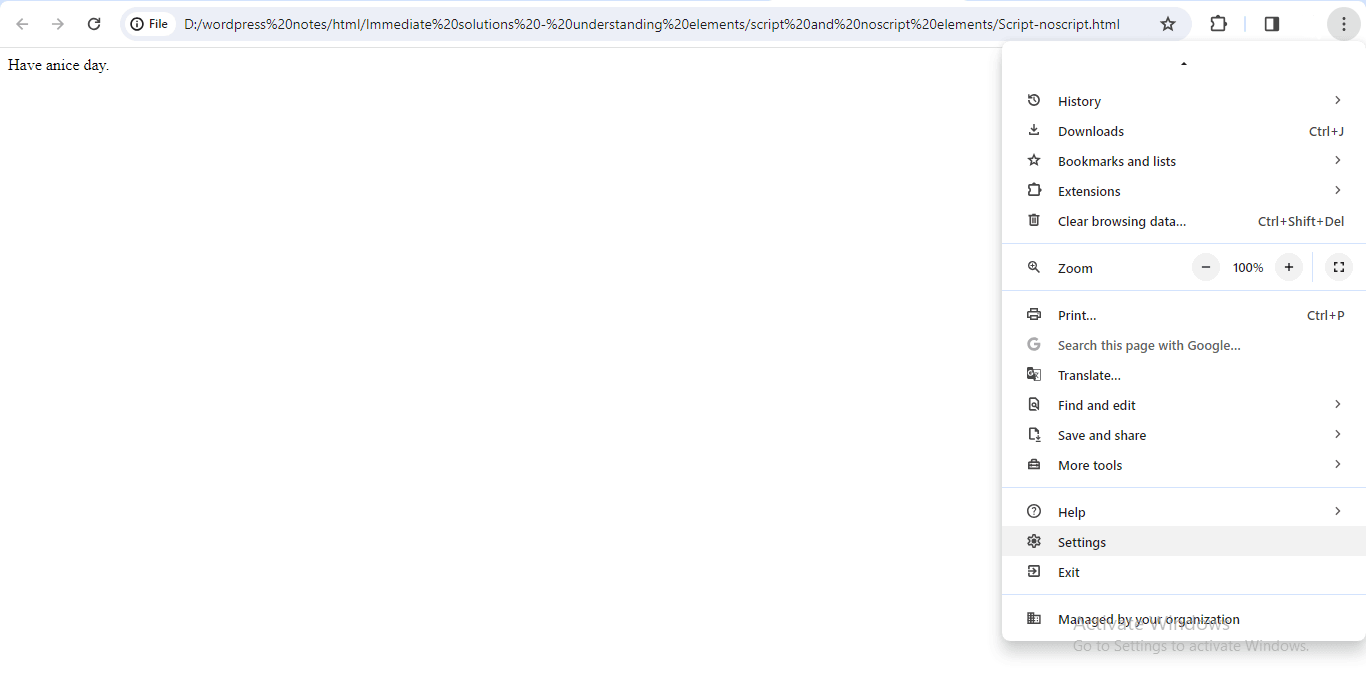
Figure 2.2 – Click the Customize and Control Google Chrome button (three vertical dots) in the top right corner, and choose settings.
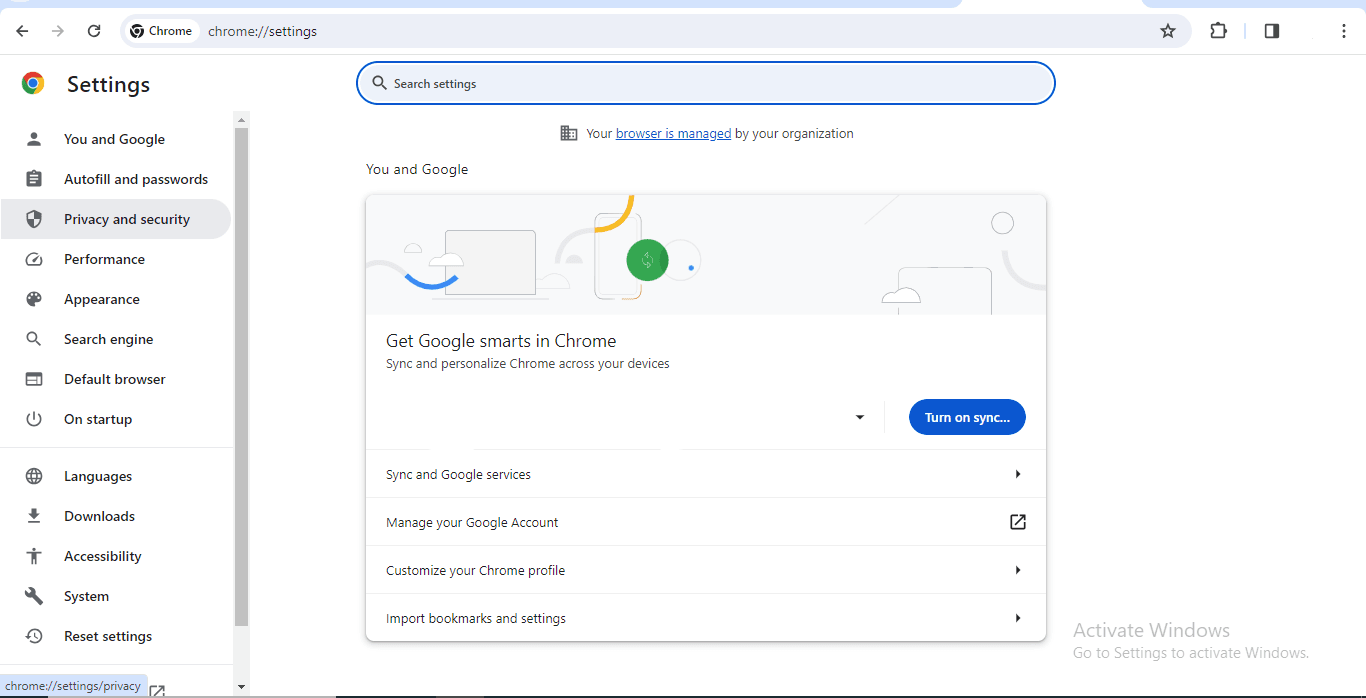
Figure 2.3 – Select the Privacy and Security option from the left panel
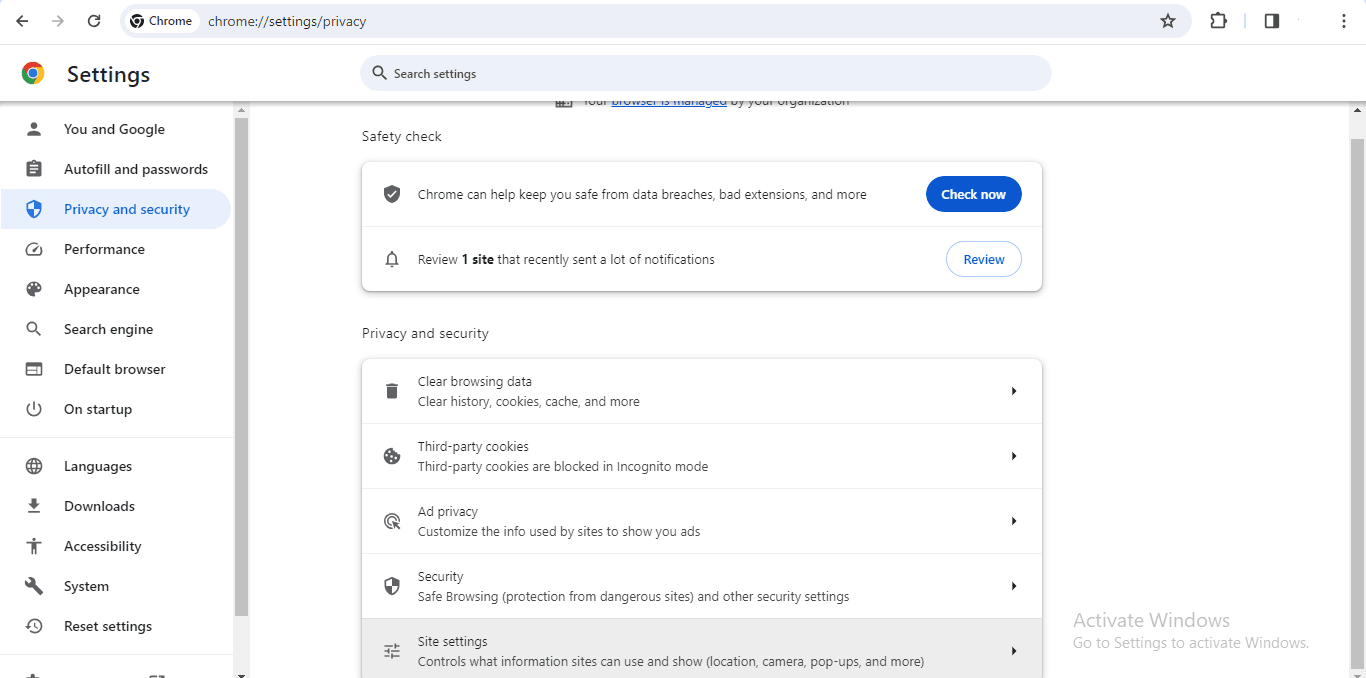
Figure 2.4 – Now, Go to site settings
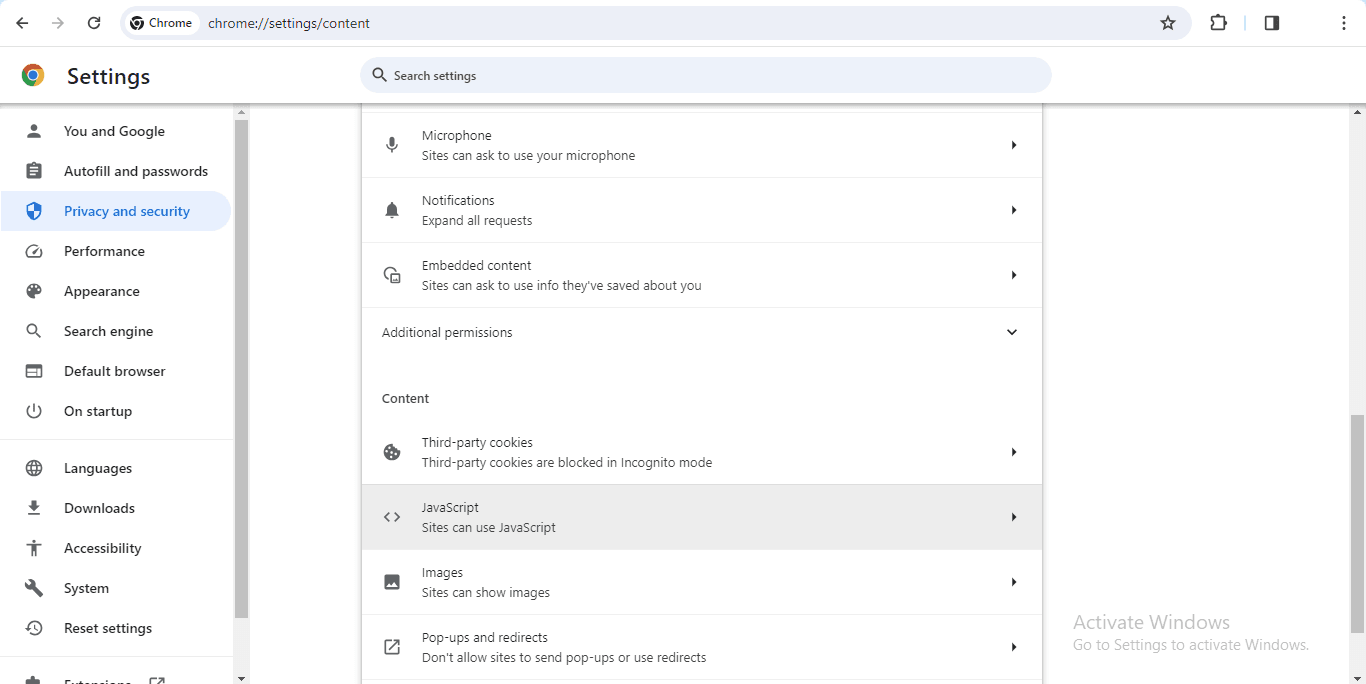
Figure 2.5 – Select JavaScript
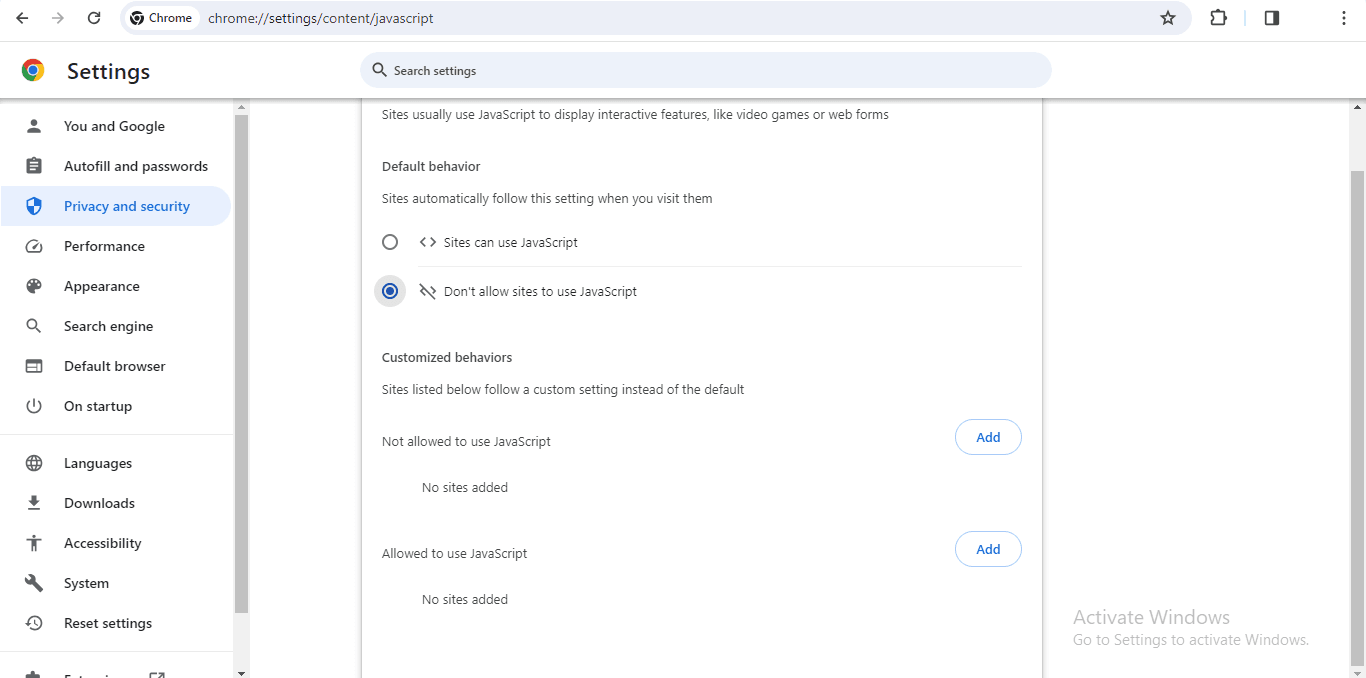
Figure 2.6 – And lastly, Choose Don’t allow sites to use JavaScript
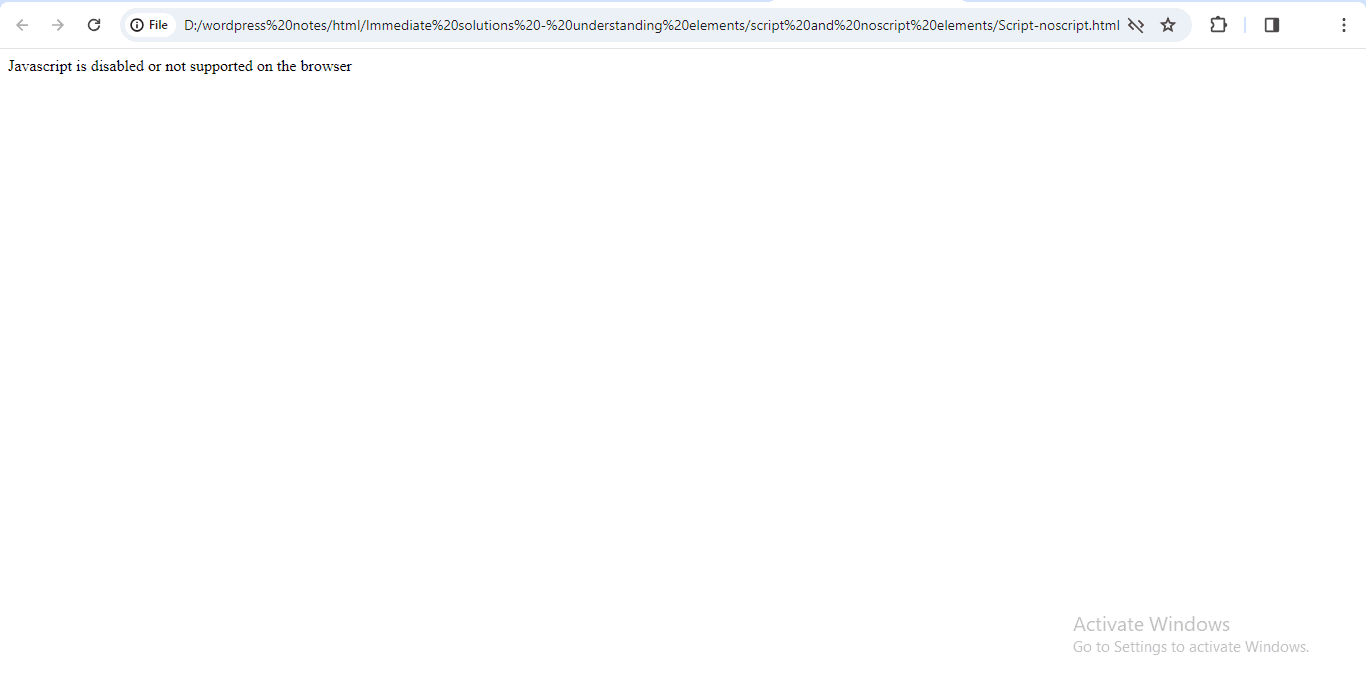
Figure 2.7 – Showing the content of the NOSCRIPT element.
Working with Section Elements
As stated in the IN-DEPTH section, section elements are used to define several portions of an HTML document, such as the article section, header, and footer. This lesson teaches you how to use some of the section components in an HTML document. To understand how to use the SECTION and NAV elements, we’ll construct an HTML file called sectionnav.html. Below is the code for the sectionnav.html file.
<!DOCTYPE>
<HTML>
<HEAD>
<TITLE>Section Elements</TITLE>
</HEAD>
<BODY>
<SECTION>
<H1>HTML</H1>
<P>Example of the SECTION element</P>
</SECTION>
<NAV>
<H1>Navigation</H1>
<UL>
<LI><A href="articles1.html">ARTICLES</A></LI>
<LI><A href="TODAY.html">TODAY'S TO DO LIST</A></LI>
</UL>
</NAV>
</BODY>
</HTML>
In the above code, we utilized the SECTION and NAV components. The SECTION element has a heading and a paragraph, while the NAV element contains two navigation links that take you to the articles page and today’s to-do list page. You now need to construct a page called articles1.html. The below code displays the code for the articles1.html file.
<!DOCTYPE>
<HTML>
<HEAD>
<TITLE>Articles</TITLE>
</HEAD>
<BODY>
<H1>This is an Article Page</H1>
</BODY>
</HTML>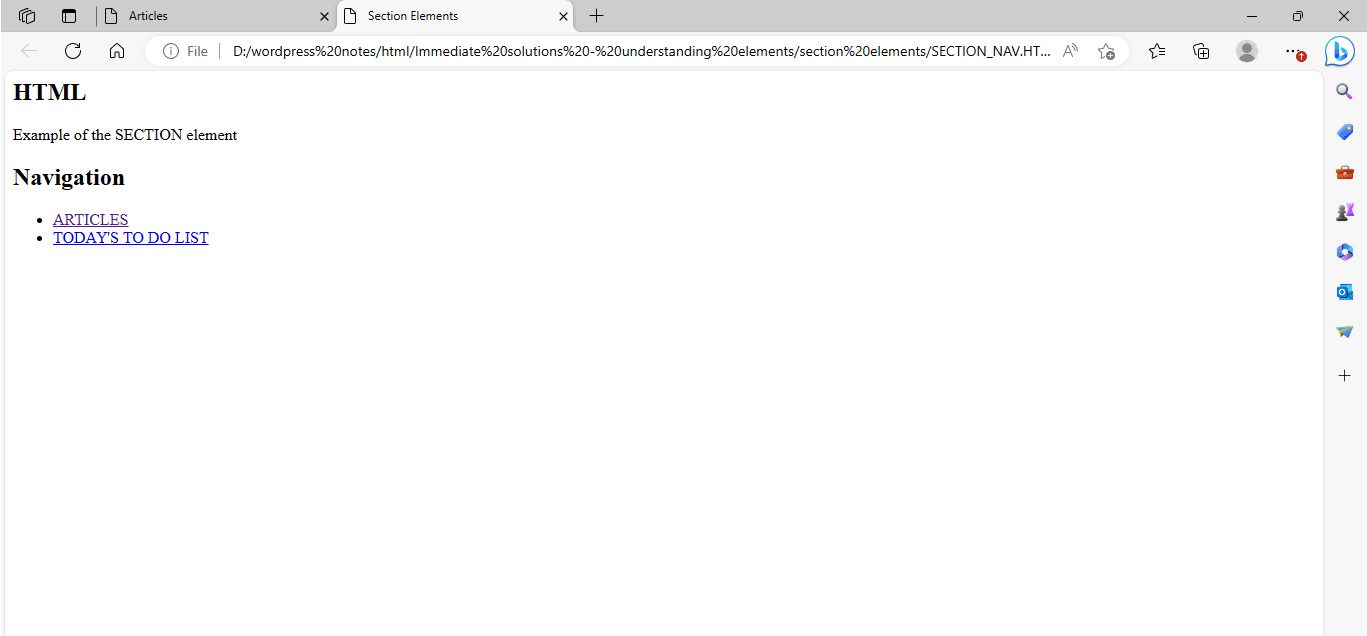
Figure 3.1 – Displaying the output of the sectionnav.html file.
Figure 3.2 – Displaying the output of articles1.html file.
To further understand how to use the ARTICLE and ASIDE components, let’s construct an HTML file called article1_aside.html. Below is the code for the article1-aside.html file.
<!DOCTYPE>
<HTML>
<HEAD>
<TITLE>Working with Section Elements</TITLE>
</HEAD>
<BODY>
<ASIDE style="Float:right;Width:200px;">
<P> You can also learn about the section elements by navigating to this <A href="http://www.w3.org/TR/html/sections11.html#sections">Link</A>
</ASIDE>
<ARTICLE>
<HEADER>
<H1>Title of the Article</H1>
<A href="http://www.w3.org/TR/html/sections11.html#sections">
Section Element</A>
</HEADER>
<P>This content is defined in the ARTICLE element</P>
</ARTICLE>
</BODY>
</HTML>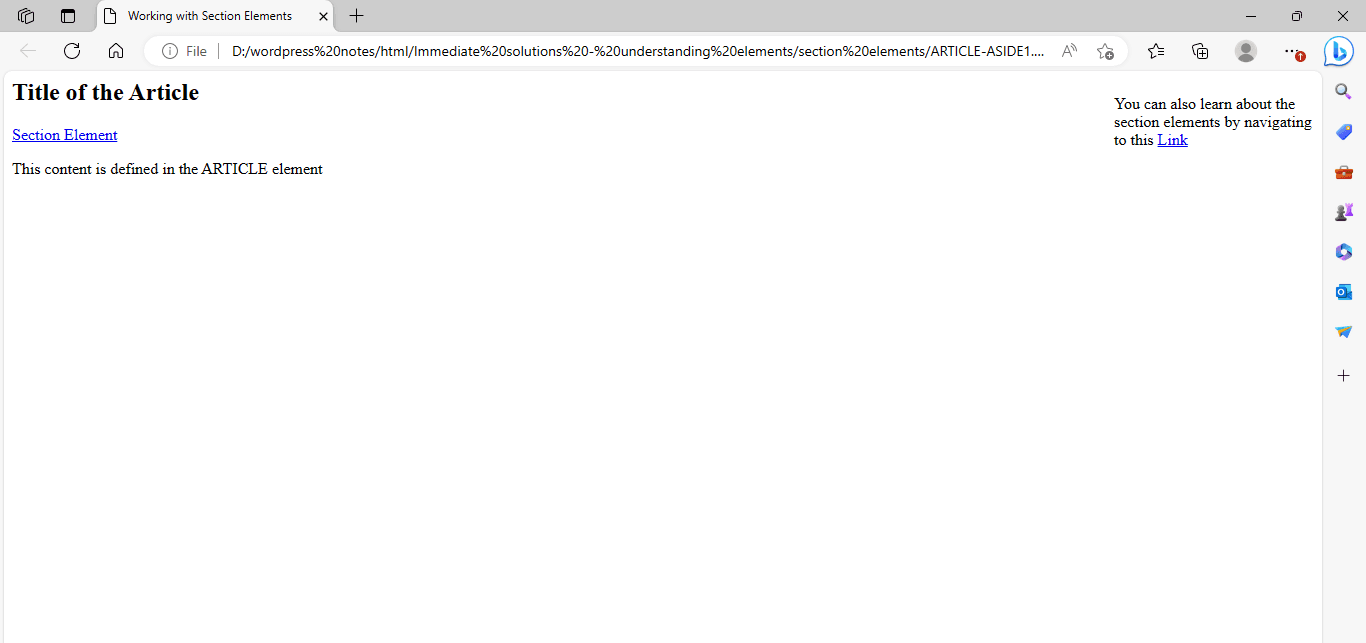
Figure 3.3 – Displaying the output of article1-aside.html file.
To further understand how to use the ADDRESS element, let’s construct an HTML file called address1.html. Below is the code for the address1.html file.
In the above code, we utilized the ADDRESS element to provide contact information for the author of an article.
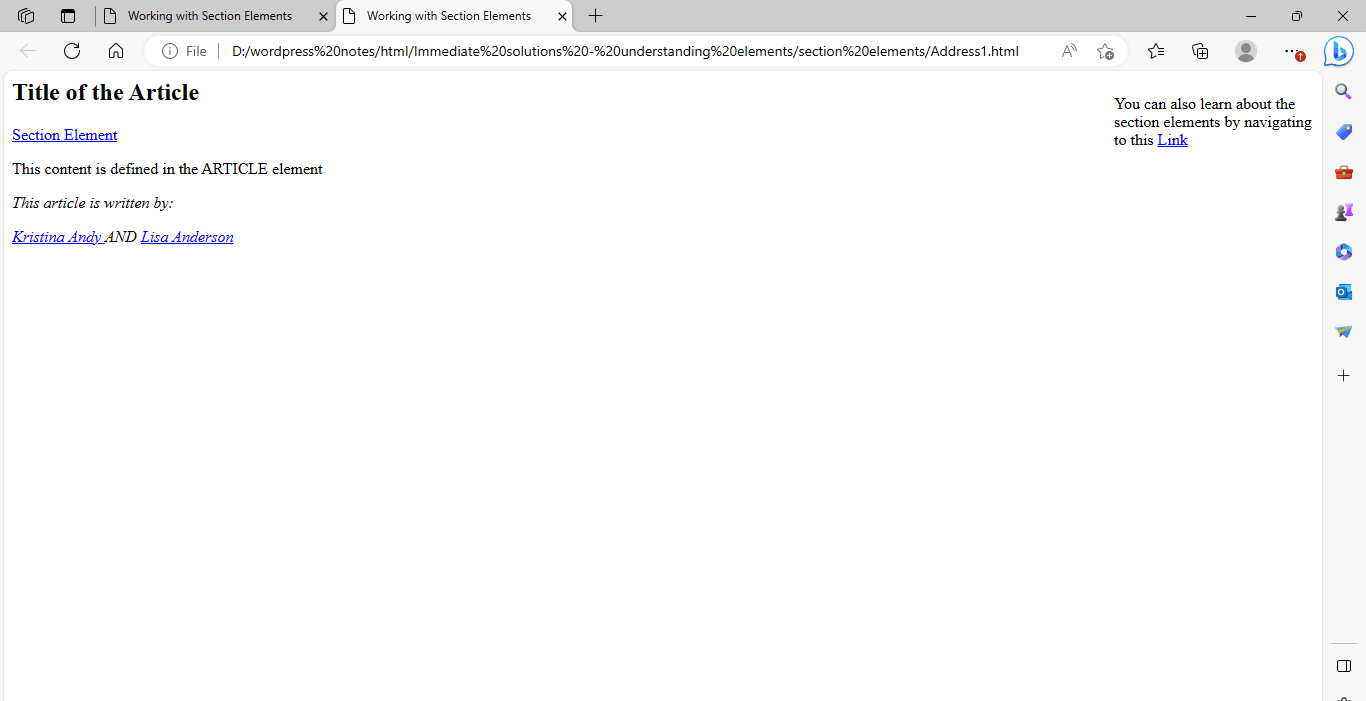
Figure 3.4 – Displaying the output of address1.html file.
Working with HEADER and FOOTER Elements
The HEADER element defines the heading part of an HTML document, whereas the FOOTER element defines the page’s footer. Other HTML elements, including as H1, A, NAV, and UL, can be used in the HEADER and FOOTER elements to create the HTML document’s header and footer.
To learn how to use the HEADER and FOOTER elements, we’ll construct an HTML page called header-footer1.html. Below is the code for the header-footer1.html file.
<!DOCTYPE>
<HTML>
<HEAD>
<TITLE>Adding Header and Footer </TITLE>
</HEAD>
<BODY>
<HEADER>
<H1>Heading </H1>
<A href="hhtp://www.w3.org/TR/html/sections.html#sections">
section elements</A>
<NAV>
<UL>
<LI><A href="articles1.html>Articles</A>
<LI><A href="discussions1.html>Discussions</A>
<LI><A href="download1.html>Download</A>
</UL>
</NAV>
</HEADER>
The content of the HTML Document
<FOOTER>
<NAV>
<P><A href="credits1.html">Credits</A>
<A href="terms1.html">Terms of service</A>
</NAV>
<P>Copyright © 2023 </P>
</FOOTER>
</BODY>
</HTML>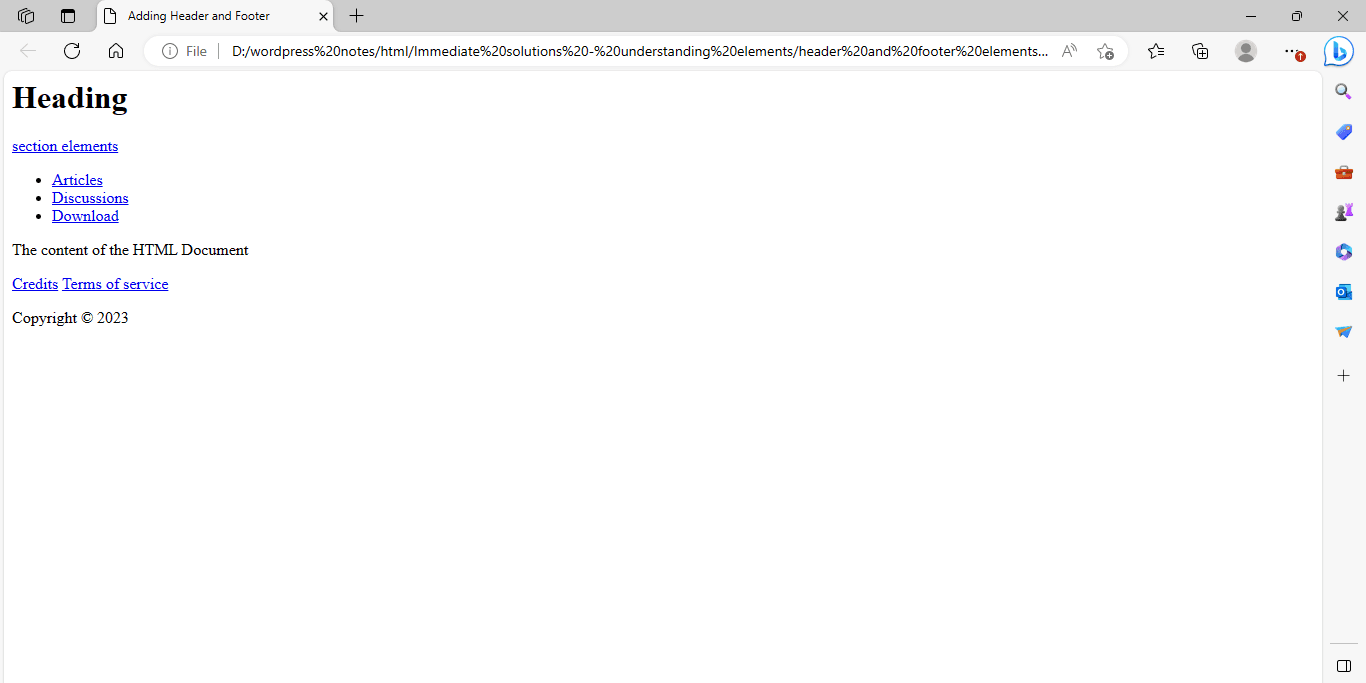
Figure 4.1 – Displaying the output of the header-footer1.html file.
Working with Headings Elements
HTML has a variety of elements, such as H1 and H2, for producing multiple levels of headings on an HTML page. Now, let us construct an HTML file called headingelement1.html to better understand the importance of the heading element in HTML. Below is the code for the headingelement1.html file.
<!DOCTYPE>
<HTML>
<HEAD>
<TITLE>Heading</TITLE>
</HEAD>
<BODY>
<H3>The Planet</H3>
A planet is a large object that orbits a star.<BR/>
To be a planet, an object must be massive enough for gravity to have squeezed it into a spherical, or round, shape,.<BR/>
It must also be large enough for gravity to have swept up any rocky or icy objects from its path, or orbit, around the star.<BR/>
</BODY>
</HTML>
In the above code, the title, The Planet, is shown in a bold and larger font than the remaining content, as shown in Figure 5.1.
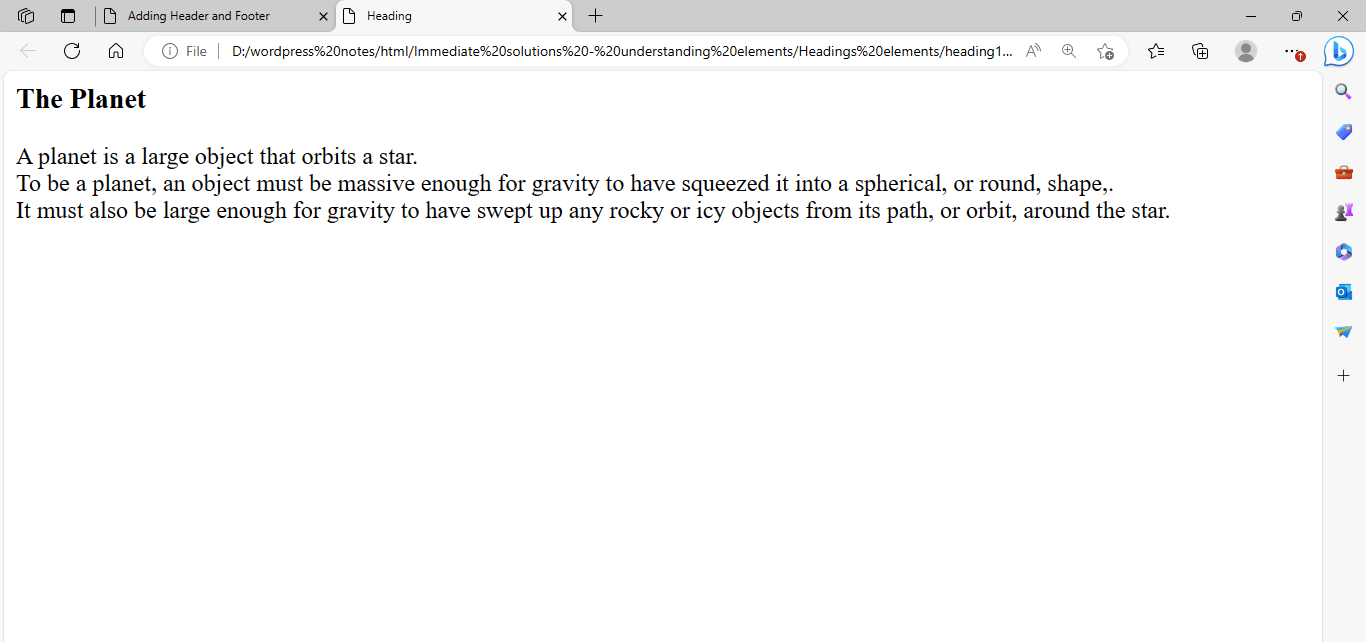
Figure 5.1 – Displaying the Output of the headingelement1.html file.
There are six levels of heading elements, from H1 to H6. H1 is the most critical heading level, followed by H6, which is the least important. H1 represents the highest heading font size, while H6 represents the smallest heading font size. The text placed within the H4 element is the same size as the typical plain text on the page; however, the text written within the H1, H2, and H3 elements is larger than the standard text. Text written within the H5 and H6 elements is smaller than regular text.
Let’s construct an HTML file named headings2.html to comprehend different levels of heading components using the code presented below.
<!DOCTYPE>
<HTML>
<HEAD>
<TITLE>Heading</TITLE>
</HEAD>
<BODY>
<H1>Heading 1</H1>
<H2>Heading 2</H2>
<H3>Heading 3</H3>

There are some alpha-numeric characters, such as '<', and '>', and '&' that are used in HTML syntax formation.
They are referred to as special characters.

<HGROUP>
<H4>Heading 4</H4>
<H5>Heading 5</H5>
<H6>Heading 6</H6>
<HGROUP>
</BODY>
</HTML>
Above code includes the heading components H1, H2, H3, H4, H5, and H6. These heading elements arrange the text in various heading levels.
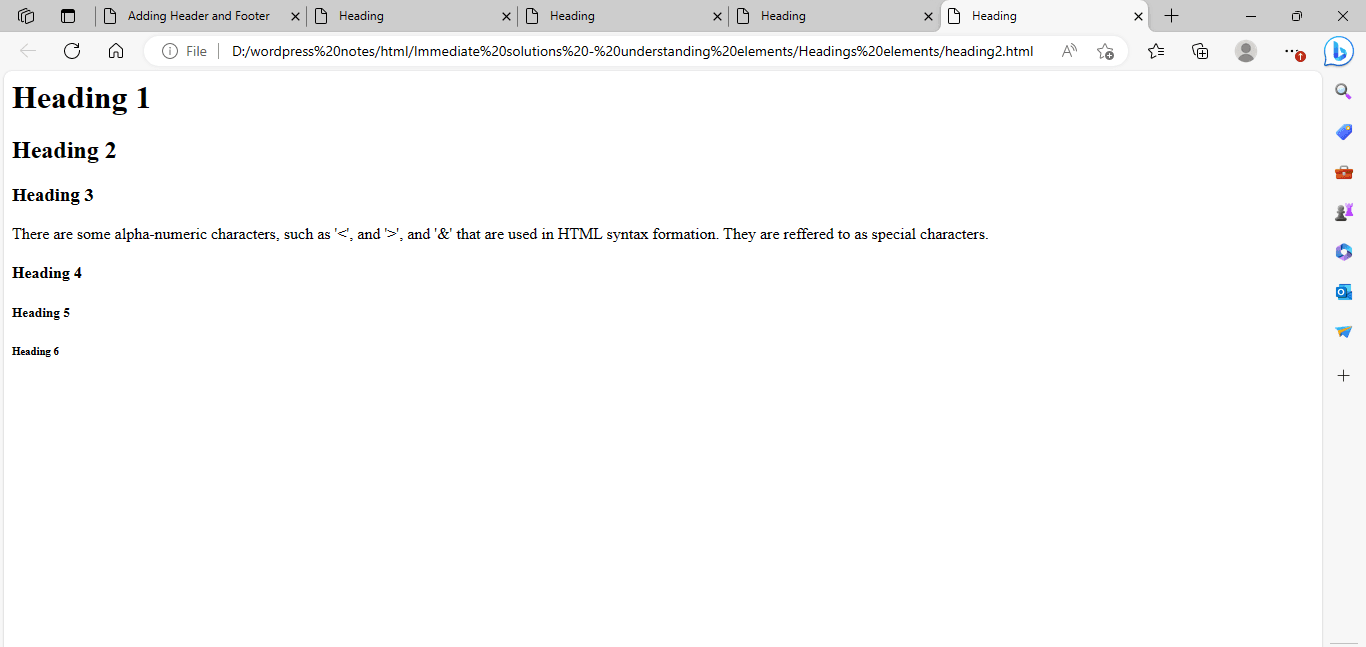
Figure 5.2 – Displaying the output of the headings2.html file.
Figure 5.2 shows that the font size of plain text is similar to the text contained within the H4 element.