In-Depth
How to Organize Text in HTML 5? Text organization in HTML5 is the process of structuring and organizing text content on a web page utilizing elements such as paragraphs, headers, lists, and style tags. These features aid in the hierarchical organization of text, the creation of lists, the emphasis on words, and the preservation of readability.
Arranging Text:
HTML lets you arrange text in various formats and styles, including paragraphs, layers, and tables. By default, the Web browser displays an HTML page’s text as a single paragraph. This content can be formatted in a variety of ways using the various tags. For example, the P tags are used to organize content into paragraphs, and the BR tags allow you to continue text from the following line. Arranging the text of a web page entails the following tasks:
1. Allowing Word breaks: HTML includes the WBR element for inserting word breaks between words or paragraphs in an HTML text. Word breaks can be enabled in HTML5 using the CSS word-break attribute. Setting word-break to break-all allows big words to break and wrap onto the next line, which improves readability. This feature is important for dealing with long URLs or text that should not exceed its container.
2. Defining the Preformatted Text: HTML5 uses the <pre> element to define preformatted text. This element retains all spaces and line breaks in the text, presenting it precisely as it appears in the HTML code. In HTML, the preformatted tag, PRE, tells the browser that the enclosing text has been formatted and should not be formatted again. HTML’s default behavior is to display format-free text without concern for space or tabs. It is typically used to display code snippets or text that needs special formatting, such as poetry or ASCII art.
Attributes available in the PRE Element are class, dir, id, lang, style, and title.
3. Defining the DIV Element: HTML5’s <div> element is a container for grouping and styling block-level items. It has no inherent meaning or style but is used to divide or portion a web page. The P element is solely used to create paragraphs; the DIV tag is used to divide a web page into sections. CSS and the <div> element often apply styling and layout to content groupings.
Attributes available in the DIV Element are class, dir, id, lang, style, and title.
4. Defining the SPAN Element: In HTML5, the <span> element is an inline container used to apply styling to a specified section of text. The <span> element, like the <div>, lacks its meaning and styling. It is commonly used to apply CSS styles, such as color or font size, to a small section of text without impacting the surrounding content.
Attributes available in the SPAN Element are class, dir, id, lang, style, and title.
5. Formatting text in Tables:
- HTML5 allows you to format text in tables using a variety of elements and attributes. Here’s a quick overview:
- Use for table headings, rows, and data cells.
- Apply formatting, like bold or italic, using the proper components or CSS.
- To style the table, use CSS to specify borders, background colors, and text alignment.
The TABLE tag in HTML allows you to arrange text in a tabular fashion, such as rows and columns. The TABLE tag is used in conjunction with the TH, TR, and TD tags. The TH tag is used to specify the header for a table column. The TR tag specifies the content of the table rows. The TD tag specifies the content of a table.
6. Defining the Ruby (Captioned) Text: Ruby text, which uses HTML5, is used in East Asian typography to annotate characters with phonetic readings or translations. It is made up of two parts: the base text (the annotated characters) and the ruby text (the annotation itself). You can define the caption for your text on your web page by using the Ruby tag. This tag specifies Ruby annotations that provide reading or pronunciation assistance for a specific language, such as Chinese or Japanese. A ruby is a component of an annotation pair in which one piece of text (ruby text) is linked to another set of text (ruby base).
Ruby annotations are widely utilized in several Asian countries, including Japan and China, to provide pronunciation help in a variety of publications, including schoolbooks and magazines. The RUBY tag includes the following tags:
- RP: Contains parentheses.
- RT: Provides a container for Ruby text.
These tags establish a structural link between the ruby text and the ruby base.Structural association refers to the different ways in which the ruby text and base can be linked together. The text that comes before the RT tag in Ruby is referred to as the base text. The text after the RT tag is referred to as the “notation.”
Attributes available in the RUBY Element are class, cols, language, name, dir, id, lang, style, and title.
7. Displaying Lists:
HTML enables you to show information in the form of lists. These lists’ material can be presented in an ordered and sequential manner or in an unordered and random style. The OL element is used to display a list of information in an ordered sequence, whereas the UL element is used to display information in an unordered list. Aside from the UL and OL elements, HTML also has the DL element, which allows you to provide descriptions of the items in UL or OL lists.
List of Tags used in displaying the list in an HTML:
- OL – used to display the list of information in an ordered sequence
- UL – used to display the information in an unordered list
- LI – defines a list item
- DL – allows you to include the description of the items in the UL or OL lists
- DT – defines the term in a description list
- DD – defines the description in a description list
Some Examples (Solutions) of Text Organization
1. Enabling Word Breaks using the WBR Element: In HTML, the <wbr> (Word Break Opportunity) element indicates a position where the browser may break a line of text if necessary. It is especially handy for long sentences, URLs, or email addresses that may surpass the width of the container. When a <wbr> element is encountered, the browser can break the line at that point to optimize the layout or prevent overflow.
Here’s an example of how you can use the <wbr> element:
<!DOCTYPE html>
<html lang="en">
<head>
<meta charset="UTF-8">
<meta name="viewport" content="width=device-width, initial-scale=1.0">
<title>Using the <wbr> Element</title>
<style>
p {
width: 200px;
border: 1px solid #ccc;
padding: 5px;
}
</style>
</head>
<body>
<p>Thisisaverylongword<wbr>thatmightbreakatany<wbr>point.</p>
</body>
</html>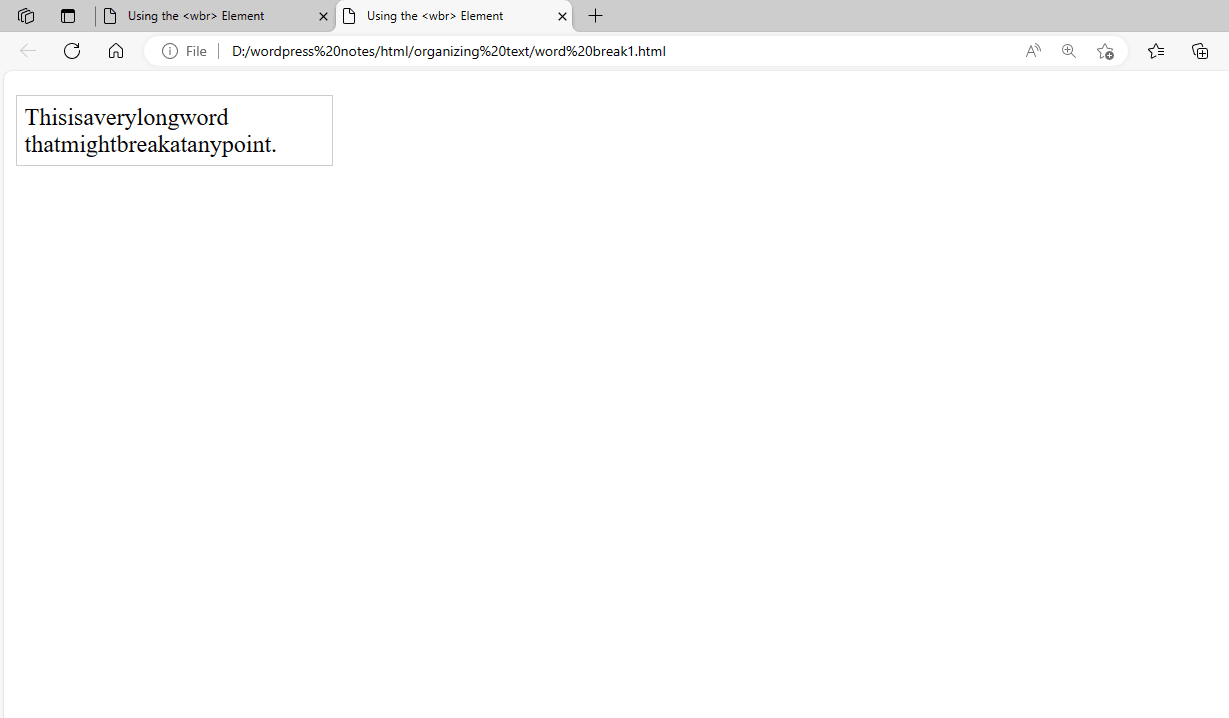
Figure 1 – Displaying the output of using WBR Element
In this example, <wbr> elements are used to suggest breakpoints inside a long word. CSS is used to provide the paragraph with a set width so that word breaks may be seen.
2. Displaying the Preformatted Text:
The <pre> (preformatted) element displays preformatted text in HTML. This element maintains spaces, line breaks, and other whitespace characters precisely as they appear in HTML code. It is widely used to display code snippets, ASCII art, or any other text that must retain its layout.
Here’s how you can use the <pre> element:
<!DOCTYPE html>
<html lang="en">
<head>
<meta charset="UTF-8">
<meta name="viewport" content="width=device-width, initial-scale=1.0">
<title>Preformatted Text Example</title>
<style>
  pre {
    background-color: #f4f4f4;
    padding: 10px;
    border: 1px solid #ccc;
    white-space: pre-wrap; /* Preserve line breaks */
    font-family: monospace;
  }
</style>
</head>
<body>
  <h1>Example of Preformatted Text</h1>

  <p>This is regular text with <strong>bold</strong> and <em>italic</em> formatting.</p>

  <pre>
  This text
  will be
  displayed
  as is.
  </pre>

  <p>Another paragraph of regular text.</p>

  <h2>Code Example</h2>
  <pre>
  <code>
  function hello() {
    console.log('Hello, World!');
  }
  hello();
  </code>
  </pre>
</body>
</html>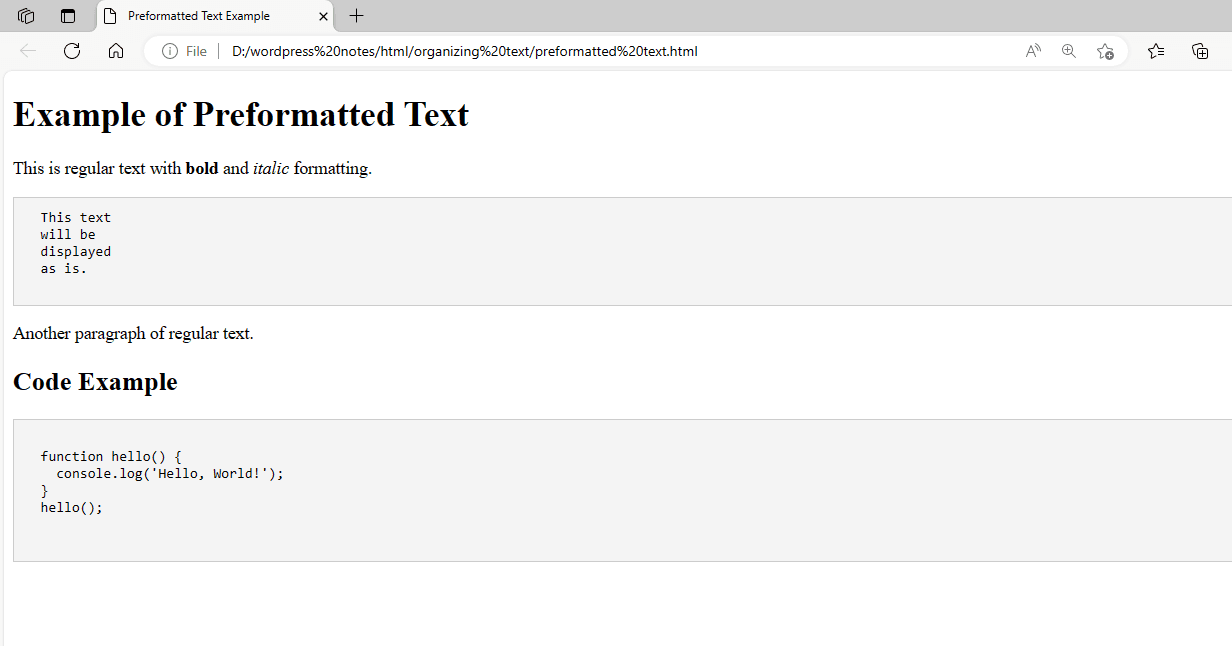
Figure 2 – Displaying the Output of Using the PRE Element
The <pre> element is visually separated from the surrounding content by styling it with a light grey background, padding, and border. The CSS property white-space: pre-wrap; preserves line breaks in the <pre> element. The <code> element within the <pre> element is used to wrap the code snippet for extra style or highlighting using CSS or JavaScript.
3. Using the DIV Element:
The <div> element in HTML is a multipurpose container with no inherent meaning or design. It is used to organize and structure content on a web page and is frequently combined with CSS for styling and layout purposes. This is a detailed description of how to use the <div> element.
Here’s how you can use the <div> element:
<!DOCTYPE html>
<html lang="en">
<head>
<meta charset="UTF-8">
<meta name="viewport" content="width=device-width, initial-scale=1.0">
<title>Using the <div> Element</title>
<style>
/* Style the div container */
.container {
background-color: lightblue;
padding: 10px;
border: 1px solid blue;
}
/* Style the nested elements */
.header {
font-size: 24px;
font-weight: bold;
}
.content {
margin-top: 10px;
}
</style>
</head>
<body>
<div style="background-color: yellow; text-align: center">
<p><b>Home</b></p>
</div>
<!-- Div container -->
<div class="container">
<!-- Header inside the div -->
<div class="header">This is a header</div>
<!-- Paragraph inside the div -->
<div class="content">
<p>This is a paragraph inside the div.</p>
</div>
<!-- Another paragraph inside the div -->
<div class="content">
<p>This is another paragraph inside the div.</p>
</div>
</div>
</body>
</html>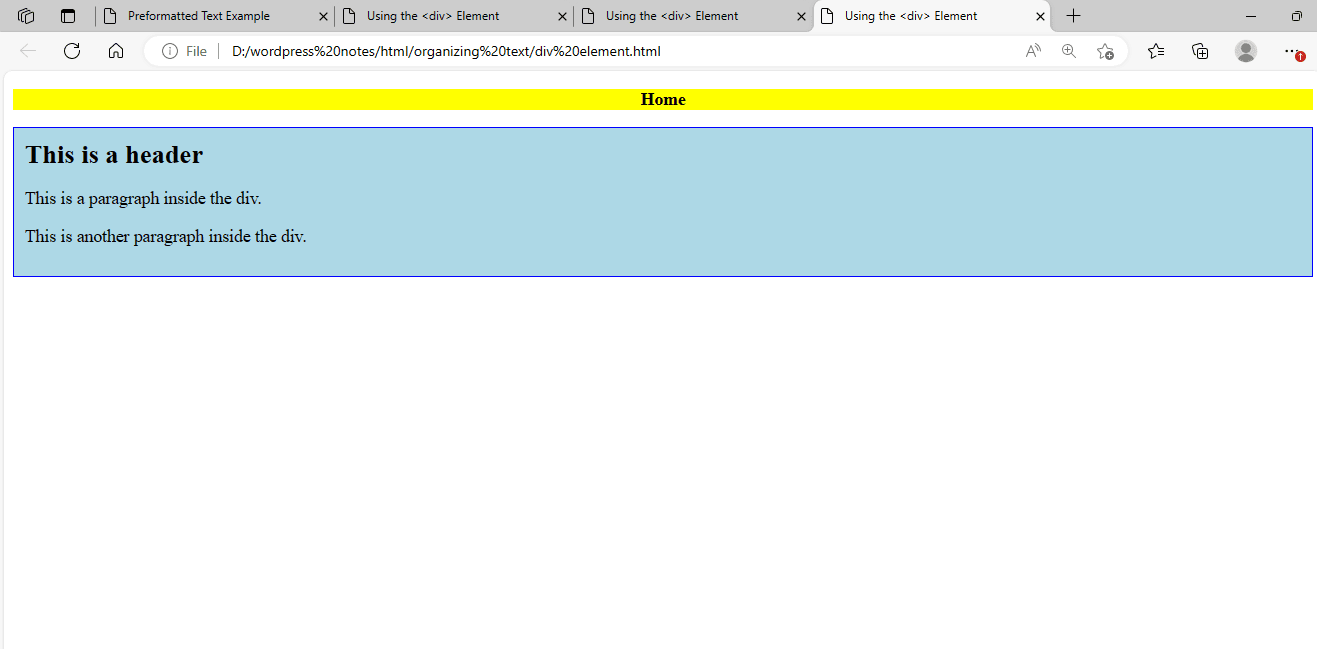
Figure 3 – Displaying the Output of Using the DIV Element
In this example, the <div> element with the class container serves as a container for the other elements. It features a light blue backdrop, padding, and a border to visually distinguish itself from the rest of the material. Nested components within the <div>, such as headers (div class=”header”) and paragraphs (div class=”content”), are styled differently with CSS.
4. Positioning Text Using the DIV Element:
The <div> tag creates a division or segment in an HTML document. The <div> tag serves as a container for HTML elements, which are then decorated with CSS or changed using JavaScript. The <div> tag can be readily customized using the class or id attributes. The <div> tag can include any type of material.
Here’s how you can use the <div> element for positioning the text:
<!DOCTYPE html>
<html lang="en">
<head>
<meta charset="UTF-8">
<meta name="viewport" content="width=device-width, initial-scale=1.0">
<title>Positioning Text Using the <div> Element</title>
<style>
/* Style the container */
.container {
position: relative; /* Set position to relative */
width: 200px;
height: 200px;
border: 1px solid #ccc;
margin: 50px auto; /* Center the container */
}
/* Style the positioned text */
.positioned-text {
position: absolute; /* Set position to absolute */
top: 50%; /* Position 50% from the top */
left: 50%; /* Position 50% from the left */
transform: translate(-50%, -50%); /* Center the text */
background-color: lightblue;
padding: 10px;
}
</style>
</head>
<body>
<!-- Div container -->
<div class="container">
<!-- Positioned text inside the div -->
<div class="positioned-text">
This text is positioned in the center of the container.
</div>
</div>
</body>
</html>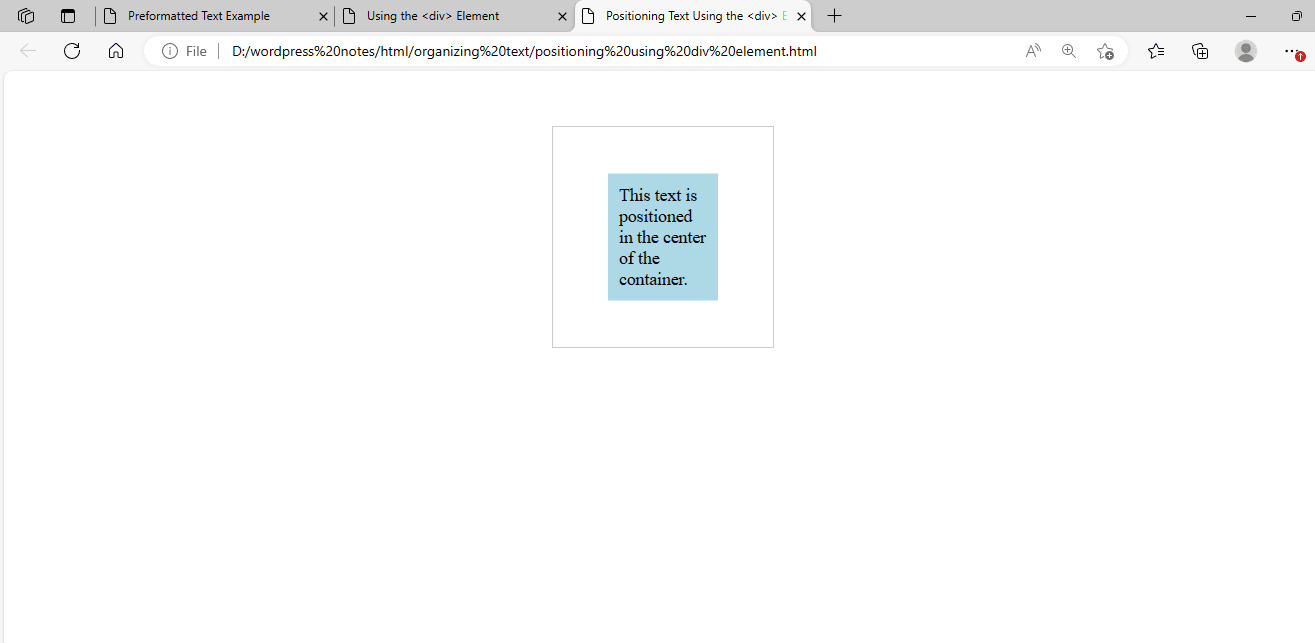
Figure 4 – Displaying the output of Using the DIV Element for positioning the text
In this case, the container div is positioned relatively, which implies that any positioned elements within it will be positioned relative to the container. The positioned-text div is positioned with top: 50% and left: 50%, centering it horizontally and vertically within the container. To guarantee that the text is exactly centered, utilize the transform property: translate(-50%, -50%).
5. Using the SPAN Element:
The <span> element in HTML is an inline container used to apply styles or change the content of a specific section of a text. Inline elements use <span> instead of the block-level container <div>. This example shows how to use the <span> element.
Here’s how you can use the <span> element:
<!DOCTYPE html>
<html lang="en">
<head>
<meta charset="UTF-8">
<meta name="viewport" content="width=device-width, initial-scale=1.0">
<title>Using the <span> Element</title>
<style>
/* Style the span element */
.highlight {
background-color: yellow;
font-weight: bold;
}
</style>
</head>
<body>
<p>This is a <span class="highlight">highlighted</span> text.</p>
<p>This is a <span style="color: red;">red</span> text.</p>
</body>
</html>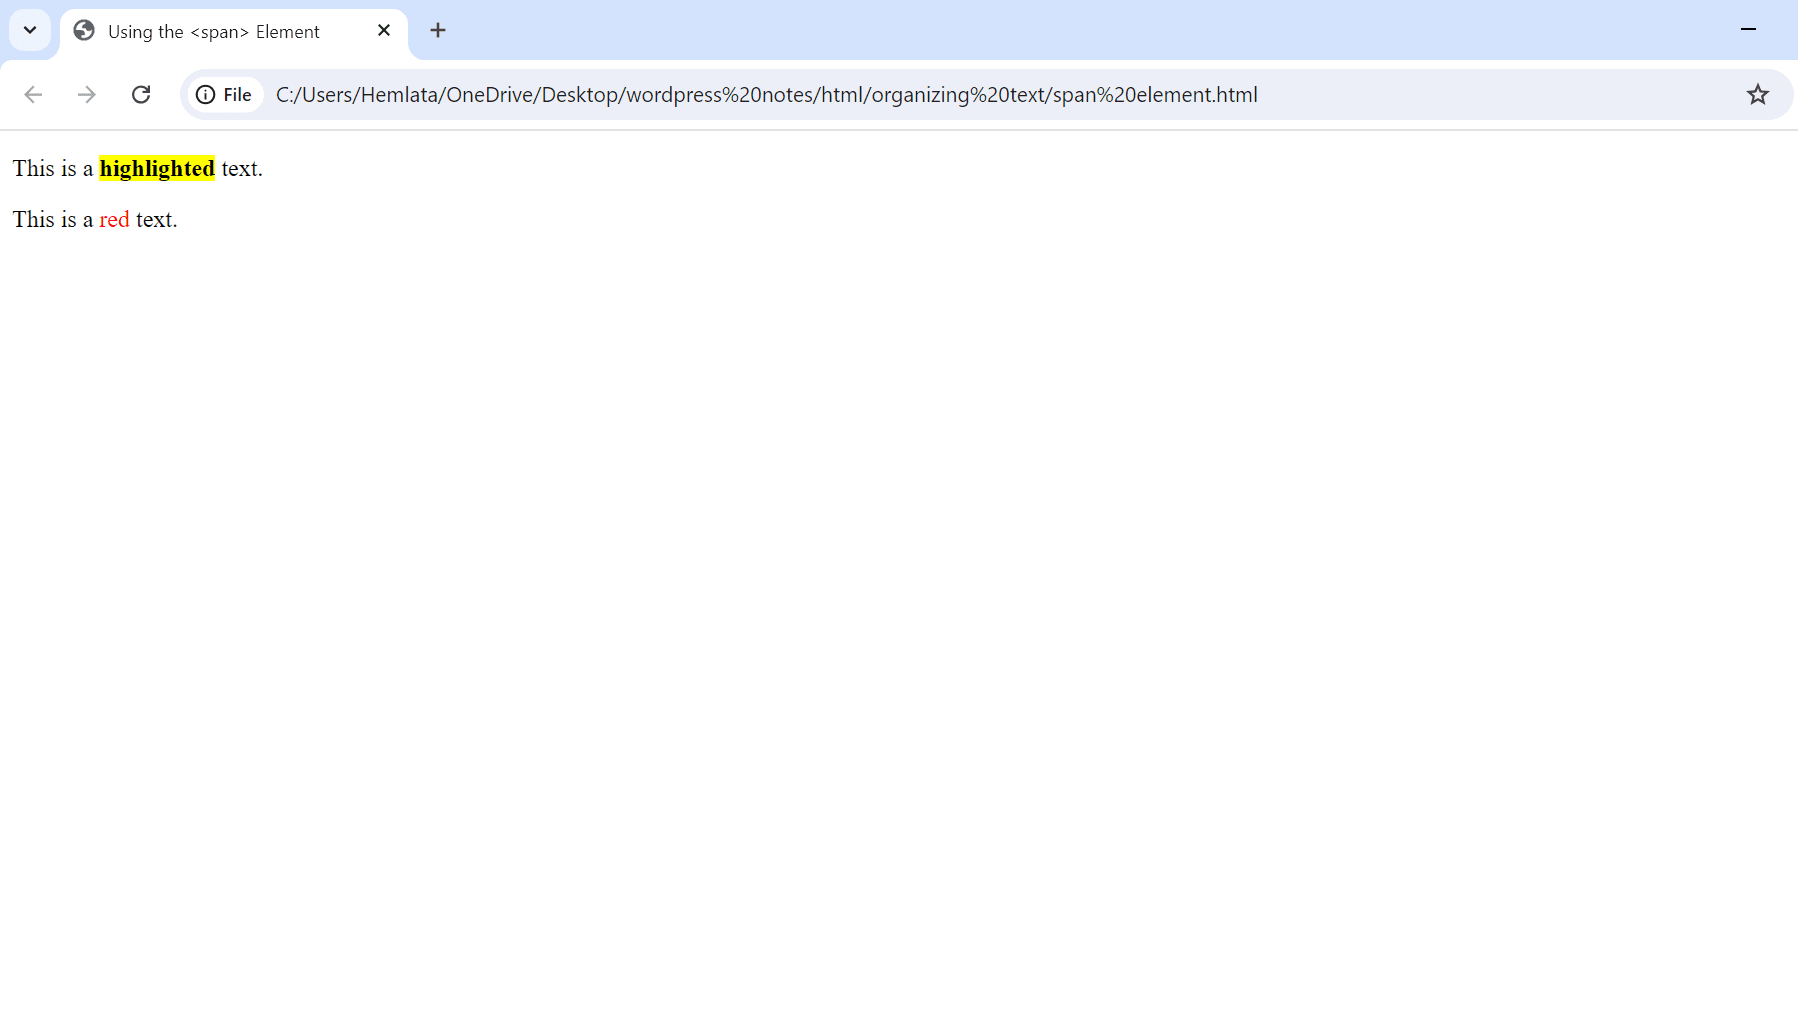
Figure 5 – Displaying the output of using the SPAN Element
In this example, the first <span> element has a class of highlights and is designed with a yellow backdrop and bold text using CSS. The second <span> element uses an inline style attribute to alter the text color to red. The element can apply styling to short pieces of text or target particular areas of the content using CSS or JavaScript.
6. Formatting Text Using Tables:
Tables are designed to display tabular data, so formatting text with them in HTML is not a recommended technique for layout. To format text within a table, utilize the <table>, <tr>, <th>, and <td> components with CSS styling. Here is a basic example:
<!DOCTYPE html>
<html lang="en">
<head>
<meta charset="UTF-8">
<meta name="viewport" content="width=device-width, initial-scale=1.0">
<title>Formatting Text Using Tables</title>
<style>
  table {
    width: 100%;
    border-collapse: collapse;
  }

  th, td {
    border: 1px solid black;
    padding: 8px;
    text-align: center;
  }

  th {
    background-color: lightgray;
    font-weight: bold;
  }
</style>
</head>
<body>
  <table>
    <tr>
      <th>Header 1</th>
      <th>Header 2</th>
      <th>Header 3</th>
    </tr>
    <tr>
      <td>This is some text</td>
      <td>This is some more text</td>
      <td>This is even more text</td>
    </tr>
    <tr>
      <td>Another row</td>
      <td>With some text</td>
      <td>And more text</td>
    </tr>
  </table>
</body>
</html>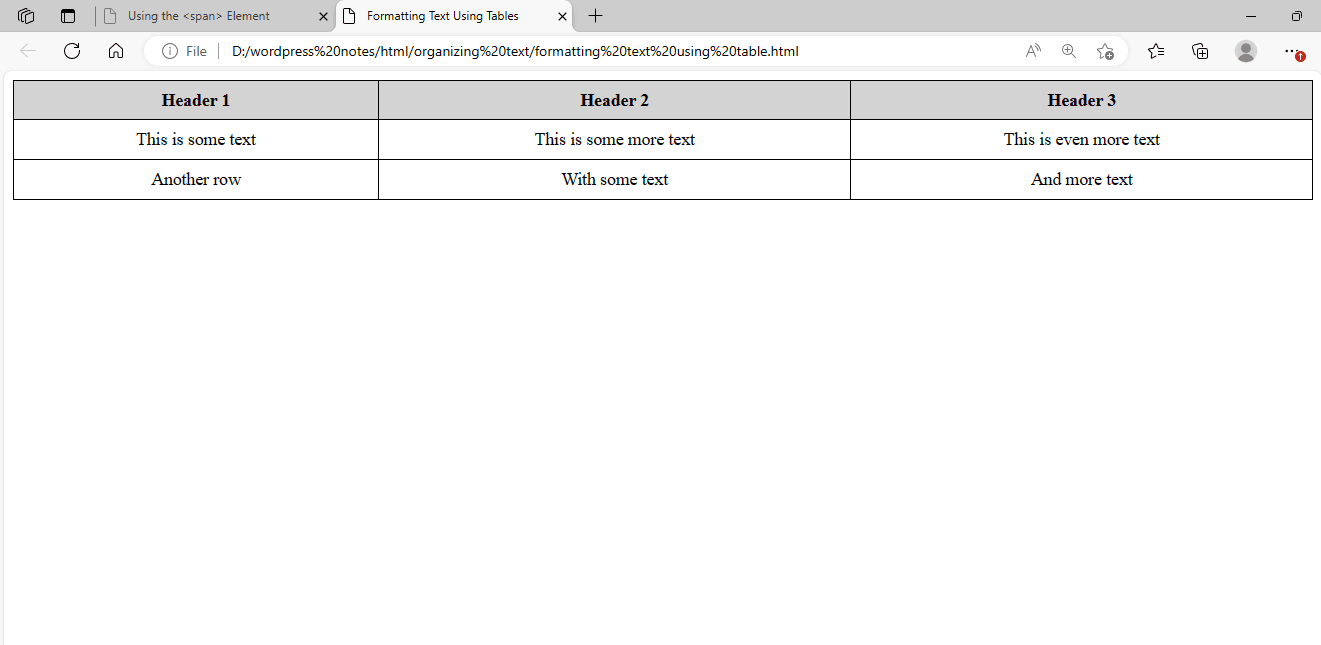
Figure 6 – Displaying the Output of using TABLE Element
This example shows a simple table with borders around each cell (<td> and <th>) , padding, and centered text. The table’s border has been collapsed using border-collapse: collapse; to provide constant spacing between cells. The headers (<th>) have a separate look, including a light grey backdrop and bold lettering.
7. Creating the Ruby (Captioned) Text:
To create captioned Ruby text in HTML, use the <ruby>, <rt>, <rb>, and <rp> elements. Ruby text is used in East Asian typography to give pronunciation or translation tips for characters. Here’s an example:
<!DOCTYPE html>
<html lang="en">
<head>
<meta charset="UTF-8">
<meta name="viewport" content="width=device-width, initial-scale=1.0">
<title>Ruby (Captioned) Text Example</title>
<style>
  ruby {
    /* Ensure proper alignment of ruby text */
    display: ruby;
  }

  rt {
    /* Style the ruby text */
    font-size: smaller;
    color: gray;
  }

  rp {
    /* Style the parentheses for browsers that don't support ruby text */
    display: none;
  }
</style>
</head>
<body>
  <p>漢<ruby><rp>(</rp><rt>Kan</rt><rp>)</rp></ruby>字<ruby><rp>(</rp><rt>ji</rt><rp>)</rp></ruby></p>
</body>
</html>
Figure 7 – Displaying the output of Using the Ruby Element
This example uses the <ruby> element to annotate the characters “漢字” with the pronunciation “Kan” and “ji”. For browsers that do not handle ruby text, the <rp> element serves as a fallback parenthesis. CSS styles ruby text <rt> to be smaller and grey, while hiding brackets <rp> for better display.
8. Creating Lists:
To create a list in HTML, use the <ul> (unordered list) and <ol> (ordered list) components, as well as the <li> (list item) element for each item. Here’s a full description of how to make lists:
8.1 HTML’s ordered list <ol> creates a list of things in a certain order. The <li> (list item) element represents each item in the list. Here’s an example of how to create a simple ordered list:
<!DOCTYPE html>
<html lang="en">
<head>
<meta charset="UTF-8">
<meta name="viewport" content="width=device-width, initial-scale=1.0">
<title>Ordered List Example</title>
</head>
<body>
  <h2>Top 5 Favorite Books</h2>
  <ol>
    <li>Harry Potter and the Philosopher's Stone</li>
    <li>The Lord of the Rings</li>
    <li>To Kill a Mockingbird</li>
    <li>1984</li>
    <li>The Great Gatsby</li>
  </ol>
</body>
</html>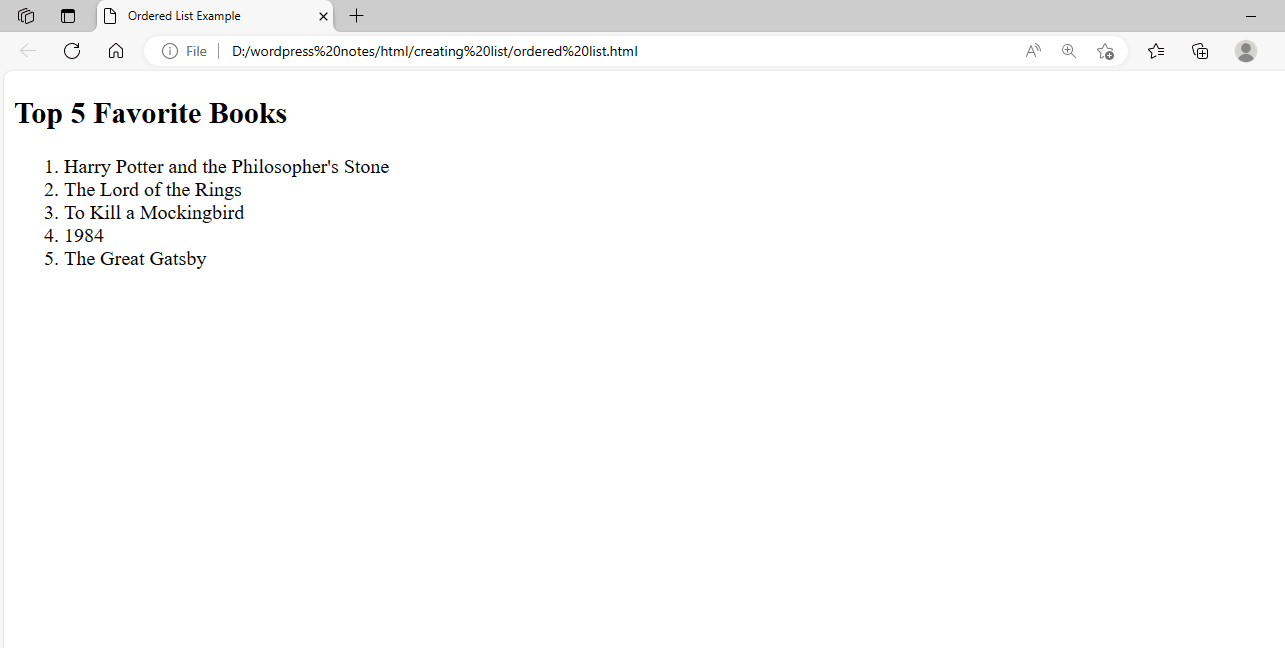
Figure 8.1 – Displaying the output of using ORDERED LIST
This example used the <ol> element to generate an ordered list. Each book title is enclosed by a <li> element, which indicates a list item. By default, ordered lists show numbers (1, 2, 3, etc.) showing the order of the elements. The appearance of the ordered list can be customized using CSS. For example, you can change the numerical style, add custom counters, or adjust the spacing between items.
8.2 To create an unordered list in HTML, use the <ul> (unordered list) element and the <li> (list item) element for each item in the list. Here’s an example of how to create a simple unordered list:
<!DOCTYPE html>
<html lang="en">
<head>
<meta charset="UTF-8">
<meta name="viewport" content="width=device-width, initial-scale=1.0">
<title>Unordered List Example</title>
</head>
<body>
  <h2>Shopping List</h2>
  <ul>
    <li>Apples</li>
    <li>Oranges</li>
    <li>Bananas</li>
    <li>Milk</li>
    <li>Bread</li>
  </ul>
</body>
</html>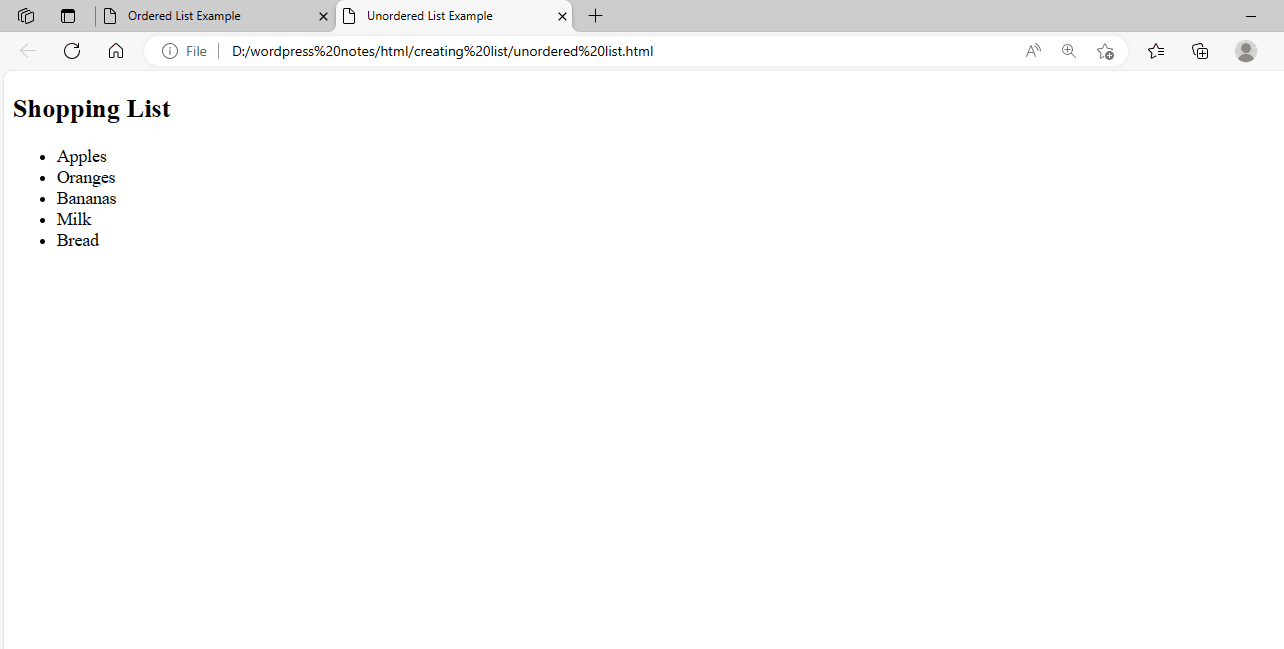
Figure 8.2 – Displaying the output of using UNORDERED LIST
In this example, the <ul> element is used to construct an unordered list. Each list item (e.g., “Apples”, “Oranges”, etc.) is represented by an <li> element. By default, unordered lists are shown with bullet points (•) before each item. The appearance of the unordered list can be customized using CSS. For example, you can alter the bullet style, size, color, and location.
8.3 The <dl> (definition list) element creates an HTML definition list. It groups terms (provided using <dt> definition term) and their definitions (supplied using <dd> definition description). Here’s an example of how to create a simple definition list:
<!DOCTYPE html>
<html lang="en">
<head>
<meta charset="UTF-8">
<meta name="viewport" content="width=device-width, initial-scale=1.0">
<title>Definition List Example</title>
</head>
<body>
  <h2>Glossary</h2>
  <dl>
    <dt>HTML</dt>
    <dd>HyperText Markup Language - the standard markup language for creating web pages.</dd>
    <dt>CSS</dt>
    <dd>Cascading Style Sheets - a style sheet language used for describing the presentation of a document written in HTML.</dd>
    <dt>JavaScript</dt>
    <dd>A programming language that enables interactive web pages and is an essential part of web development.</dd>
  </dl>
</body>
</html>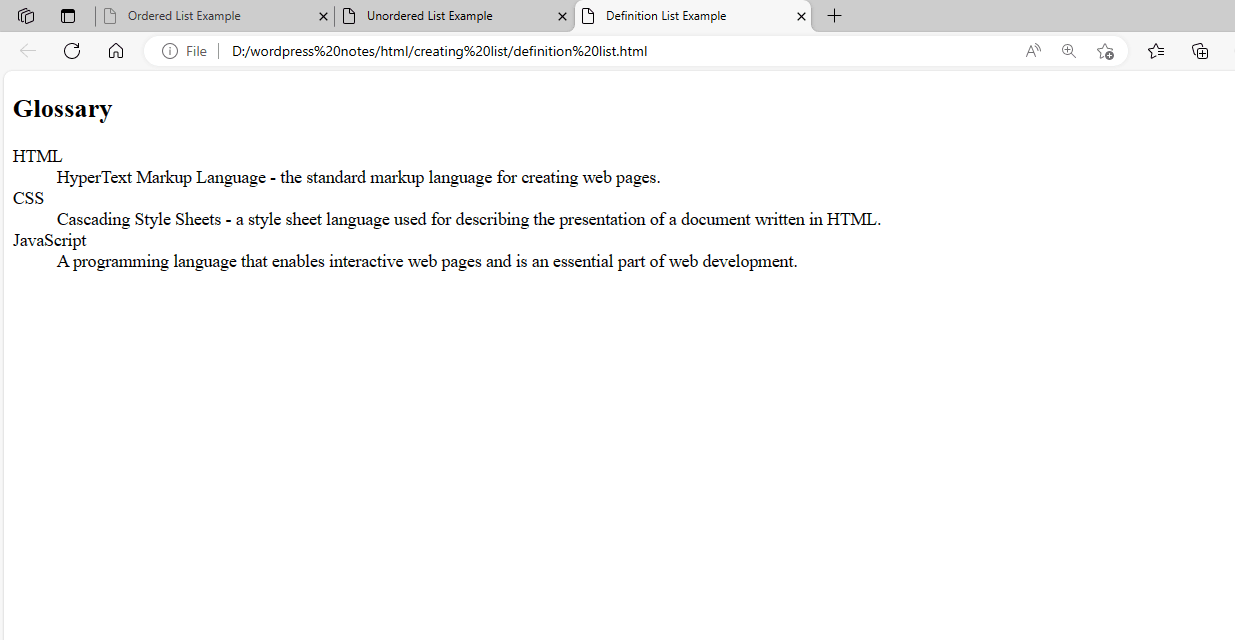
Figure 8.3 – Displaying the output of using DEFINITION LIST
To build a definition list, use the <dl> element as shown. The <dt> element specifies each word, while the <dd> element provides its definition. This format allows for a clear association between each phrase and its definition.
8.4 In HTML, a nested list is one list that is nested within another. This can be done using the <ul> (unordered list) or <ol> (ordered list) elements, as well as the <li> (list item) element for each item in the list. Here’s an example of how to create a nested list:
<!DOCTYPE html>
<html lang="en">
<head>
<meta charset="UTF-8">
<meta name="viewport" content="width=device-width, initial-scale=1.0">
<title>Nested List Example</title>
</head>
<body>
  <h2>Menu</h2>
  <ul>
    <li>Home</li>
    <li>About
      <ul>
        <li>History</li>
        <li>Team</li>
        <li>Contact</li>
      </ul>
    </li>
    <li>Services</li>
    <li>Portfolio</li>
  </ul>
</body>
</html>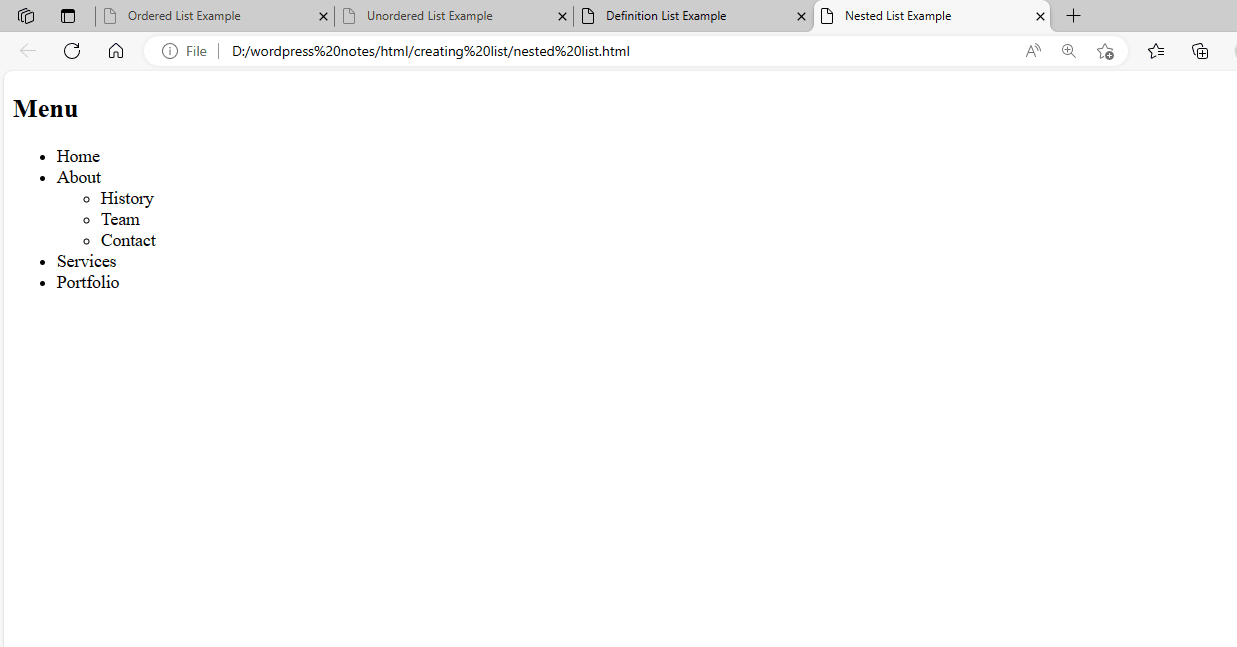
Figure 8.4 – Displaying the output of using NESTED LIST
This example shows a top-level unordered list (<ul>) with many list items (<li>). The “About” list item comprises a nested unordered list with additional elements (“History”, “Team”, “Contact”). This results in a hierarchical structure in the menu, with “About” expanding to reveal its sub-items when clicked or hovered over.