To begin, please First refer to – working-with-links-and-urls-html. Here are some quick solutions for working with links and URLs:
Creating a Hyperlink:
In general, a hyperlink is an underlined word or group of words, as well as an image or icon, that points to a specific address. This section explains how to use hyperlinks on a web page. To learn how to construct a simple hyperlink, let’s create a web page called hypink.html. To create an HTML hyperlink, use the <a> (anchor) element and the href property to indicate the target URL.
<!DOCTYPE html>
<html>
<head>
    <title>Hyperlink Example</title>
</head>
<body>
    <h1>Hyperlink Example</h1>
    <p>Click the following link to visit OpenAI's website:</p>
    <a href="openaireference.html">OpenAI</a>
</body>
</html>
In this code, we’ve added an A element to the web page that takes you to a reference page. Create another Web page, reference.html, which will serve as a reference page for the hyperlink.
<!DOCTYPE html>
<html>
<head>
    <title>Reference page Example</title>
</head>
<body>
    <h1>OpenAI Reference page</h1>
</body>
</html>
We created a reference page that appears when a user clicks on the OpenAI URL. When this reference page is loaded in the browser, the message “OpenAI Reference Page” shows. To view the added hyperlink, open the hypink.html page in a web browser.
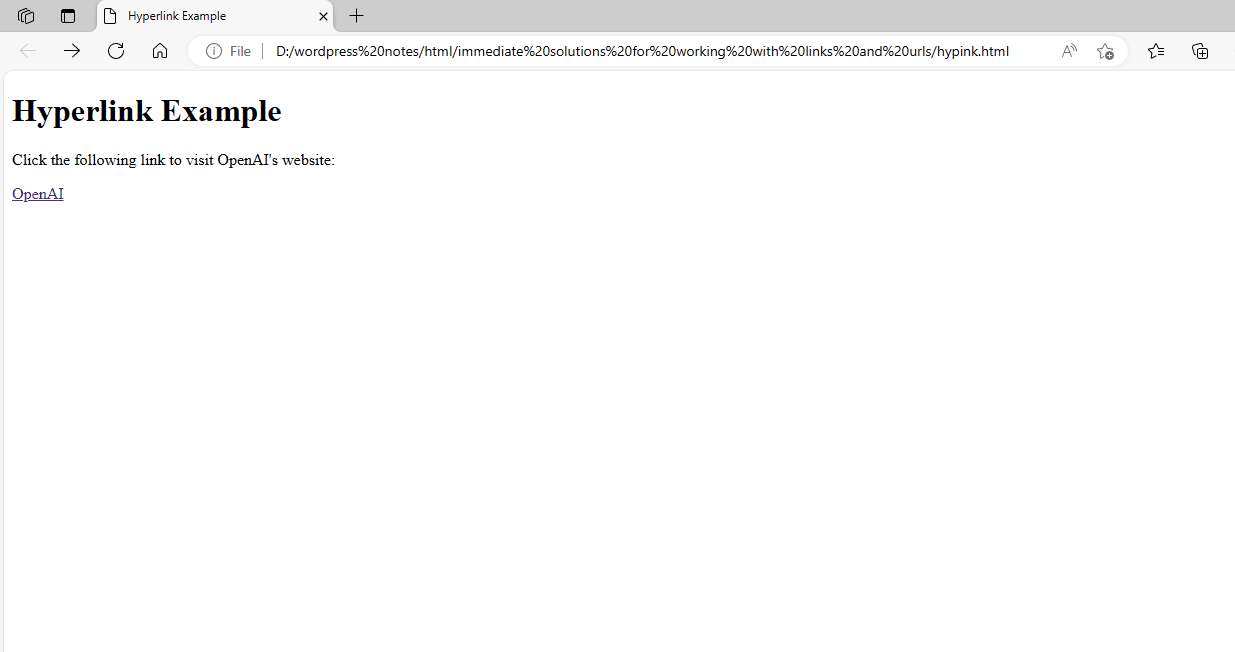
Figure 1 – Showing a Hyperlink in a Web page
When you click the OpenAI hyperlink, you will be taken to the openaireference.html website.

Figure 2 – Showing a Reference Web Page of the Hyperlink
Using the target Attribute
As previously explained, the target attribute of the A element is used to designate the frame or window in which to open the reference page. You can open the reference page in the same window, a new window, a new tab, or in a custom frame. Let’s make a web page called linktarget.html to learn how to make a hyperlink with the A element’s target attribute. The following code sample explains how to build a hyperlink with the target attribute:
<!DOCTYPE html>
<html>
<head>
    <title>Hyperlink with Target Attribute Example</title>
</head>
<body>
    <h1>Hyperlink with Target Attribute Example</h1>
    <p>Click the following link to open OpenAI's website in a new tab:</p>
    <a href="openaireference.html" target="_blank">OpenAI</a>
</body>
</html>
In this example, the href property specifies the URL of the linked document, while the target=”_blank” attribute-value pair indicates that the linked document should be opened in a new tab. The “_blank” value for the target attribute initiates a fresh browsing context for the linked document.
We have set the destination property to _blank, which signifies that the reference page will open in a new window. When you click the OpenAI hyperlink, you are sent to a new window displaying the openaireference.html page:
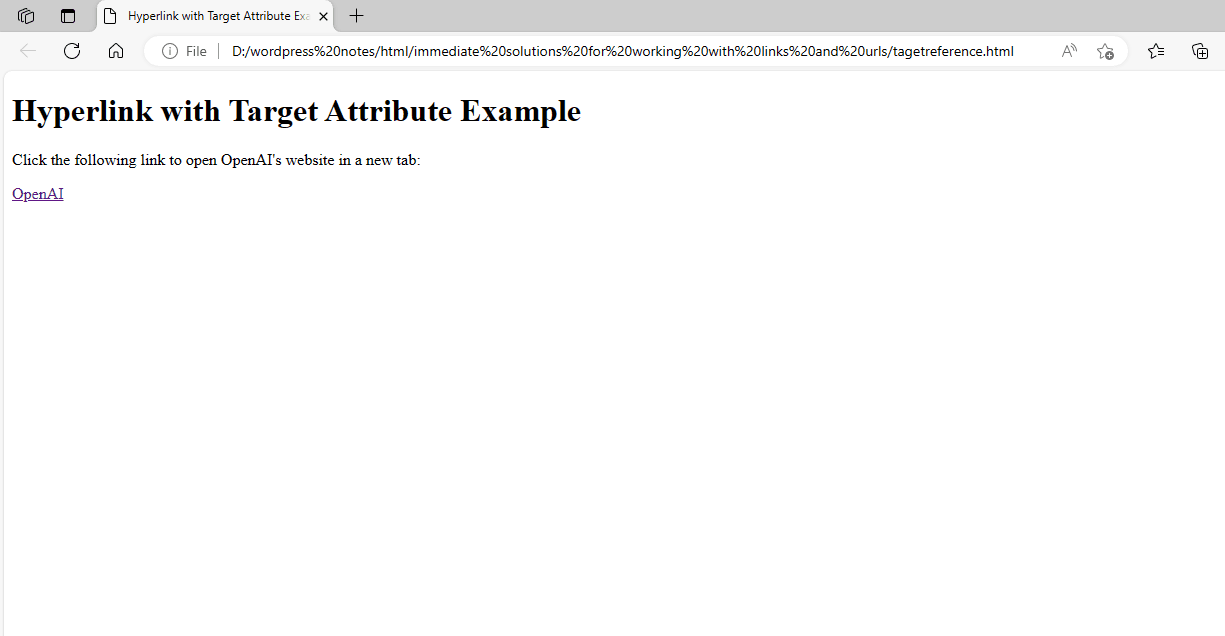
Figure 3 – Showing the result of the target attribute
Figure 4 – Showing the result of the target attribute
Using the id Attribute
As previously explained, the id attribute is used to assign a unique identifier to hyperlinks on a web page. You can access the hyperlinks to which you’ve assigned the id property by referencing other hyperlinks. To utilize the target attribute to define a target within the same page using an element’s id, set the href attribute of the anchor (<a>) element to # followed by the id of the target. This is an example:
<!DOCTYPE html>
<html>
<head>
    <title>Hyperlink with ID Target Example</title>
</head>
<body>
    <h1>Hyperlink with ID Target Example</h1>
    <p><a href="#section2">Go to Section 2</a></p>
    <h2 id="section1">Section 1</h2>
    <p>This is the content of section 1.</p>
<br/><br/><br/><br/><br/><br/><br/><br/><br/><br/>
<br/><br/><br/><br/><br/><br/><br/><br/><br/><br/>
<br/><br/><br/><br/><br/><br/><br/><br/><br/><br/>
    <h2 id="section2">Section 2</h2>
    <p>This is the content of section 2.</p>
</body>
</html>
We added hyperlinks to a web page and gave the id property. The output from the idattribute.html file is displayed below:
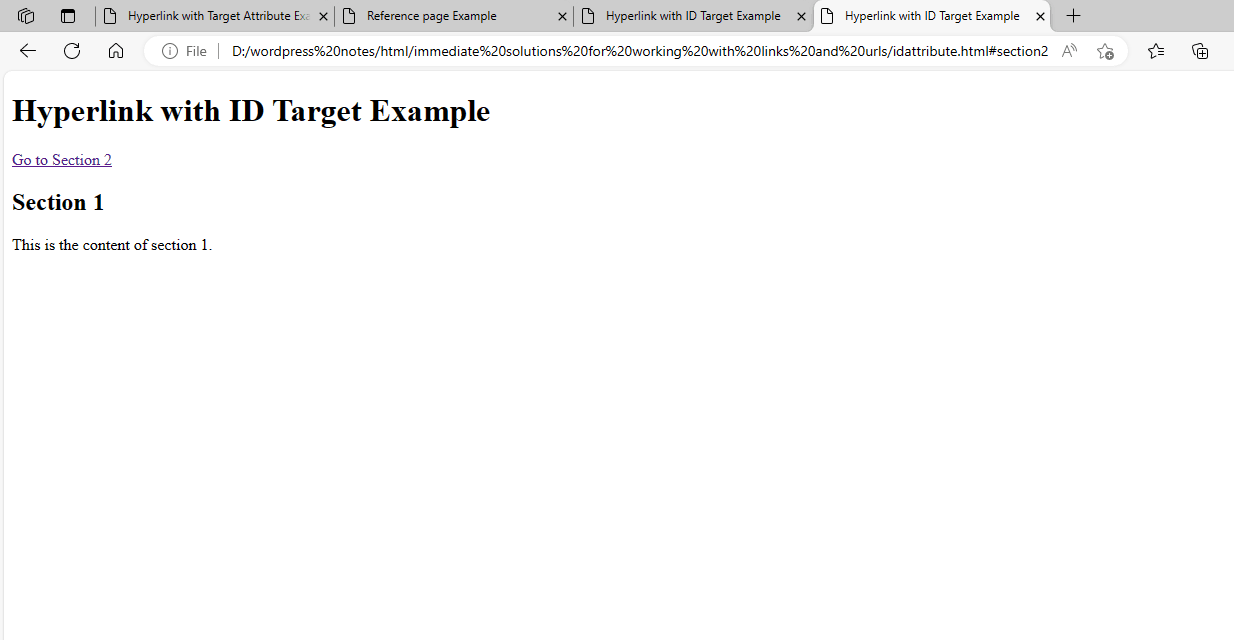
Figure 5 – Showing the Fragment Identifier
The idattribute.html page displayed in the picture below allows you to move directly to the Centre or bottom of the page by selecting the appropriate hyperlink. In this case, clicking the “Go to Section 2″ link scrolls the page to the element with id=”section2”, essentially moving to the desired section on the same page.
Figure 6 – Referencing a Defined Location of the Hyperlink
Linking to a Mail System
To link to an email address and open the user’s default email client with a pre-filled email, use the mailto scheme in the href attribute of the <a> (anchor) element. Here’s an example:
<!DOCTYPE html>
<html>
<head>
    <title>Email Link Example</title>
</head>
<body>
    <h1>Email Link Example</h1>
    <p>Click the following link to send an email:</p>
    <a href="mailto:info@example.com">Send Email</a>
</body>
</html>
In this case, selecting the “Send Email” link will launch the user’s default email client and create a new email message addressed to info@example.com
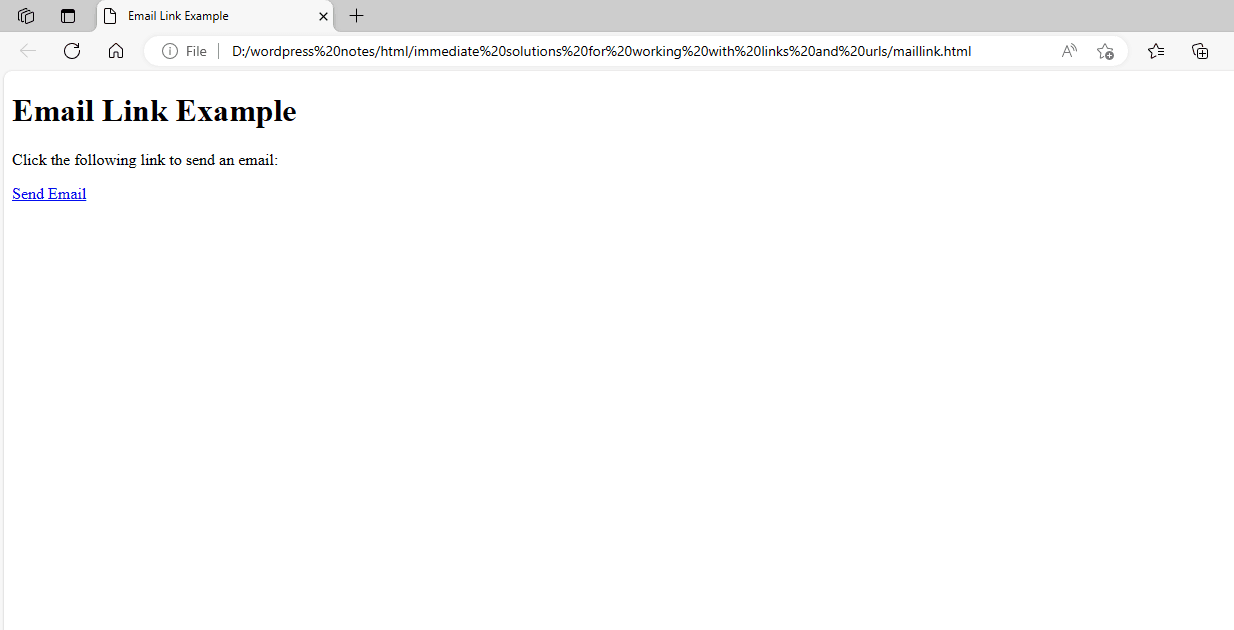
Figure 7 – Showing a Hyperlink to a Mail Link
When you click the Send Mail hyperlink, you will be sent to the reference mail message window.
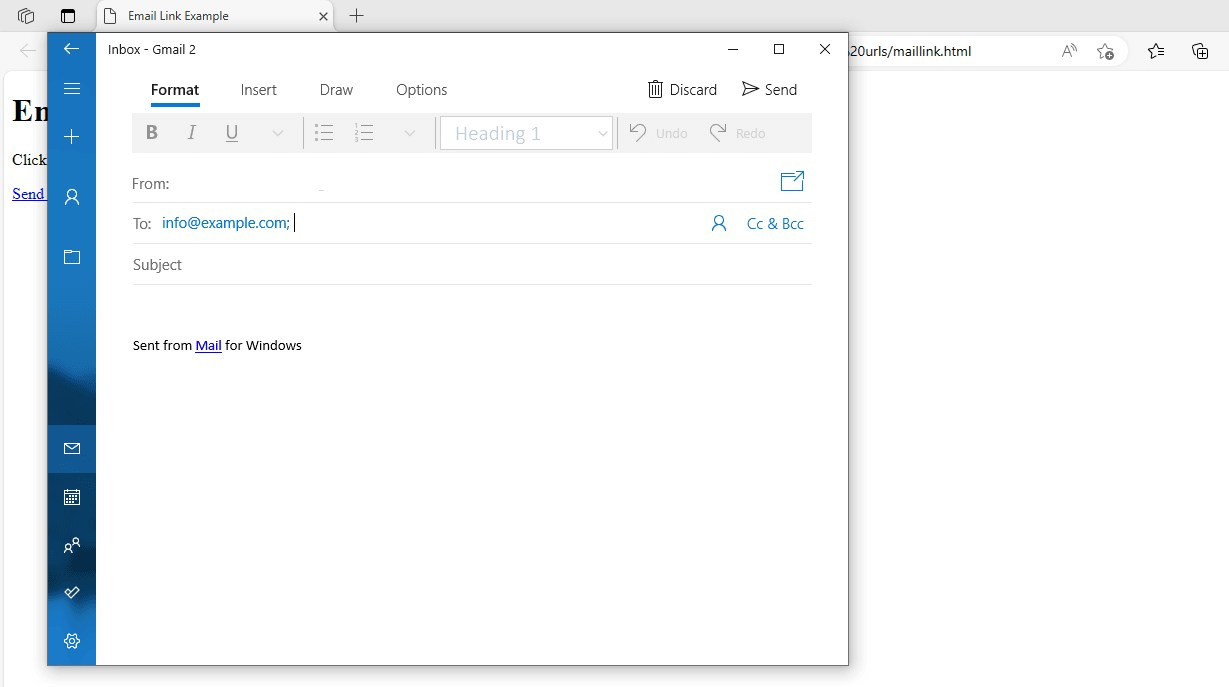
Figure 8 – Showing a Mail Window
The mail message window allows you to send an email to the identified recipient specified in the code. In addition to the recipient ID, you can provide the carbon copy (cc), blind carbon copy (bcc), subject, and body of the email in your code.
Implementing Link Relations
To implement link relations, use the rel attribute in HTML to define the relationship between the current content and the referenced resource. Here’s an example of using link relationships:
<!DOCTYPE html>
<html>
<head>
    <title>Link Relations Example</title>
</head>
<body>
    <h1>Link Relations Example</h1>
    <p>Click the following links to see different implementations of link relations:</p>
    <ul>
        <li><a href="https://www.example.com" rel="nofollow">Link with rel="nofollow"</a></li>
        <li><a href="https://www.example.com" rel="noopener">Link with rel="noopener"</a></li>
        <li><a href="https://www.example.com" rel="noreferrer">Link with rel="noreferrer"</a></li>
        <li><a href="https://www.example.com" rel="author">Link with rel="author"</a></li>
    </ul>
</body>
</html>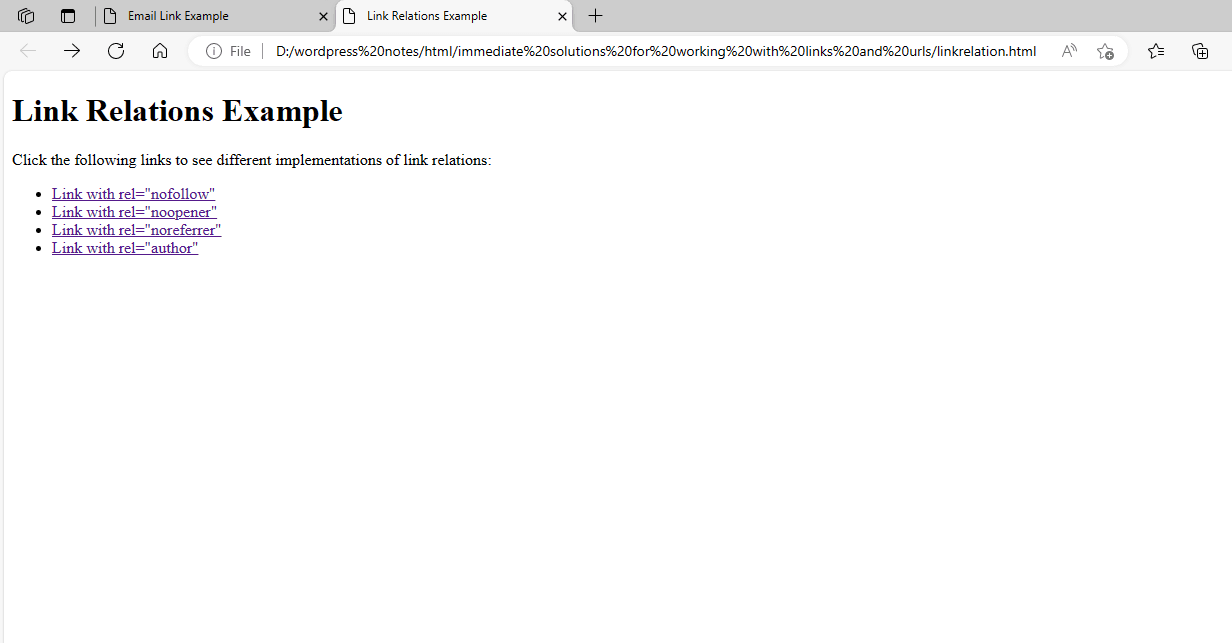
Figure 9 – Showing the Link Relation
In this example, each (anchor) element represents a hyperlink with a different rel property value.
- The rel=”nofollow” attribute specifies that search engines should not follow the link.
- The rel=”noopener” attribute indicates that the linked document should not have access to the opened window.
- rel=”noreferrer” specifies that no referrer information should be supplied when visiting the linked document.
- The rel=”author” attribute identifies the author of the document being linked to.
You can use these and other rel attribute values to show various relationships between your content and linked resources, providing more information for users and search engines.