Here are some Quick Solutions for Using Colors, Images, and Canvas: To begin, first refer to – working-with-canvas-colors-and-images
Displaying a GIF Image:
To display a GIF image in HTML, use the <img> tag with the src property containing the location of the GIF file. Here’s a simple example.
<!DOCTYPE html>
<html>
<head>
    <title>Display GIF Image</title>
</head>
<body>
    <h1>Displaying a GIF Image</h1>
    <img src="example.gif" alt="GIF Image">
</body>
</html>
In this example, replace “example.gif” with the full path to your GIF image file. The alt element specifies alternative text for the image, which is beneficial for accessibility and SEO.
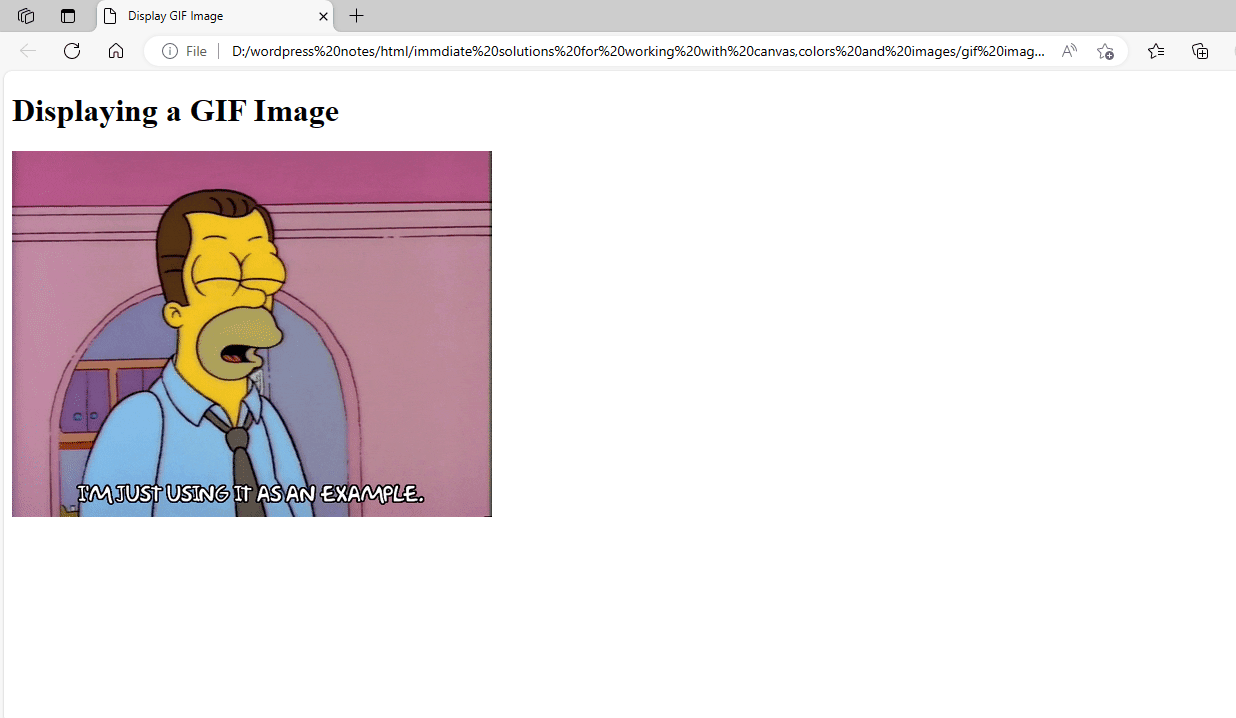
Figure 1 – Showing the GIF Image
Displaying a PNG Image:
To display a PNG image in HTML, use the <img> tag with the path to the PNG file in the src property. Here is a simple example:
<!DOCTYPE html>
<html>
<head>
    <title>Display PNG Image</title>
</head>
<body>
    <h1>Displaying a PNG Image</h1>
    <img src="robot.png" alt="PNG Image">
</body>
</html>
In this example, replace “art.png” with the full path of your PNG image file. The alt element specifies alternative text for the image, which is beneficial for accessibility and SEO.
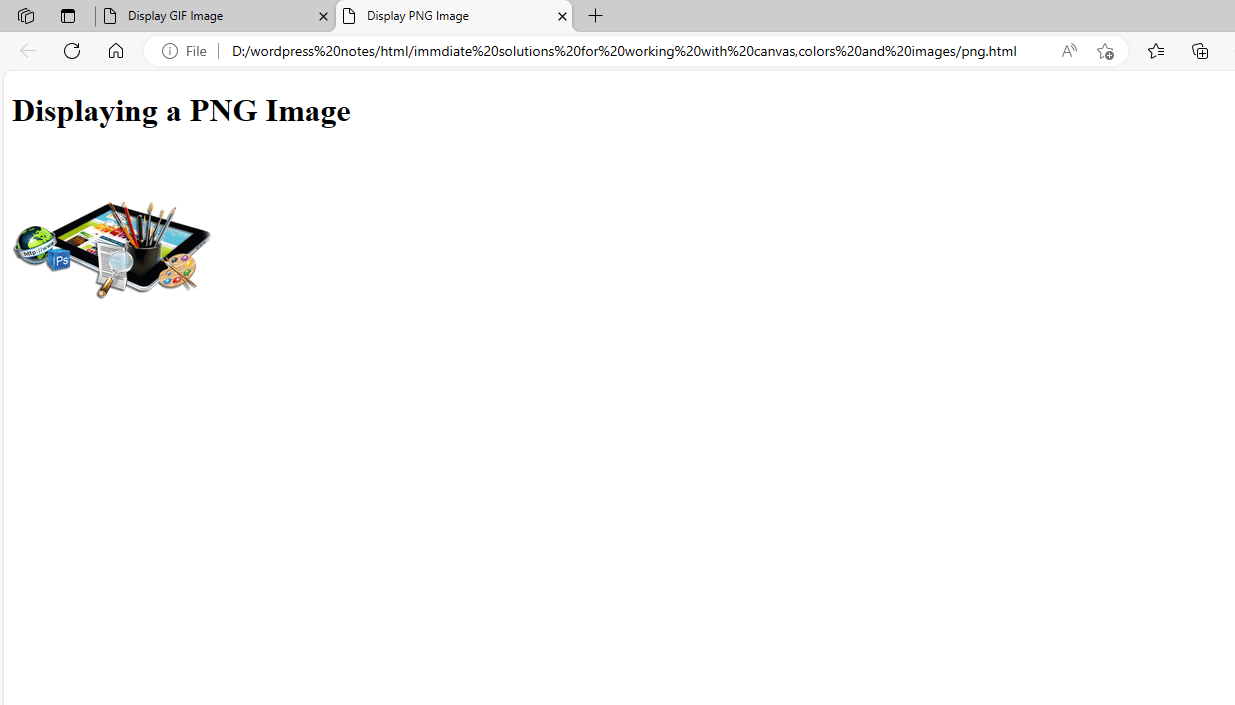
Figure 2 – Showing the output of PNG Image
Displaying Alternate Text for an Image:
In HTML, the alt property is used to offer alternate text for an image. If the picture file cannot be loaded or the user is using a screen reader, this text is displayed instead. Alternative text is essential for accessibility and SEO. Alternate text is used by screen readers to describe visuals for visually impaired individuals for accessibility purposes. Image Loading Failure: If the image fails to load, the alternative text is displayed. SEO: Search engines employ alternate text to interpret the content of photos, which can help the website’s search engine rating. Here’s a full example demonstrating how to display an image with alternate text in HTML:
<!DOCTYPE html>
<html>
<head>
    <title>Image with Alternate Text Example</title>
</head>
<body>
    <h1>Image with Alternate Text Example</h1>
    <p>This is an image of a cat:</p>
    <img src="cat.jpg" alt="A cute cat sitting on a grass field">
</body>
</html>
In this case, the alt attribute describes the image for accessibility purposes. If the image cannot be loaded, or if the user is using a screen reader, the text “A cute cat sitting on a grass field” will be read out or shown instead.
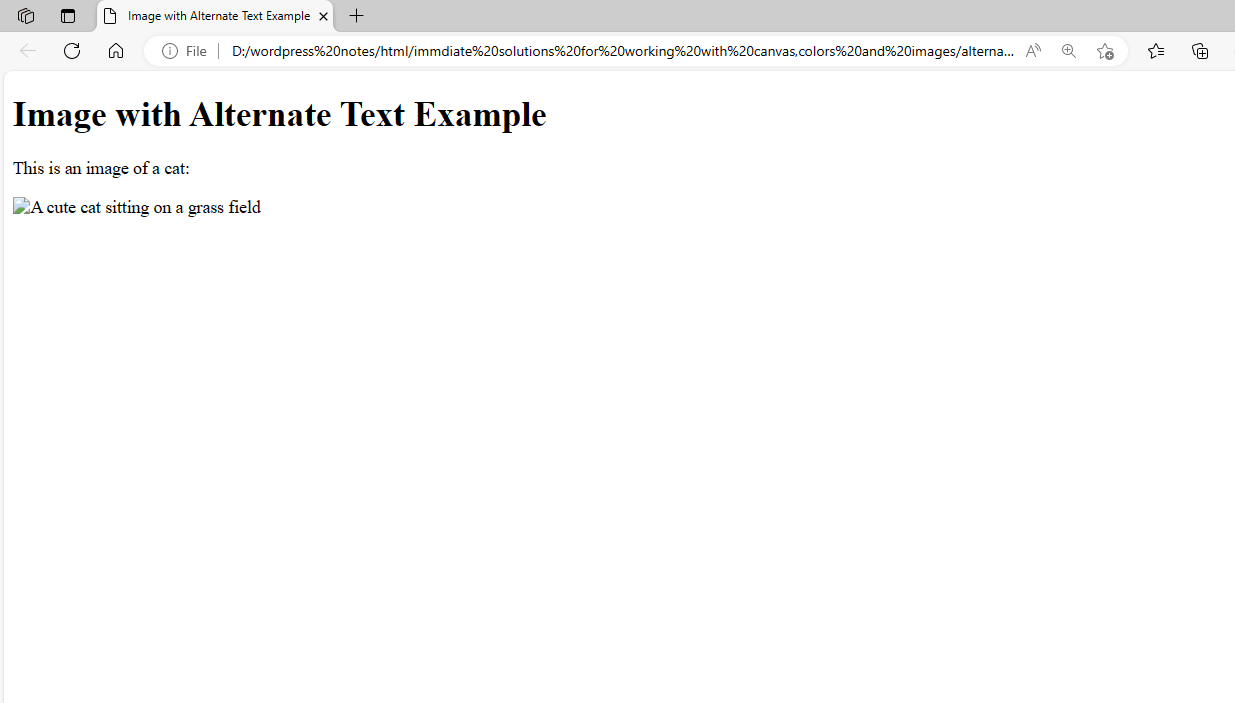
Figure 3 – Displaying the Output of the Alternate Text for an Image
Modifying the Size of the Image:
To change the size of an image displayed in HTML, utilize the width and height attributes of the <img> tag. These properties allow you to specify the desired image width and height in pixels. Here’s how you can change the size of an image.
<!DOCTYPE html>
<html>
<head>
    <title>Resizing an Image</title>
</head>
<body>
    <h1>Resizing an Image</h1>
    <p>Original Image:</p>
    <img src="cuteee.jpg" alt="Example Image">

    <p>Resized Image:</p>
    <img src="cuteee.jpg" alt="Example Image" width="200" height="150">
</body>
</html>
In this example, the first <img> element shows the original image without specifying its width and height. The second <img> element shows the same image downsized to a width of 200 pixels and height of 150 pixels.
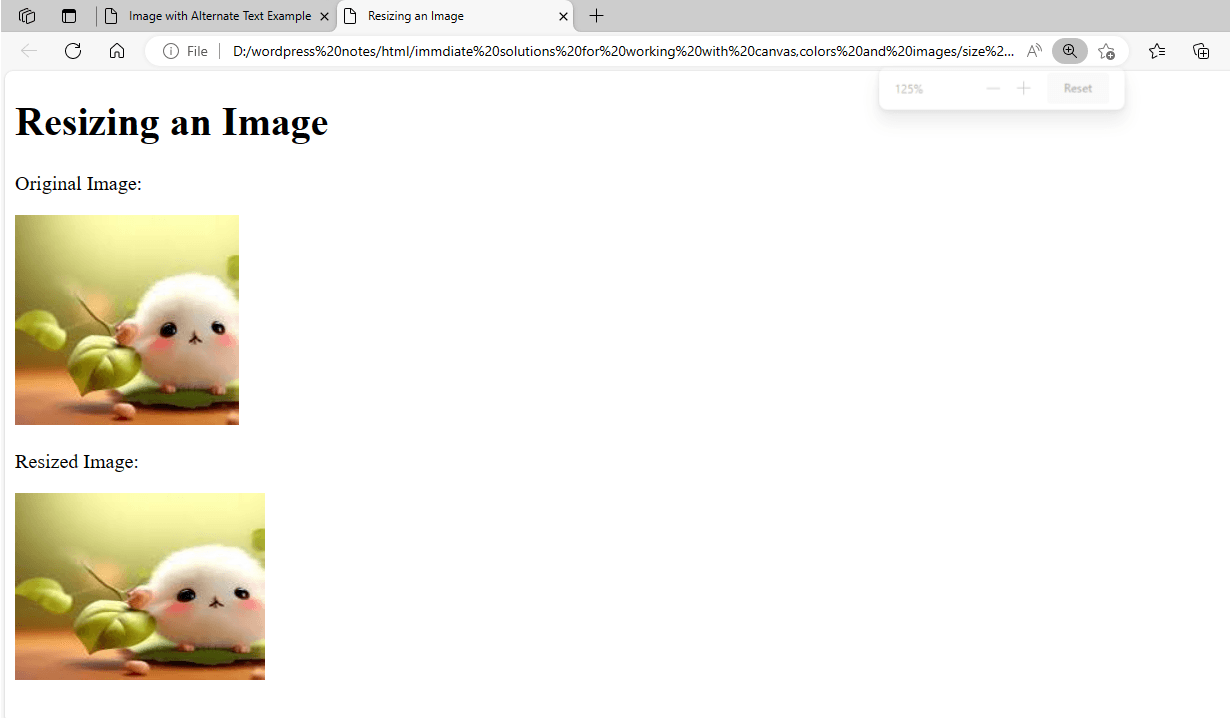
Figure 4 – Displaying the Output of the modified size of an image
It is vital to note that scaling a picture using the width and height attributes may distort if the aspect ratio (width to height ratio) is not preserved. To resize an image while keeping the aspect ratio, supply either the width or height attribute and let the browser determine the other dimension automatically. For example, if you merely set the width attribute, the browser will change the height to keep the aspect ratio.
Using an Image as a Hyperlink:
To utilize an image as a hyperlink in HTML, put the <img> tag inside a <a> (anchor) tag and set the href property to the desired URL. Here’s a full explanation, with an example:
<!DOCTYPE html>
<html>
<head>
    <title>Image Hyperlink Example</title>
</head>
<body>
    <h1>Image Hyperlink Example</h1>
    <a href="targettt.html">
        <img src="cuteee.jpg" alt="Example Image">
    </a>
</body>
</html>
In this example, clicking on the picture will take the user to targettt.html because the <img> tag is contained inside the <a> tag with the href attribute set to the URL. The alt element describes the image for accessibility purposes.
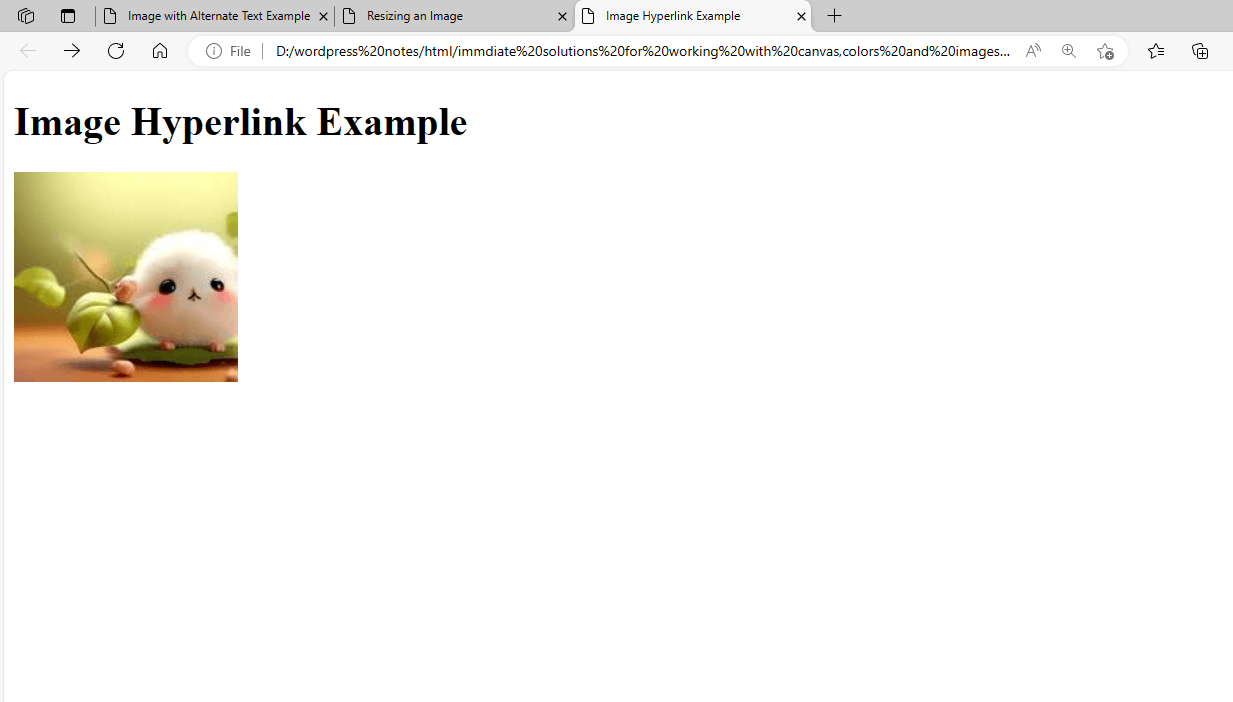
Figure 5 – Displaying the Output of Using an Image as a Hyperlink
Figure 6 – Displaying the Output of Using an Image as a Hyperlink
Creating Image Maps:
An image map in HTML allows you to construct clickable sections on an image, each of which can go to a distinct URL. Image maps, built with the <map> and <area> tags, are excellent for generating interactive displays or navigation menus. Here’s a full explanation, with an example:
- Define the <img> element with the usemap property that references the map’s name.
- Define the <map> tag with a name attribute that corresponds to the usemap attribute in the <image>.
- To establish clickable sections on an image, use <area> elements inside the <map> tag. The <area> tag defines the clickable area’s shape (rectangular, circular, or polygonal), coordinates, and URL.
<!DOCTYPE html>
<html>
<head>
    <title>Image Map Example</title>
</head>
<body>
    <h1>Image Map Example</h1>
    <img src="planets.jpg" alt="Planets" usemap="#planetmap" width="145" height="126">
    <map name="planetmap">
        <area shape="rect" coords="0,0,82,126" href="mercury.html" alt="Mercury">
        <area shape="circle" coords="124,58,8" href="earth.html" alt="Earth">
    </map>
</body>
</html>
In this example, we have an image of planets (planets.jpg). Two clickable sections are specified using <area> tags inside the <map> element. The first section is a rectangular region that covers the left side of the image and links to Mercury’s URL, while the second is a circular area surrounding Earth.
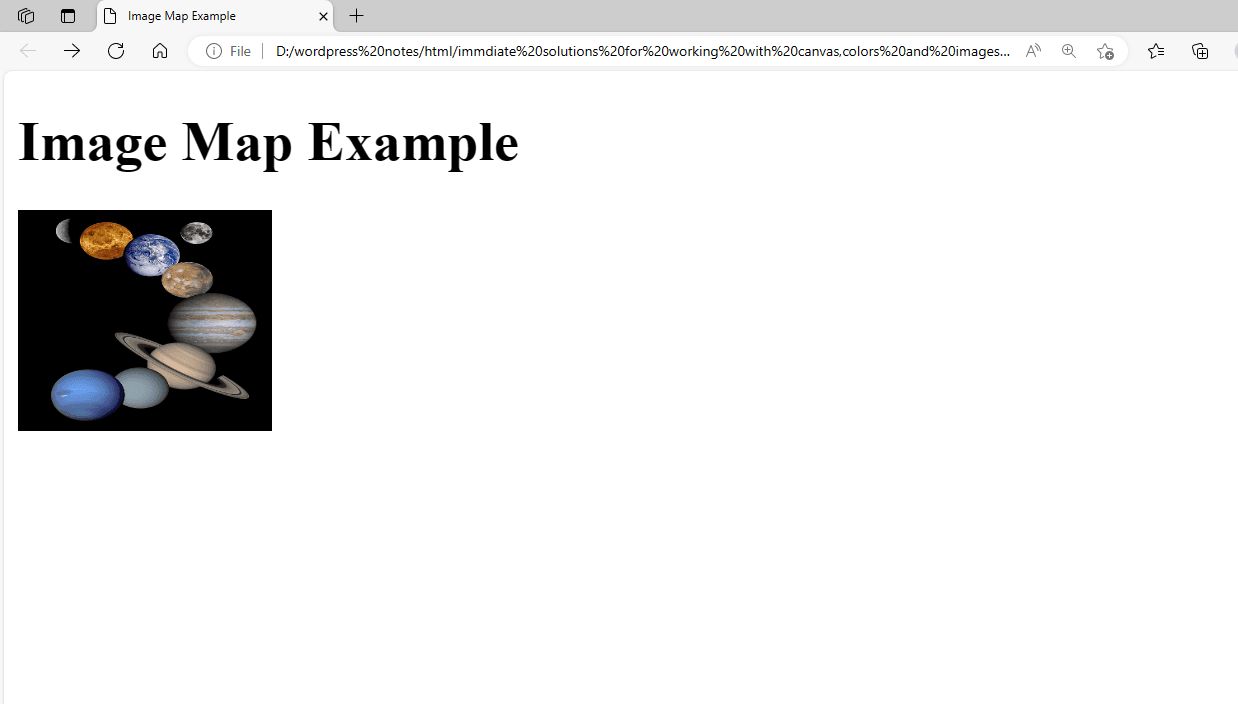
Figure 7 – Displaying the Output of the Image Maps
When you move your cursor over the image, you will notice two hyperlink areas. If the user clicks on the first hyperlink, the target page (mercury.html) appears and shows the welcome message, as illustrated in Figure 8.
Figure 8 – Displaying the Output of the Mercury
Figure 9 shows that when the user hits the second hyperlink region, the second target web page (earth.html) appears.
Figure 9 – Displaying the Output of the Earth
Using Color Names:
In HTML and CSS, color names can be used to indicate colors instead of hexadecimal (hex) or RGB values. Color names are a more human-readable method to describe colors. Here’s a full explanation, with an example:
- Color names: HTML and CSS have predefined color names like “red”, “blue”, “green”, and so on.
- These color names can be used directly in your HTML or CSS code to designate colors
<!DOCTYPE html>
<html>
<head>
    <title>Color Names Example</title>
    <style>
        /* Using color names in CSS */
        h1 {
            color: blue;
        }
        p {
            color: darkgreen;
        }
    </style>
</head>
<body>
    <h1>Heading with Color</h1>
    <p>Paragraph with Color</p>
</body>
</html>
As this example, the <h1> element will be displayed as blue and the <p> element in dark green. These colors are identified by their color names (blue and darkgreen).
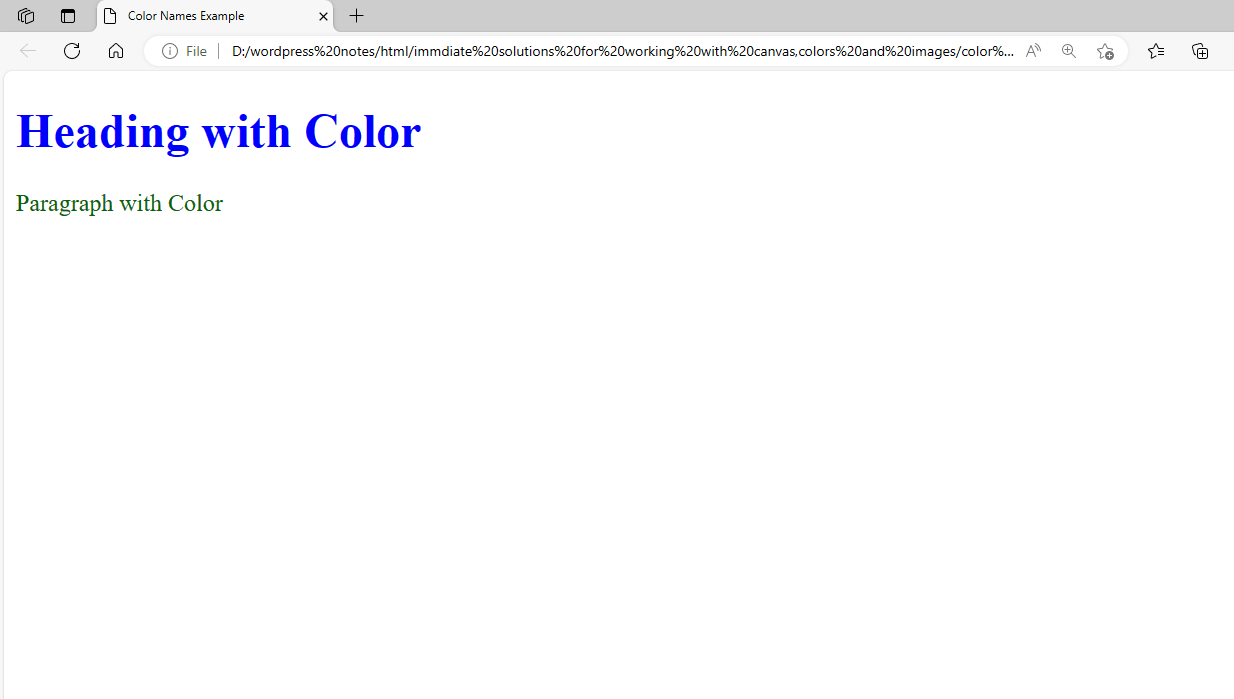
Figure 10 – Displaying the Output of Using Color Names
Using Hex Values:
In HTML and CSS, hexadecimal (hex) values are frequently used to indicate colors. Colors are represented by hex values, which are a combination of red, green, and blue (RGB) components. Here’s a full explanation, with an example:
- Hexadecimal notation: Hex values are composed of a “#” symbol followed by six characters that represent the intensity of the red, green, and blue components.
- Format: The format is “#RRGGBB”, where RR denotes the red value, GG the green value, and BB the blue value.
- Range: Each component has a range of 00 (lowest intensity) to FF (highest intensity), which is comparable to 0 to 255 in decimal.
<!DOCTYPE html>
<html>
<head>
    <title>Hex Values Example</title>
    <style>
        /* Using hex values in CSS */
        h1 {
            color: #ff0000; /* Red */
        }
        p {
            color: #00ff00; /* Green */
            background-color: #0000ff; /* Blue */
        }
    </style>
</head>
<body>
    <h1>Heading with Color</h1>
    <p>Paragraph with Color</p>
</body>
</html>
In this example, the <h1> element will be displayed in red (#ff0000), the <p> element’s content will be green (#00ff00), and the backdrop will be blue. These colors are defined by their hex values.
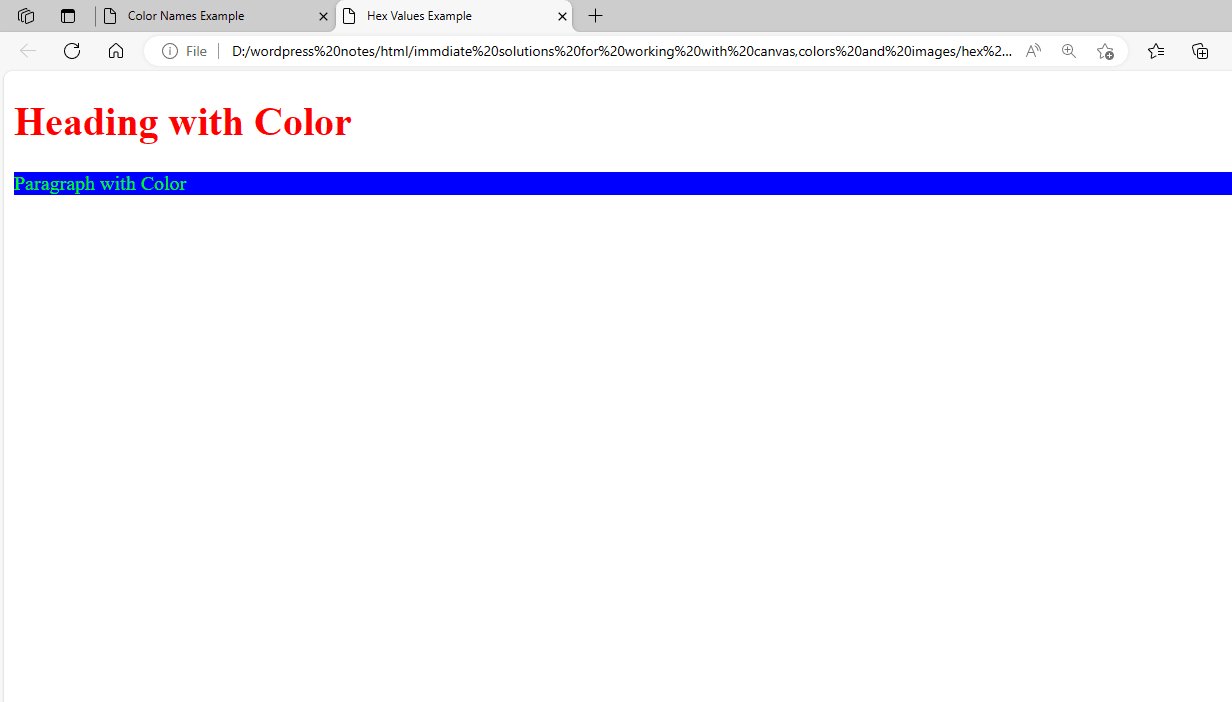
Figure 11 – Displaying the Output of Using Hex Values
Using the RGB Configuration:
In HTML and CSS, colors are specified using the RGB (Red, Green, Blue) color model, which specifies the intensity of each red, green, and blue component separately. Here’s a full explanation, with an example:
- RGB Notation: Colours are supplied via the rgb() method, which is followed by intensity values for red, green, and blue.
- The format is rgb(red, green, blue), with red, green, and blue being integer values ranging from 0 to 255.
- RGB values can be used in CSS to specify the color of text, background, and border.
<!DOCTYPE html>
<html>
<head>
    <title>RGB Configuration Example</title>
    <style>
        /* Using RGB configuration in CSS */
        h1 {
            color: rgb(255, 0, 0); /* Red */
        }
        p {
            color: rgb(0, 255, 0); /* Green */
            background-color: rgb(0, 0, 255); /* Blue */
        }
    </style>
</head>
<body>
    <h1>Heading with Color</h1>
    <p>Paragraph with Color</p>
</body>
</html>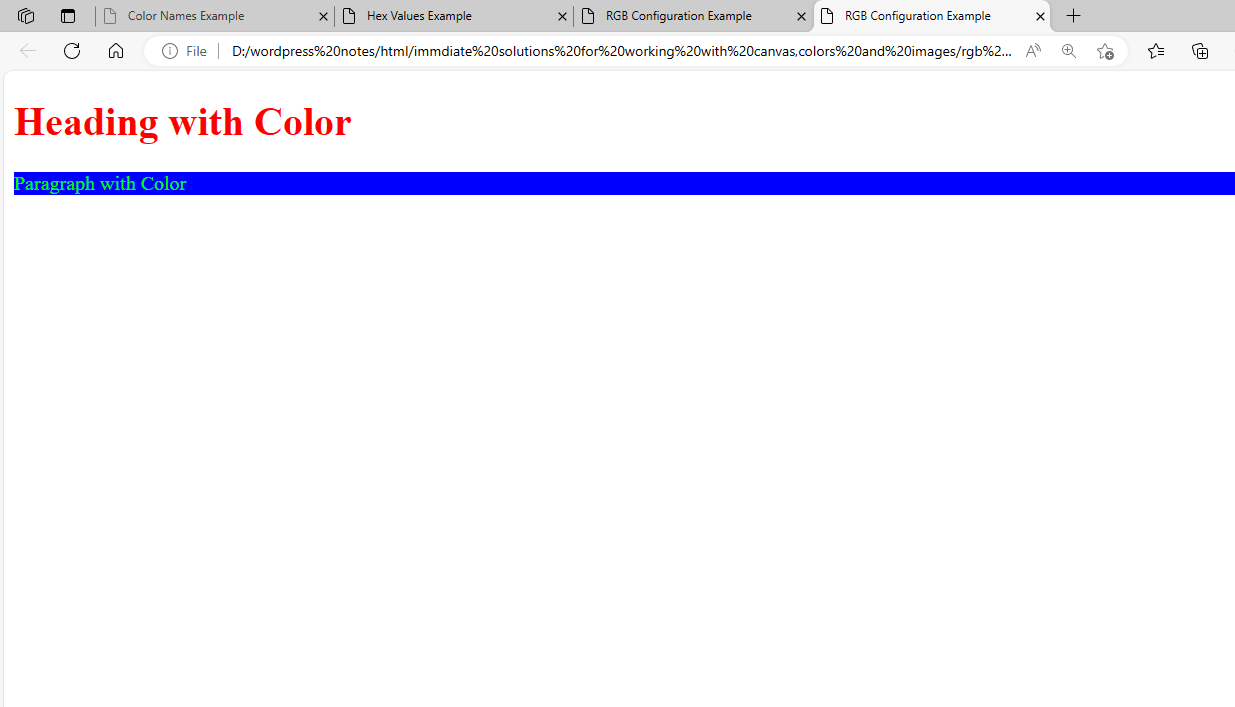
Figure 12 – Displaying the Output of Using the RGB Configuration
Implementing the CANVAS Element:
HTML’s <canvas> element allows for JavaScript-based graphics, animations, and images on web pages. Here’s a full explanation, with an example:
- Canvas Elements: The
- Context: The canvas element has a drawing context (getContext(‘2d’)), which lets you create shapes, text, and images.
- Drawing: Use JavaScript to access the canvas context and draw on it in a variety of ways.
<!DOCTYPE html>
<html>
<head>
    <title>Canvas Example</title>
</head>
<body>
    <h1>Canvas Example</h1>
    <canvas id="myCanvas" width="200" height="100"></canvas>
    <script>
        var canvas = document.getElementById('myCanvas');
        var ctx = canvas.getContext('2d');

        // Draw a rectangle
        ctx.fillStyle = 'red';
        ctx.fillRect(10, 10, 50, 50);

        // Draw a circle
        ctx.beginPath();
        ctx.arc(100, 50, 20, 0, 2 * Math.PI);
        ctx.fillStyle = 'blue';
        ctx.fill();

        // Draw text
        ctx.font = '16px Arial';
        ctx.fillStyle = 'black';
        ctx.fillText('Hello, Canvas!', 10, 90);
    </script>
</body>
</html>
In this example, we have a canvas element with the id myCanvas on which we draw a red rectangle, a blue circle, and text with JavaScript. The getContext(‘2d’) method returns the canvas’s 2D drawing context, which contains methods for drawing shapes, text, and images.
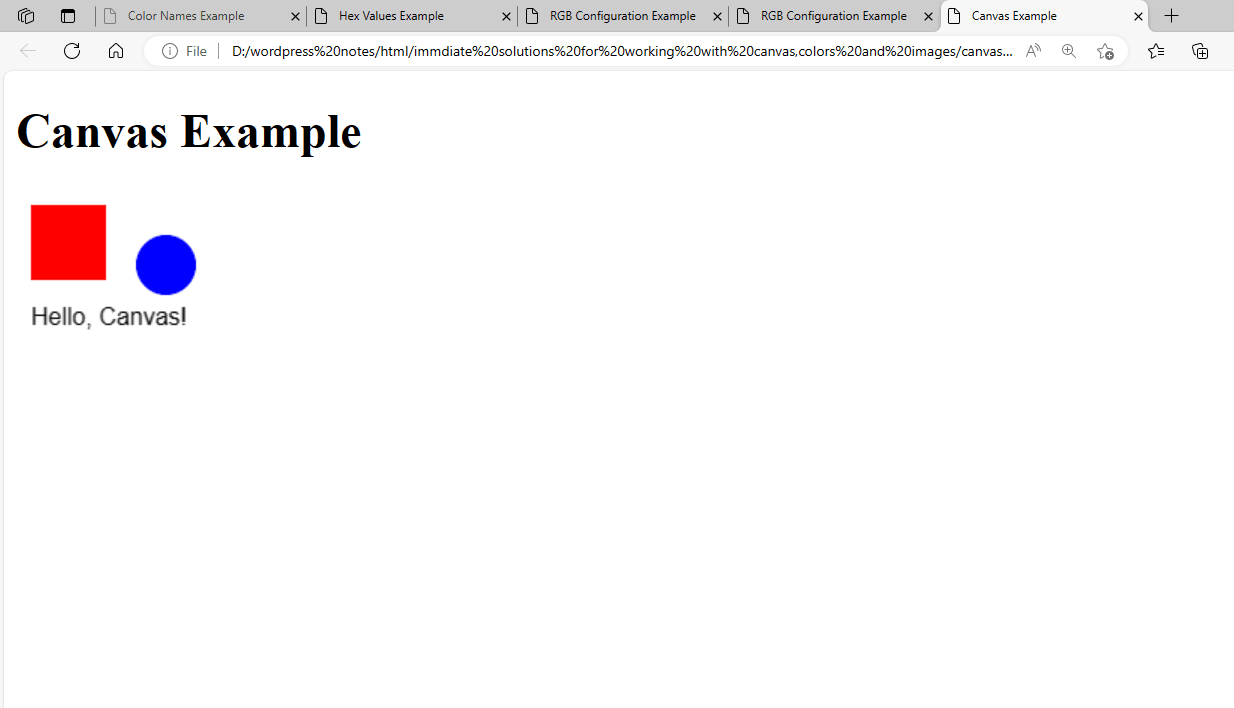
Figure 13 – Displaying the Output of Using the CANVAS Element