Simple Methods for Using Document Objects in JavaScript: To begin, first refer – working-with-document-objects
In JavaScript, the Document Object provides different ways to work with collections of items in the DOM (Document Object Model). One typical example is the getElementsByClassName() method, which provides a collection of elements with the supplied class name.
<!DOCTYPE html>
<html>
<head>
    <title>Document Object Collection Example</title>
</head>
<body>
    <h1 class="heading">Heading 1</h1>
    <p class="content">Paragraph 1</p>
    <p class="content">Paragraph 2</p>
    <p class="content">Paragraph 3</p>
    <script>
        // Get all elements with class "content"
        var elements = document.getElementsByClassName('content');

        // Loop through the collection and change text color
        for (var i = 0; i < elements.length; i++) {
            elements[i].style.color = 'blue';
        }
    </script>
</body>
</html>
In this example, a collection of all items with the class name “content” is obtained using the getElementsByClassName(‘content’) method. The text color of each member in the collection is then changed to blue by iterating over each one using a loop.
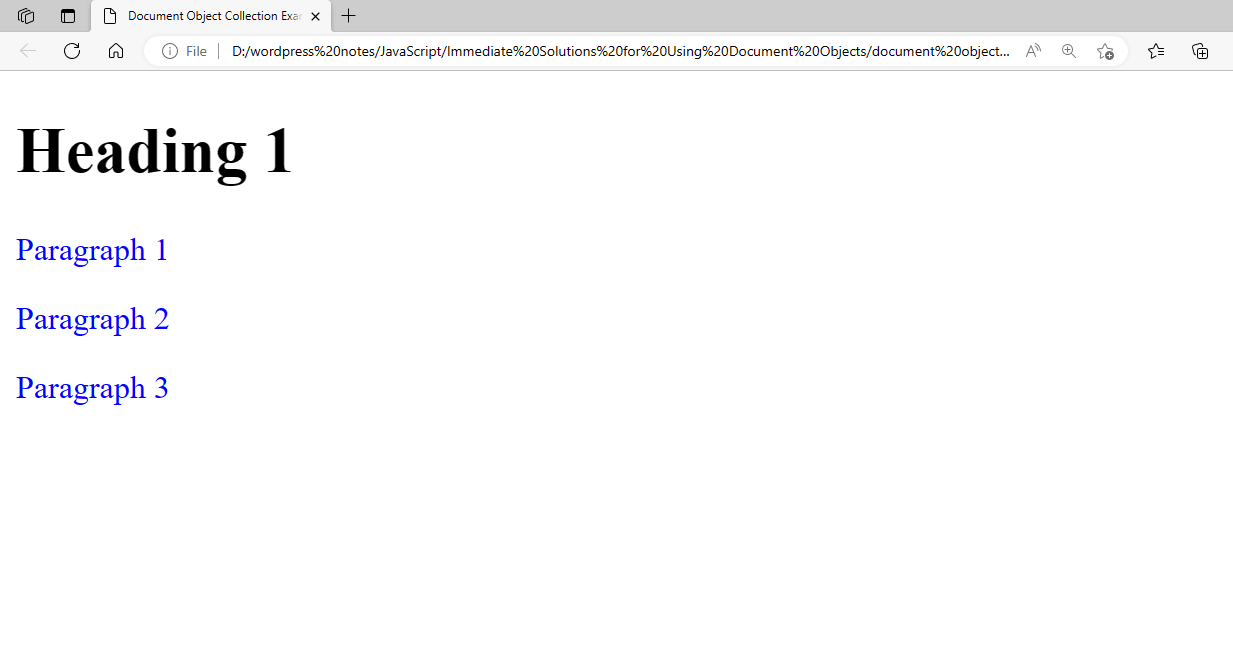
Figure 1 – Displaying the Output of Using the Document Object Collection in JavaScript
Working with Document Object Properties:
Here’s an example that modifies the document body’s background color upon a button click:
<!DOCTYPE html>
<html>
<head>
    <title>Document Object Properties Example</title>
</head>
<body>
    <h1>Change Background Color Example</h1>
    <p>Click the button to change the background color of the document body.</p>
    <button id="changeColorButton">Change Color</button>

    <script>
        // Get the button element
        var button = document.getElementById('changeColorButton');

        // Function to change the background color
        function changeColor() {
            // Access the document body's style property and change its background color
            document.body.style.backgroundColor = "lightblue";
        }

        // Add a click event listener to the button
        button.addEventListener('click', changeColor);
    </script>
</body>
</html>- Button Element: The <button> element with the id changeColorButton exists in the HTML. When this button is clicked, the backdrop color will change.
- The variable button is defined as document.getElementById(‘changeColorButton’); By using its id, this line retrieves the button element from the HTML and assigns it to the button variable.
- function changeColor() {…}: This function, called changeColor, modifies the document body’s background color. It is intended to be called at a later time rather than being done instantly.
- document.body.style.backgroundColor = “lightblue”;: This line in the changeColor method accesses the document body’s (document.body) style property, which lets you adjust its CSS styles. The backdrop color is changed in this instance by setting the backgroundColor property to “lightblue”.
- button.addEventListener(‘click’, changeColor);: This line gives the button an event listener. It watches for the button’s click event and, upon button click, invokes the changeColor function. The backdrop color change is caused by this.
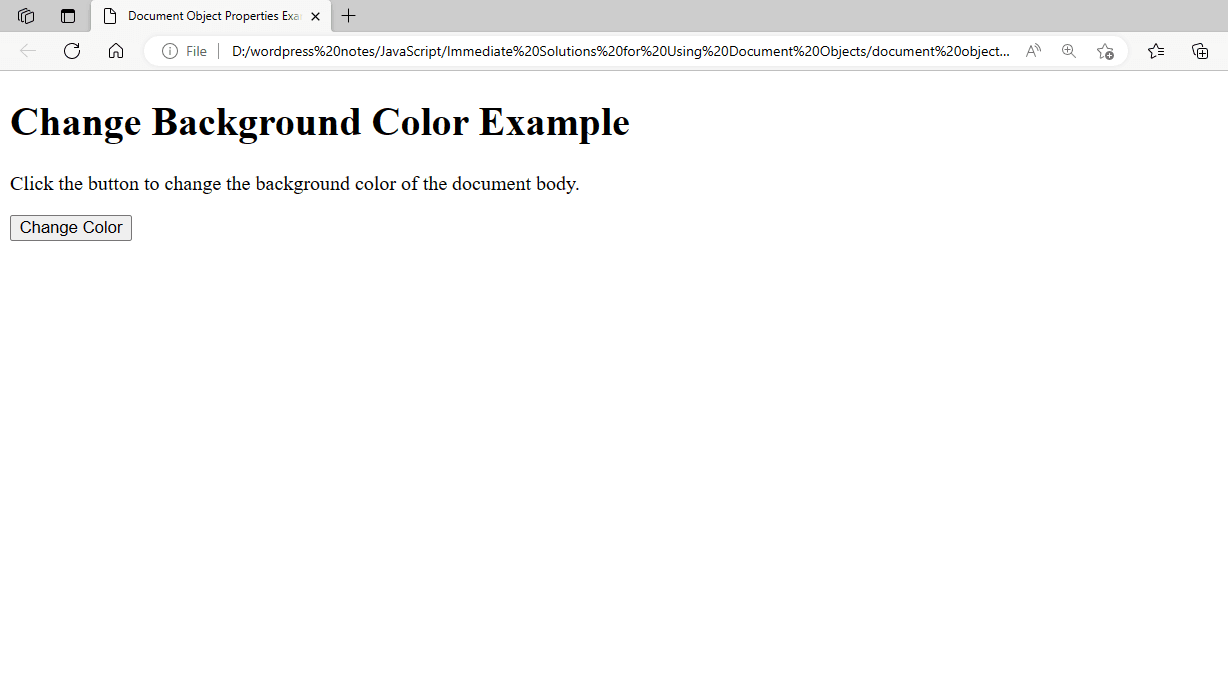
Figure 2 – Displaying the Output Of Using the Document Object Properties in JavaScript
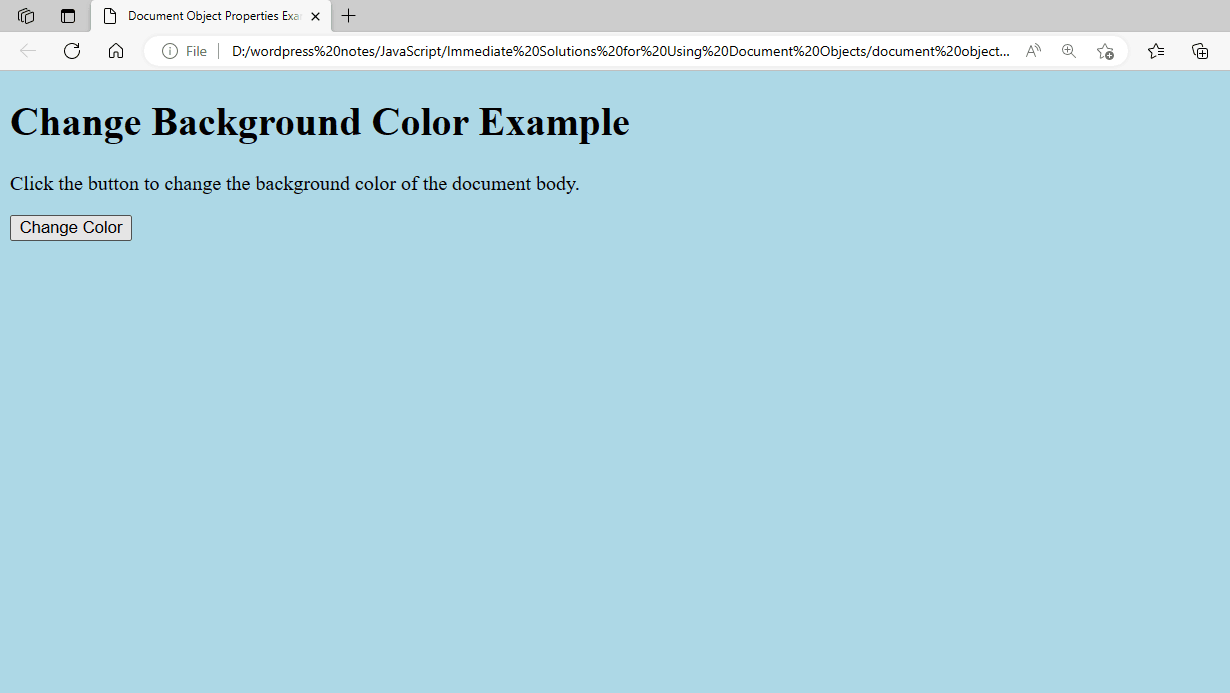
Figure 3 – Showing the Output after Changing the Color
The event listener runs the changeColor function when you click the “Change Color” button, changing the document body’s background color to light blue.
Working with Document Object Methods:
Using the several methods that the Document Object provides to interact with the HTML document is part of working with Document Object Methods in JavaScript. Using the createElement(), createTextNode(), and appendChild() methods, the following example shows how to dynamically add a new paragraph to the document upon button click:
<!DOCTYPE html>
<html>
<head>
    <title>Document Object Methods Example</title>
</head>
<body>
    <h1>Document Object Methods Example</h1>
    <p>Click the button to add a new paragraph to the document.</p>
    <button id="addParagraphButton">Add Paragraph</button>

    <script>
        // Get the button element
        var button = document.getElementById('addParagraphButton');

        // Function to add a new paragraph
        function addParagraph() {
            // Create a new paragraph element
            var newParagraph = document.createElement('p');

            // Create a text node with the content for the new paragraph
            var textNode = document.createTextNode('This is a new paragraph.');

            // Append the text node to the new paragraph element
            newParagraph.appendChild(textNode);

            // Append the new paragraph to the body of the document
            document.body.appendChild(newParagraph);
        }

        // Add a click event listener to the button
        button.addEventListener('click', addParagraph);
    </script>
</body>
</html>- There is a button with the id addParagraphButton available. This button will add a new paragraph to the document when it is clicked.
- var button = document.getElementById(‘addParagraphButton’);: By using its id, this line retrieves the button element and sets it to the button variable.
- function addParagraph() {…}: This function includes the reasoning needed to append a new paragraph to the file.
- var newParagraph = document.createElement(‘p’);: A new <p> (paragraph) element is created by this line.
- var textNode = document.createTextNode(”);: The text “This is a new paragraph.” appears in a text node that is created by this line.
- newParagraph.appendChild(textNode);: The text node is appended to the freshly formed paragraph element by this line.
- document.body.appendChild(newParagraph);: This line adds the new paragraph to the document’s body so that it may be shown on the page along with the text node that it contains.
- button.addEventListener(‘click’, addParagraph);: Through this line, the button gains a click event listener. The addParagraph function is called when the button is clicked, adding a new paragraph to the document.
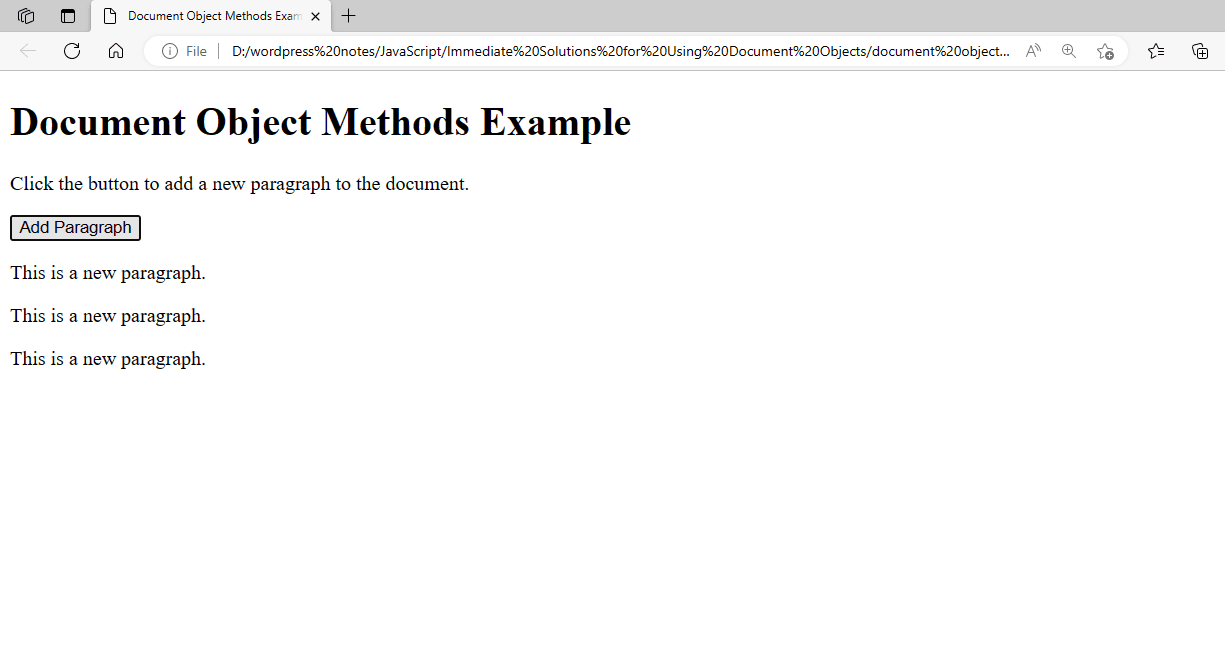
Figure 4 – Displaying the Output of Using the Document Object Methods in JavaScript
The addParagraph function is called by the event listener when you click the “Add Paragraph” button. This function creates a new paragraph element, adds text to it, and appends it to the body of the document.
Using the Document Object with Forms:
When working with forms, JavaScript’s Document Object is very helpful because it lets you dynamically access, edit, and validate form items. This example shows how to validate a form using the Document Object prior to submission:
<!DOCTYPE html>
<html>
<head>
    <title>Form Validation Example</title>
</head>
<body>
    <h1>Form Validation Example</h1>
    <form id="myForm">
        <label for="name">Name:</label>
        <input type="text" id="name" name="name"><br><br>
        <label for="email">Email:</label>
        <input type="text" id="email" name="email"><br><br>
        <input type="submit" value="Submit">
    </form>
    <p id="error-message" style="color:red;"></p>

    <script>
        // Get the form element
        var form = document.getElementById('myForm');

        // Add an event listener for the form submission
        form.addEventListener('submit', function(event) {
            // Prevent the default form submission
            event.preventDefault();

            // Get the values of the form elements
            var name = document.getElementById('name').value;
            var email = document.getElementById('email').value;

            // Basic validation
            if (name === '') {
                document.getElementById('error-message').textContent = 'Name is required.';
                return;
            }

            if (email === '' || !validateEmail(email)) {
                document.getElementById('error-message').textContent = 'A valid email is required.';
                return;
            }

            // If validation passes, submit the form (for example purposes, we'll just display a message)
            document.getElementById('error-message').textContent = 'Form submitted successfully!';
        });

        // Function to validate email format
        function validateEmail(email) {
            var re = /^[^\s@]+@[^\s@]+\.[^\s@]+$/;
            return re.test(email);
        }
    </script>
</body>
</html>- An ID-containing form MyForm has two fields where users can enter their email address and name.
- Validation error messages are displayed in a paragraph with the id error message.
- var form = document.getElementById(‘myForm’);: This line assigns the form element to the variable form by obtaining it by its id.
- form.addEventListener(‘submit’, function(event) { … });: This line adds a listener for the submit event to the form. This function is called upon form submission.
- event.preventDefault();: This line stops the page from reloading by default when a form is submitted.
- var name = document.getElementById(‘name’).value;: The value of the name input field is obtained by this line.
- var email = email may be found by using document.getElementById(’email’).value;: The email input field’s value is obtained in this line.
- Next, using the validateEmail function, the code verifies that the email is in a valid format and that the name and email fields are filled out. A notification indicating the error is shown if the validation fails.
- An indication of success appears if the validation is successful. (At this point, in an actual application, you would normally transmit the form data to a server.)
- function validateEmail(email) { … }: This function checks the email format using a regular expression.
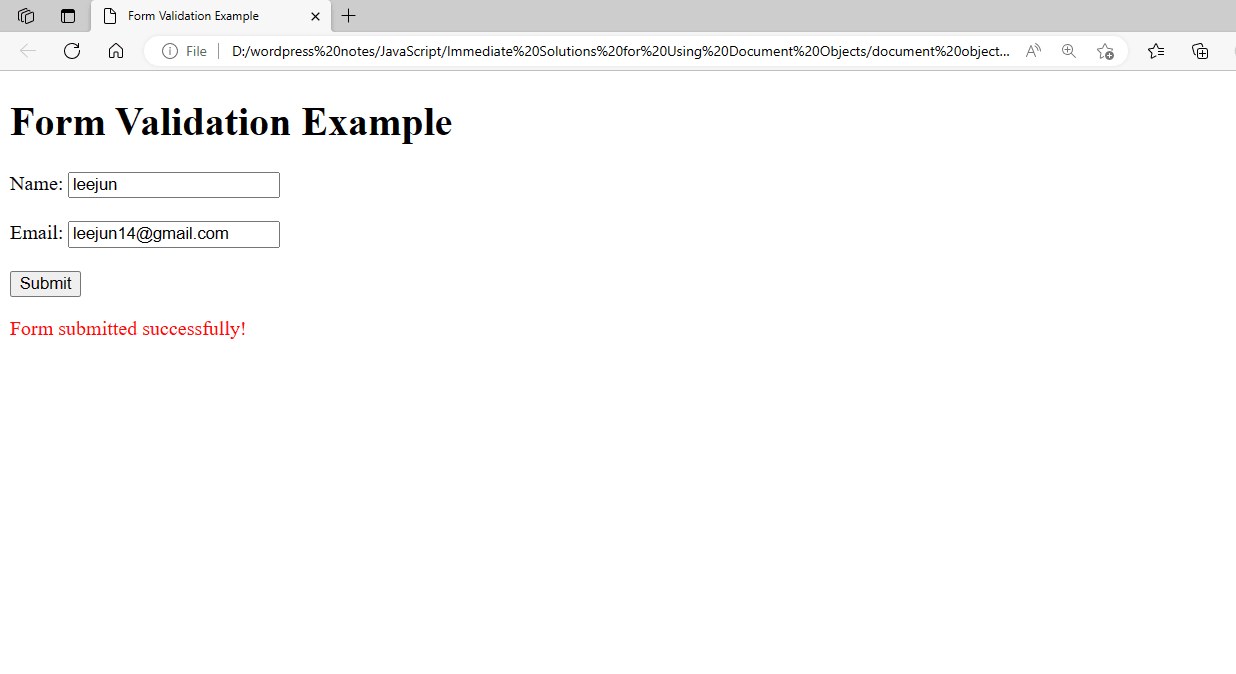
Figure 5 – Displaying the Output of Using the Document Object with Forms in JavaScript
The JavaScript code will validate the inputs when you click the “Submit” button after filling out the form. There will be an error message shown if the validation is unsuccessful. A success message will appear when the time passes.
Creating Cookies:
In JavaScript, setting, getting, and checking for cookies are done using the document.cookie property. Here is a comprehensive example that shows how to read and display the cookie value when the page loads, as well as how to create a cookie when a form is submitted:
<!DOCTYPE html>
<html>
<head>
    <title>Create and Read Cookie Example</title>
</head>
<body>
    <h1>Create and Read Cookie Example</h1>
    <form id="myForm">
        <label for="username">Username:</label>
        <input type="text" id="username" name="username"><br><br>
        <input type="submit" value="Submit">
    </form>
    <p id="message"></p>

    <script>
        // Function to set a cookie
        function setCookie(name, value, days) {
            var expires = "";
            if (days) {
                var date = new Date();
                date.setTime(date.getTime() + (days * 24 * 60 * 60 * 1000));
                expires = "; expires=" + date.toUTCString();
            }
            document.cookie = name + "=" + (value || "") + expires + "; path=/";
        }

        // Function to get a cookie
        function getCookie(name) {
            var nameEQ = name + "=";
            var ca = document.cookie.split(';');
            for (var i = 0; i < ca.length; i++) {
                var c = ca[i];
                while (c.charAt(0) == ' ') c = c.substring(1, c.length);
                if (c.indexOf(nameEQ) == 0) return c.substring(nameEQ.length, c.length);
            }
            return null;
        }

        // Function to check if a cookie exists and display a message
        function checkCookie() {
            var username = getCookie("username");
            if (username != null) {
                document.getElementById('message').textContent = "Welcome again, " + username + "!";
            }
        }

        // Get the form element
        var form = document.getElementById('myForm');

        // Add an event listener for the form submission
        form.addEventListener('submit', function(event) {
            // Prevent the default form submission
            event.preventDefault();

            // Get the value of the username input field
            var username = document.getElementById('username').value;

            // Set a cookie with the username for 7 days
            setCookie("username", username, 7);

            // Display a message
            document.getElementById('message').textContent = "Cookie set! Welcome, " + username + "!";
        });

        // Check if a username cookie exists when the page loads
        window.onload = checkCookie;
    </script>
</body>
</html>- An ID-containing form An input field for the user’s username is included in myForm.
- To display messages, a paragraph with the id message is given.
setCookie Function:
- A cookie with the given name, value, and expiration date (in days) is created by this function.
- It determines the expiration date and sets it in the cookie string if the days parameter is supplied.
- Because the cookie has the given path(/) set, it can be accessed from anywhere on the website.
getCookie Function:
- This function gets the value associated with a given cookie.
- The document.cookie string is divided into separate cookies by semicolons, and each cookie is then examined to see if the given name is present.
checkCookie Function:
- This function verifies the existence of a username cookie.
- If so, a welcome message containing the username appears.
Form Submission:
- For the submit event, an event listener is attached to the form.
- The default submission behavior is prevented when the form is submitted.
- Next, it retrieves the value entered in the username box and uses that value to set a seven-day cookie.
- The cookie has been set, as indicated by the message that appears.
Page Load:
- The checkCookie function is triggered when the page loads in order to determine whether a username cookie is present and, if so, to show a welcome message.
How It Works:
- The username is stored in a cookie that is established by the JavaScript code when you submit the form and click the “Submit” button.
- The script looks for the cookie when you refresh the page or visit it again, and if it finds it, it shows a welcome message.
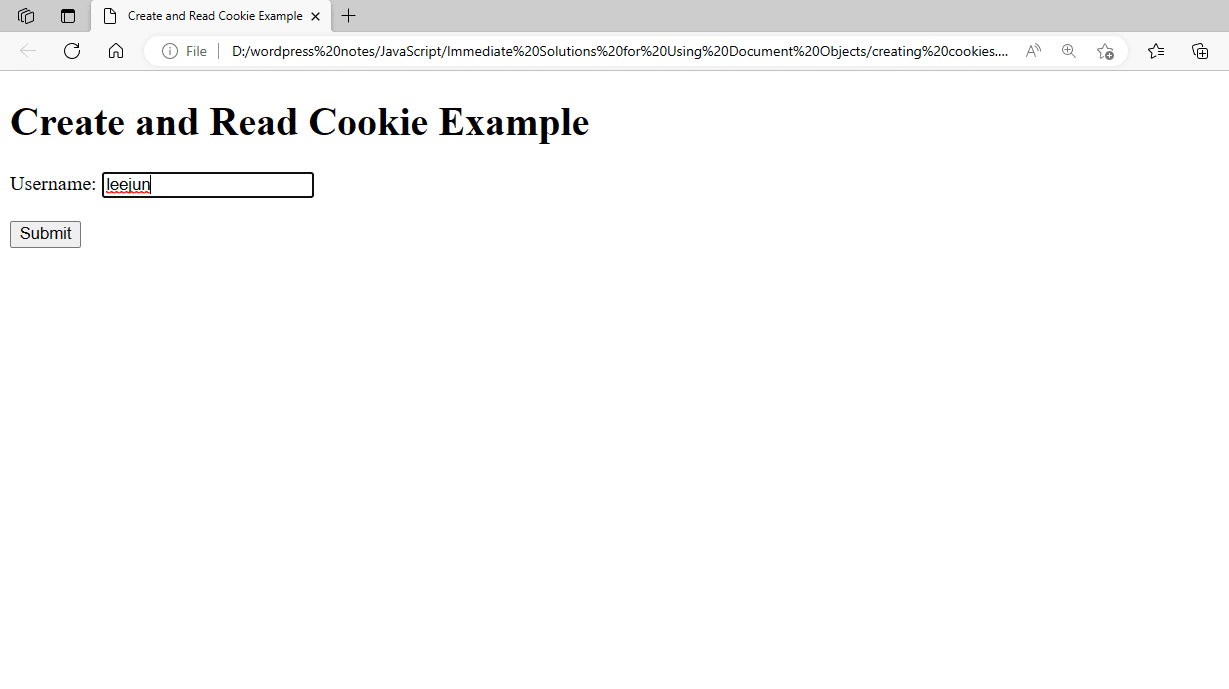
Figure 6 – Displaying the Output of Creating and Reading Cookies in JavaScript
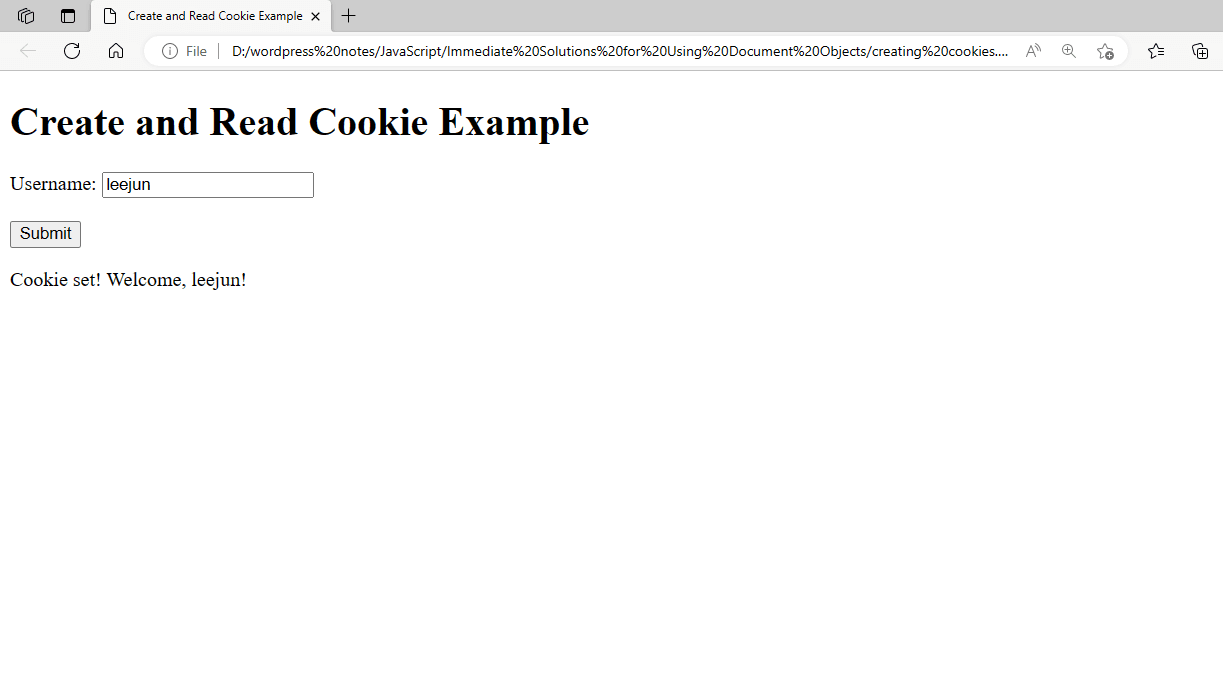
Figure 7 – Showing that the Cookies have been created
The creation and reading of cookies in JavaScript is illustrated in this example, which can be helpful in customizing the user experience on your website.
Deleting Cookies:
In JavaScript, deleting a cookie entails changing its expiration date to a previous date. This is an example of how to use JavaScript to create, read, and delete cookies:
<!DOCTYPE html>
<html>
<head>
    <title>Cookie Management Example</title>
</head>
<body>
    <h1>Cookie Management Example</h1>
    <form id="myForm">
        <label for="username">Username:</label>
        <input type="text" id="username" name="username"><br><br>
        <input type="submit" value="Submit">
    </form>
    <button id="deleteCookieButton">Delete Cookie</button>
    <p id="message"></p>

    <script>
        // Function to set a cookie
        function setCookie(name, value, days) {
            var expires = "";
            if (days) {
                var date = new Date();
                date.setTime(date.getTime() + (days * 24 * 60 * 60 * 1000));
                expires = "; expires=" + date.toUTCString();
            }
            document.cookie = name + "=" + (value || "") + expires + "; path=/";
        }

        // Function to get a cookie
        function getCookie(name) {
            var nameEQ = name + "=";
            var ca = document.cookie.split(';');
            for (var i = 0; i < ca.length; i++) {
                var c = ca[i];
                while (c.charAt(0) == ' ') c = c.substring(1, c.length);
                if (c.indexOf(nameEQ) == 0) return c.substring(nameEQ.length, c.length);
            }
            return null;
        }

        // Function to delete a cookie
        function deleteCookie(name) {
            document.cookie = name + "=; Max-Age=-99999999; path=/";
        }

        // Function to check if a cookie exists and display a message
        function checkCookie() {
            var username = getCookie("username");
            if (username != null) {
                document.getElementById('message').textContent = "Welcome again, " + username + "!";
            }
        }

        // Get the form element
        var form = document.getElementById('myForm');

        // Add an event listener for the form submission
        form.addEventListener('submit', function(event) {
            // Prevent the default form submission
            event.preventDefault();

            // Get the value of the username input field
            var username = document.getElementById('username').value;

            // Set a cookie with the username for 7 days
            setCookie("username", username, 7);

            // Display a message
            document.getElementById('message').textContent = "Cookie set! Welcome, " + username + "!";
        });

        // Get the delete button element
        var deleteButton = document.getElementById('deleteCookieButton');

        // Add an event listener for the delete button click
        deleteButton.addEventListener('click', function() {
            // Delete the username cookie
            deleteCookie("username");

            // Display a message
            document.getElementById('message').textContent = "Cookie deleted!";
        });

        // Check if a username cookie exists when the page loads
        window.onload = checkCookie;
    </script>
</body>
</html>- An ID-containing form An input field for the user’s username is included in myForm.
- To remove the cookie, there is a button with the id deleteCookieButton available.
- Messages are shown in a paragraph with the id message.
setCookie Function:
- establishes a cookie with the given name, value, and days-before-expiration.
- It determines the expiration date and sets it in the cookie string if the day parameter is supplied.
getCookie Function:
- obtains the value of the given cookie.
- divides the file.semicolons to extract individual cookies from the cookie string and verify that each one has the desired name.
deleteCookie Features:
- sets a cookie’s expiration date to a past date to delete it.
- employs the Max-Age=-99999999 property to cause the cookie to expire right away.
checkCookie Features:
- determines if a username cookie is present.
- If so, the username appears in a greeting message.
Filling Out Forms:
- For the submit event, an event listener is attached to the form.
- The default submission behavior is prevented when the form is submitted.
- It retrieves the value entered in the username box and uses that value to set a seven-day cookie.
- indicates that the cookie has been set by displaying a message.
Click the Delete button.
- The delete button now has an event listener for the click event.
- Upon clicking the button, the username cookie is removed and a notification stating that the cookie has been removed is shown.
Loading Page:
- The checkCookie function is triggered when the page loads in order to determine whether a username cookie is present and, if so, to show a welcome message.
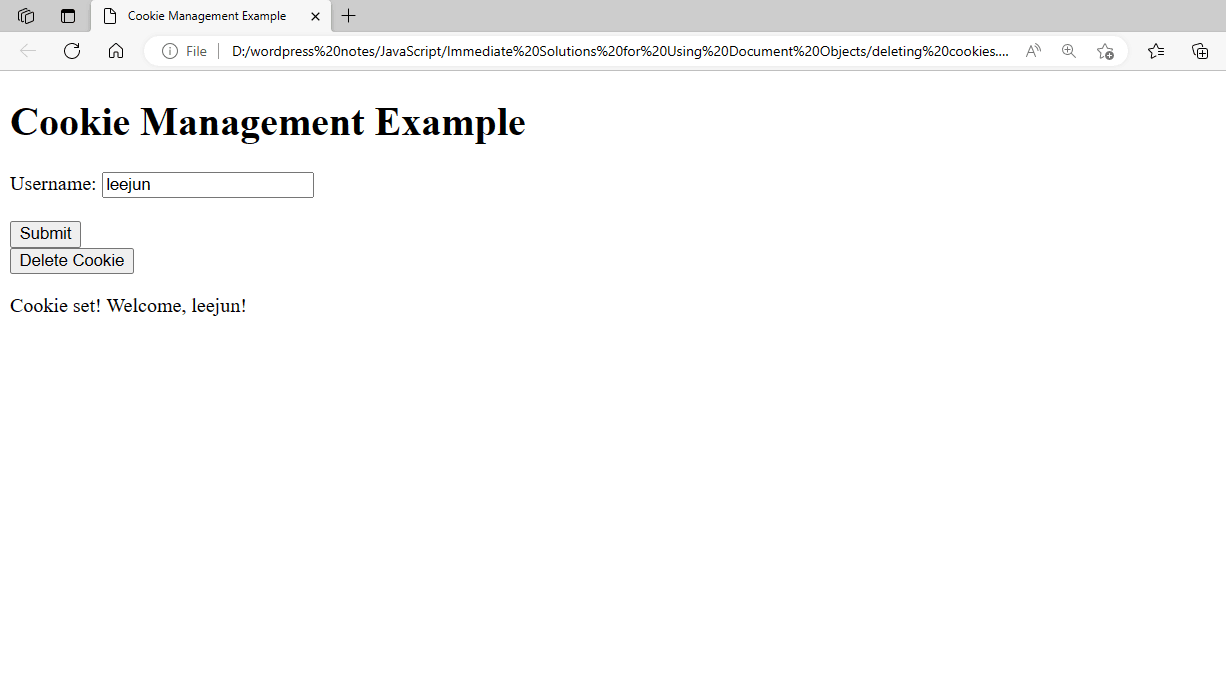
Figure 8 – Displaying the Output of Deleting Cookies in JavaScript
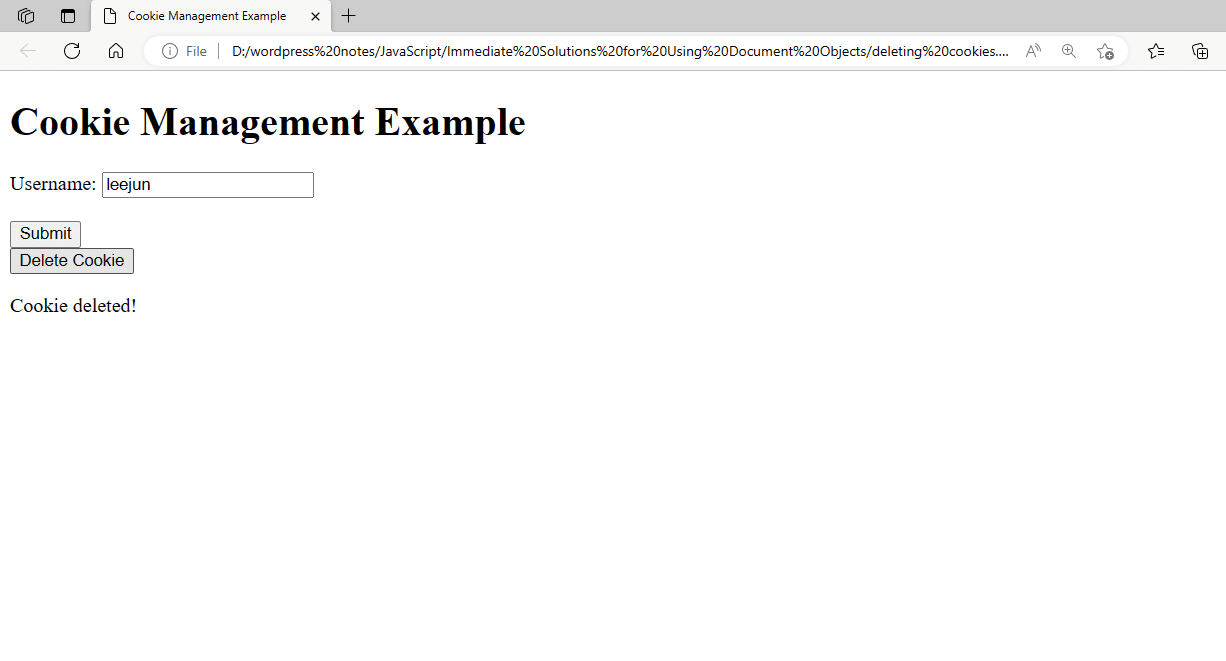
Figure 9 – Showing that the Cookies have been Deleted
How it Works:
- The username is stored in a cookie that is established by the JavaScript code when you submit the form and click the “Submit” button.
- The script looks for the cookie when you refresh the page or visit it again, and if it finds it, it shows a welcome message.
- The JavaScript code deletes the username cookie and shows a notification that the cookie has been removed when you click the “Delete Cookie” button.