Step by step guide:
How to create and save an HTML document – Use a text editor to compose the HTML code, then save the file with the.html extension. Here’s a step-by-step guide for producing and saving an HTML page with Notepad on Windows:
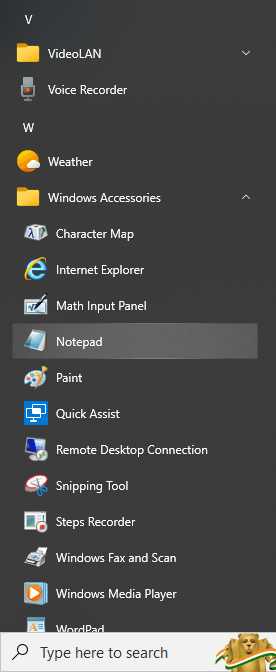
1. Click start ⫺ All Programs ⫺ Accessories ⫺ Notepad
Please refer to Figure 1 (Opening the Notepad Editor) below for further information.

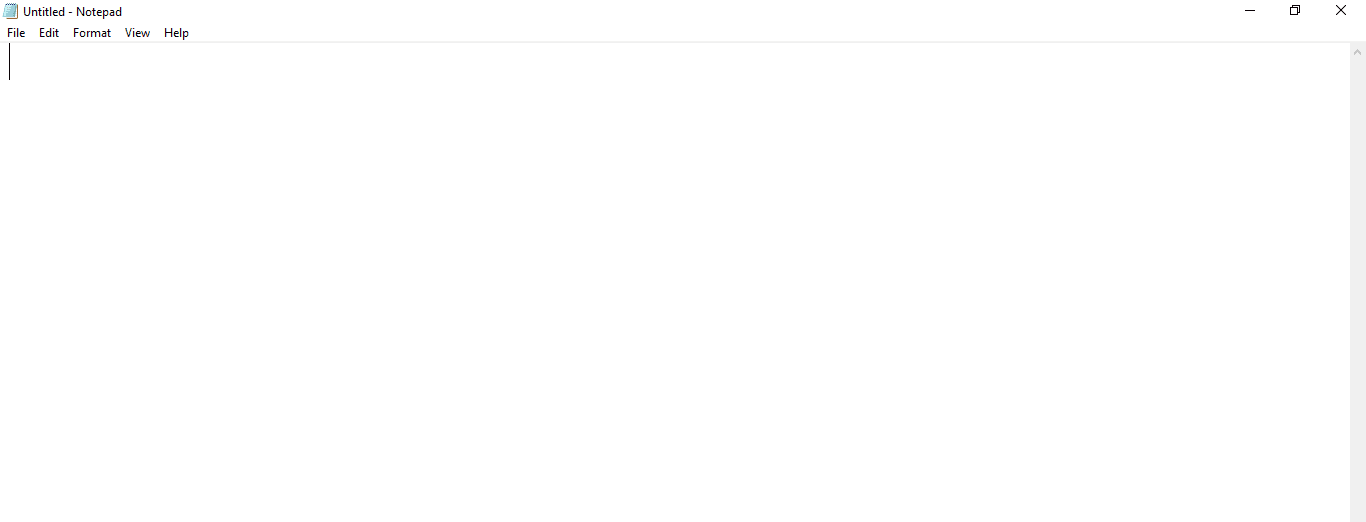
The notepad window opens with a new and blank document, as seen in Figure 2.

2. Add the simple code, given below, to the document:
<!DOCTYPE html>
<html lang="en">
<head>
  <meta charset="UTF-8">
  <meta name="viewport" content="width=device-width, initial-scale=1.0">
  <title>My HTML Document</title>
</head>
<body>
  <h1>Hello, World!</h1>
  <p>This is my first HTML document.</p>
</body>
</html>
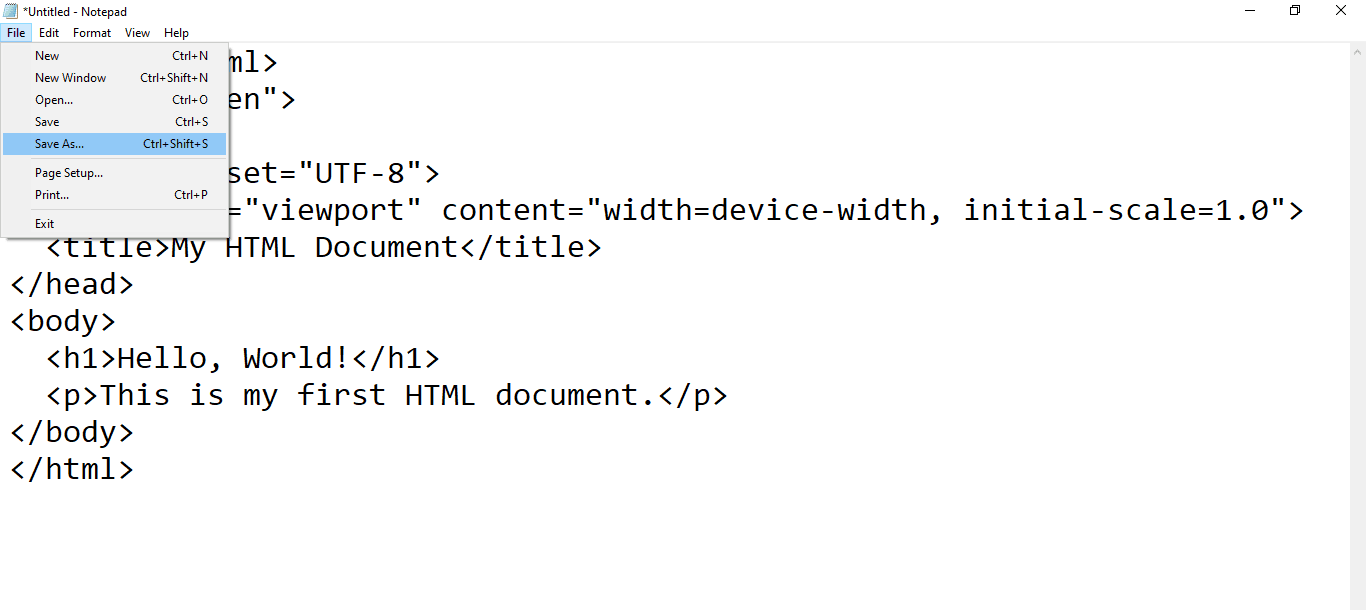
3. In Notepad, click the “File” button in the upper left corner. Select “Save As.”
Please refer to Figure 3 (Saving an HTML Document) below for further information.

4. Enter a filename with the.html extension. For example, index.html.
5. In the “Save as type” dropdown, choose “All Files (.)”.
6. To guarantee proper character encoding, click the “Encoding” menu and select “UTF-8”.
7. Navigate to the folder where you wish to save the HTML file.
8. Click “Save.”
9. To open the saved HTML file in your default web browser, simply double-click it.
You have successfully created and saved an HTML document with Notepad on Windows. You can update the HTML code in Notepad and then reload the browser to see the results.