Here are some Simple methods of using Validation, Errors, and Exception Handling: To begin, first refer to – validation-errors-debugging-exception-handling-and-security-in-javascript
Validating Forms
As you now know, the onsubmit attribute of the FORM element can be used to validate an HTML form. The onsubmit property calls a JavaScript code to determine whether the form fields are valid.
The form is not submitted, and the appropriate error message is displayed in the browser if any of the fields are invalid. This section shows you how to validate:
Let’s take a closer look at the validation of each of these fields:
Validating Required Fields:
JavaScript validation of required fields guarantees that users fill out a form with the correct information before submitting it. This improves the user experience and helps stop incomplete data from being delivered to the server.
Steps to Validate Required Fields:
- Determine Which Fields Are Required: Identify the fields on the form that need to be filled out before submission.
- Check for empty values: Check if the fields are empty using JavaScript.
- Display Error Messages: Alert users to missing inputs
Example: Validating Required Fields (HTML Form)
<!DOCTYPE html>
<html lang="en">
<head>
    <meta charset="UTF-8">
    <meta name="viewport" content="width=device-width, initial-scale=1.0">
    <title>Form Validation</title>
</head>
<body>
    <form id="userForm">
        <label for="name">Name:</label>
        <input type="text" id="name" name="name"><br><br>

        <label for="email">Email:</label>
        <input type="email" id="email" name="email"><br><br>

        <label for="password">Password:</label>
        <input type="password" id="password" name="password"><br><br>

        <button type="submit">Submit</button>
    </form>
    <div id="errorMessages" style="color: red; margin-top: 10px;"></div>

    <script src="validation.js"></script>
</body>
</html>
JavaScript: Validation Logic
// Select the form and error message container
const form = document.getElementById("userForm");
const errorMessages = document.getElementById("errorMessages");

// Add a submit event listener to the form
form.addEventListener("submit", function (event) {
    // Clear previous error messages
    errorMessages.innerHTML = "";

    // Flag to track validation status
    let isValid = true;

    // Get form field values
    const name = document.getElementById("name").value.trim();
    const email = document.getElementById("email").value.trim();
    const password = document.getElementById("password").value.trim();

    // Validate each field
    if (!name) {
        isValid = false;
        errorMessages.innerHTML += "<p>Name is required.</p>";
    }

    if (!email) {
        isValid = false;
        errorMessages.innerHTML += "<p>Email is required.</p>";
    }

    if (!password) {
        isValid = false;
        errorMessages.innerHTML += "<p>Password is required.</p>";
    }

    // Prevent form submission if validation fails
    if (!isValid) {
        event.preventDefault();
    }
});
How It Works:
- Event Listener: When a user clicks the submit button, the submit event listener verifies the form fields.
- Trimmed Values: Any leading or trailing whitespace in user input is eliminated by using the.trim() function.
- Validation Logic: An error message is appended to the errorMessages container in the event that a field is empty.
- Event.preventDefault() prevents the form from being submitted if at least one field is not valid.
- Error Display: Below the form, error warnings are dynamically displayed.
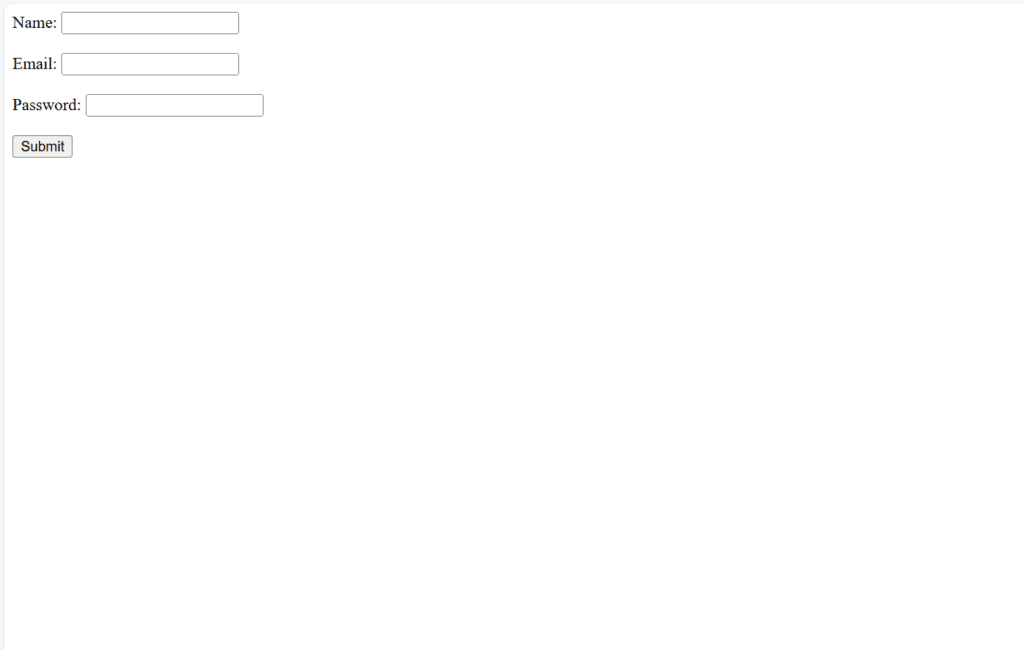
Figure 1 – Displaying the output of Validating Requires Fields
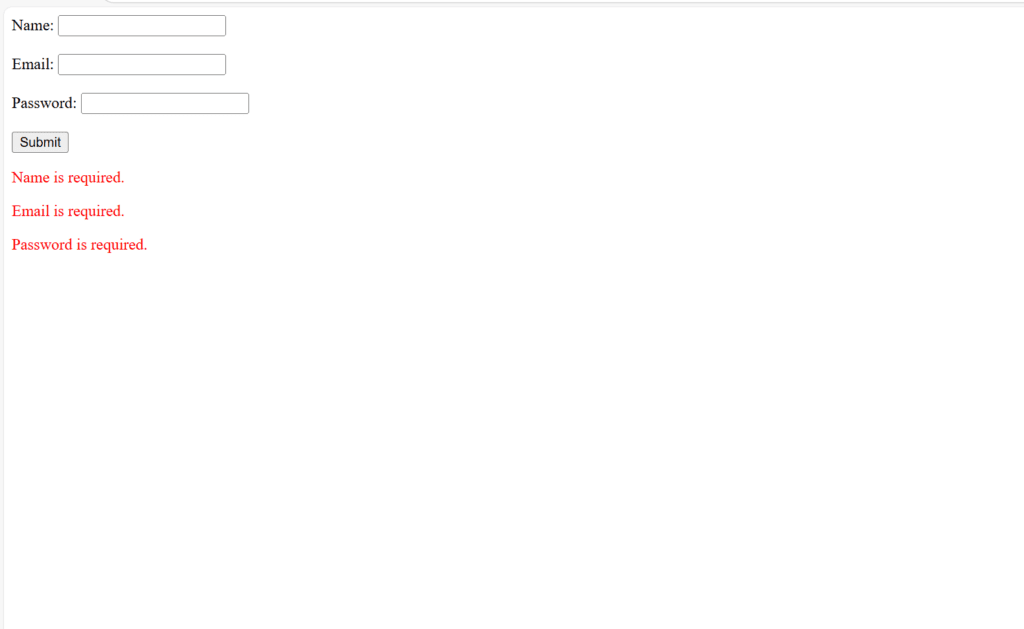
Figure 2 – Empty Form Submission
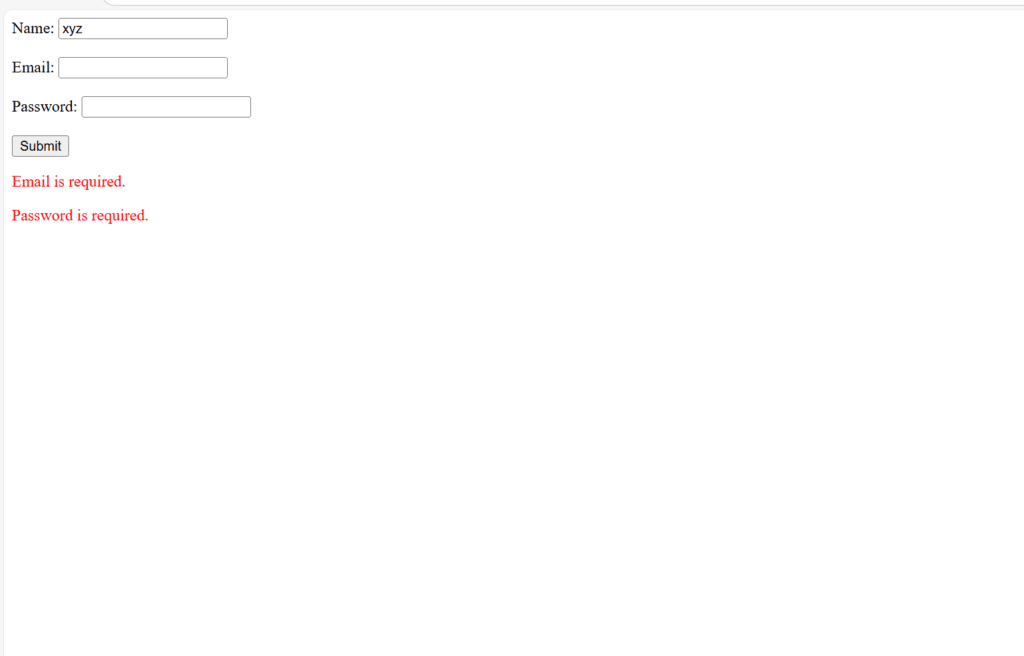
Figure 3 – Partial Submission
This method ensures that the necessary fields are completed before permitting the submission of the form.
Validating Numbers:
JavaScript’s number validation makes ensuring that user input is a valid number that satisfies predetermined requirements, like falling inside a given range or not including non-numeric characters. An explanation and illustration of how to properly validate numbers may be found below.
Steps to Validate Numbers:
- Check whether the input is numeric. To confirm that the input is a number, use regular expressions, type coercion, or functions like isNaN().
- Validate Number Range: Determine whether the number is within a reasonable range.
- Handle Edge Cases: Make sure that null, undefined, and empty string inputs are handled correctly.
Here’s an example of validating numbers with additional features like real-time feedback and support for both integer and decimal numbers.
Example: Validating Numbers with Real-Time Feedback (HTML Form)
<!DOCTYPE html>
<html lang="en">
<head>
    <meta charset="UTF-8">
    <meta name="viewport" content="width=device-width, initial-scale=1.0">
    <title>Real-Time Number Validation</title>
</head>
<body>
    <h2>Number Validation Example</h2>
    <form id="numberForm">
        <label for="salary">Enter your salary:</label>
        <input type="text" id="salary" name="salary" placeholder="e.g., 5000 or 5000.50"><br><br>
        <button type="submit">Submit</button>
    </form>
    <div id="errorMessages" style="color: red; margin-top: 10px;"></div>

    <script src="validation1.js"></script>
</body>
</html>
JavaScript: Validation Logic:
// Select the form, input field, and error message container
const form = document.getElementById("numberForm");
const salaryInput = document.getElementById("salary");
const errorMessages = document.getElementById("errorMessages");

// Regular expression for validating numbers (integers and decimals)
const numberPattern = /^[0-9]+(\.[0-9]+)?$/;

// Real-time validation as the user types
salaryInput.addEventListener("input", function () {
    const value = salaryInput.value.trim();

    if (value === "") {
        errorMessages.innerHTML = "Salary is required.";
    } else if (!numberPattern.test(value)) {
        errorMessages.innerHTML = "Please enter a valid number (e.g., 5000 or 5000.50).";
    } else {
        errorMessages.innerHTML = "";
    }
});

// Final validation on form submission
form.addEventListener("submit", function (event) {
    const value = salaryInput.value.trim();

    // Clear previous error messages
    errorMessages.innerHTML = "";

    if (value === "") {
        errorMessages.innerHTML = "Salary is required.";
        event.preventDefault(); // Prevent form submission
    } else if (!numberPattern.test(value)) {
        errorMessages.innerHTML = "Please enter a valid number (e.g., 5000 or 5000.50).";
        event.preventDefault(); // Prevent form submission
    } else {
        alert("Form submitted successfully!");
    }
});
How It Works:
- Real-Time Feedback:
- As the user types, the input event listener verifies the value.
- An error message is shown right away if the value is invalid.
- Regular Expression for Validation:
- The numberPattern regex ensures that only valid numeric values (integers or decimals) are accepted.
- Examples:
- Matches: 5000, 5000.50, 123.45
- Doesn’t Match: abc, 12.34.56, 12a
- Submission Validation:
- The input value is verified once again when the form is submitted.
- If it’s invalid, event.preventDefault() stops submission and displays an error notice.
- Error Handling:
- Displays specific error messages based on the issue (empty input or invalid format).
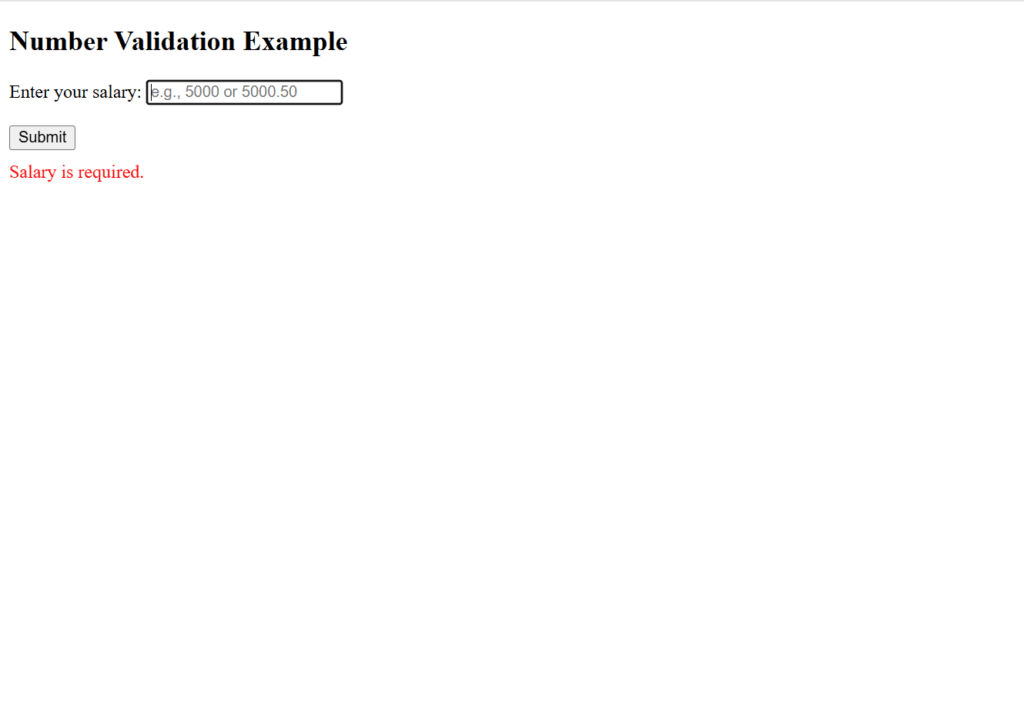
Figure 4 – Displays the output of Validating Numbers (empty field)

Figure 5 – Invalid Number
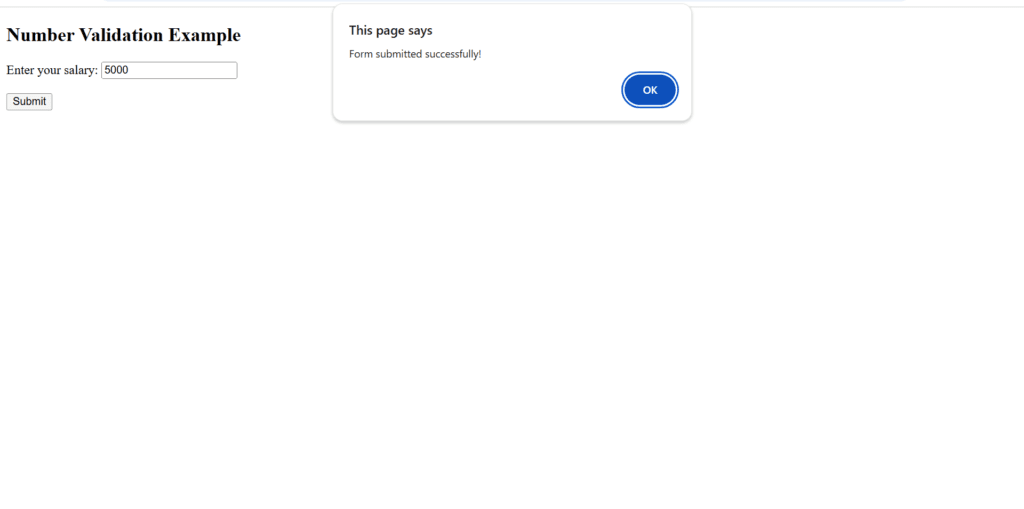
Figure 6 – Valid Number (The form is submitted successfully)
This method ensures reliable number validation in JavaScript, supporting a range of circumstances and offering a seamless user experience.
Validating Username and Password:
Before submitting a form, users are guaranteed to supply valid credentials by JavaScript’s username and password validation. In addition to preventing the server from receiving erroneous data, this enhances the user experience.
Validation Criteria:
- Username Validation:
- The username must not be empty.
- The username must be at least 3 characters long.
- Password Validation:
- The password must not be empty.
- The password must be at least 6 characters long.
- Success Message:
- A success message will display if all validation rules are met.
- Prevent Page Refresh:
- The form submission behavior is overridden using event.preventDefault() to prevent a page reload.
Example: Username and Password Validation with Success Message (HTML Form)
<!DOCTYPE html>
<html lang="en">
<head>
    <meta charset="UTF-8">
    <meta name="viewport" content="width=device-width, initial-scale=1.0">
    <title>Form Validation with Success Message</title>
    <style>
        .success {
            color: green;
            margin-top: 10px;
        }
        .error {
            color: red;
            margin-top: 10px;
        }
    </style>
</head>
<body>
    <h2>Login Form</h2>
    <form id="loginForm">
        <label for="username">Username:</label>
        <input type="text" id="username" name="username" placeholder="Enter username"><br><br>

        <label for="password">Password:</label>
        <input type="password" id="password" name="password" placeholder="Enter password"><br><br>

        <button type="submit">Login</button>
    </form>
    <div id="errorMessages" class="error"></div>
    <div id="successMessage" class="success"></div>

    <script src="validation2.js"></script>
</body>
</html>
JavaScript: Validation Logic:
// Select the form and message containers
const form = document.getElementById("loginForm");
const errorMessages = document.getElementById("errorMessages");
const successMessage = document.getElementById("successMessage");

// Add a submit event listener to the form
form.addEventListener("submit", function (event) {
    // Prevent default form submission
    event.preventDefault();

    // Clear previous messages
    errorMessages.innerHTML = "";
    successMessage.innerHTML = "";

    // Get form field values
    const username = document.getElementById("username").value.trim();
    const password = document.getElementById("password").value.trim();

    // Flag to track validation status
    let isValid = true;

    // Validate username
    if (username === "") {
        isValid = false;
        errorMessages.innerHTML += "<p>Username cannot be empty.</p>";
    } else if (username.length < 3) {
        isValid = false;
        errorMessages.innerHTML += "<p>Username must be at least 3 characters long.</p>";
    }

    // Validate password
    if (password === "") {
        isValid = false;
        errorMessages.innerHTML += "<p>Password cannot be empty.</p>";
    } else if (password.length < 6) {
        isValid = false;
        errorMessages.innerHTML += "<p>Password must be at least 6 characters long.</p>";
    }

    // Show success message if validation passes
    if (isValid) {
        successMessage.innerHTML = "Form submitted successfully!";
    }
});
How It Works:
Form Submission Handling:
- The submit event is attached to the form.
- event.preventDefault() stops the default form submission, preventing the page from refreshing.
Validation Logic:
- The username and password fields are checked:
- If a field is empty, an error message is added to the errorMessages container.
- Additional error messages are displayed if the username is shorter than 3 characters or the password is shorter than 6 characters.
- The validation uses a boolean flag (isValid) to track whether the form passes all checks.
Error Display:
- All validation errors are appended to the errorMessages container as paragraph elements.
- This allows users to see all issues at once.
Success Message:
- If isValid is true (all fields pass validation), a success message is displayed in the successMessage container.

Figure 7 – Displaying the output of validating username and password (Invalid Username and Password)

Figure 8 – Valid Username but Invalid Password

Figure 9 – Valid Inputs (Form submitted successfully!)
In addition to displaying a success message upon submission, this approach makes the form more interactive and offers an instant response.
Validating Phone Number:
Validating phone numbers makes sure that the input adheres to the required format, which may include a set amount of digits, an optional country code, or special characters like hyphens and parentheses.
Validation Criteria:
- Basic Validation:
- Phone number must be 10 digits (for simplicity).
- No letters or special characters are allowed.
- Advanced Validation (Optional):
- Allow formats with + for country code, hyphens, or spaces (e.g., +1-234-567-8901, (234) 567-8901).
Example: Simple Phone Number Validation (HTML Form)
<!DOCTYPE html>
<html lang="en">
<head>
    <meta charset="UTF-8">
    <meta name="viewport" content="width=device-width, initial-scale=1.0">
    <title>Phone Number Validation</title>
    <style>
        .error {
            color: red;
            margin-top: 10px;
        }
        .success {
            color: green;
            margin-top: 10px;
        }
    </style>
</head>
<body>
    <h2>Phone Number Validation</h2>
    <form id="phoneForm">
        <label for="phoneNumber">Phone Number:</label>
        <input type="text" id="phoneNumber" name="phoneNumber" placeholder="Enter phone number"><br><br>
        <button type="submit">Validate</button>
    </form>
    <div id="message"></div>

    <script src="validation3.js"></script>
</body>
</html>
JavaScript File (validation3.js)
// Select the form and message container
const phoneForm = document.getElementById("phoneForm");
const message = document.getElementById("message");

// Add a submit event listener to the form
phoneForm.addEventListener("submit", function (event) {
    // Prevent default form submission
    event.preventDefault();

    // Clear previous message
    message.innerHTML = "";

    // Get phone number value
    const phoneNumber = document.getElementById("phoneNumber").value.trim();

    // Regular expression for 10-digit phone numbers
    const phoneRegex = /^[0-9]{10}$/;

    // Validate phone number
    if (phoneRegex.test(phoneNumber)) {
        message.innerHTML = "<p class='success'>Phone number is valid!</p>";
    } else {
        message.innerHTML = "<p class='error'>Invalid phone number. Please enter a 10-digit number.</p>";
    }
});
Explanation:
- Event Listener:
- The form’s submit event stops the page from reloading by default.
- A regular expression is used to validate the entered phone number.
- Regex Pattern:
- ^[0-9]{10}$:
- ^ and $ ensure the string matches exactly.
- [0-9]{10} ensures the phone number contains exactly 10 digits.
- ^[0-9]{10}$:
- Validation Message:
- If the input fits the regex, a success message is displayed.
- Otherwise, an error message is displayed.
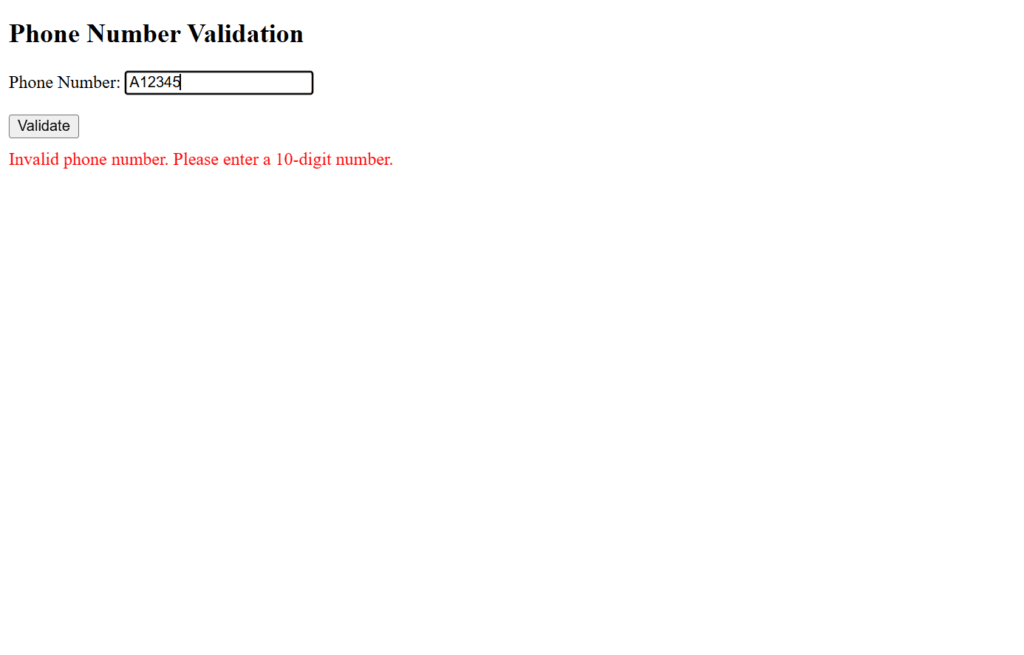
Figure 10 – Displaying the output of validating phone number (Invalid number)

Figure 11 – Valid Number
This example demonstrates a basic phone number validation technique in JavaScript.
Validating Time:
Verifying the input’s time format, such as HH:MM or HH:MM AM/PM, is done using time validation. It can be helpful for scheduling forms, applications, or any other circumstance that calls for time input.
Validation Criteria:
- 24-Hour Format:
- Time must be in the format HH:MM.
- Hours (HH) must range from 00 to 23.
- Minutes (MM) must range from 00 to 59.
- 12-Hour Format with AM/PM (Optional):
- Time must be in the format HH:MM AM/PM.
- Hours (HH) must range from 01 to 12.
- Minutes (MM) must range from 00 to 59.
Example: Validating Time in 24-Hour Format (HTML Form)
<!DOCTYPE html>
<html lang="en">
<head>
    <meta charset="UTF-8">
    <meta name="viewport" content="width=device-width, initial-scale=1.0">
    <title>Time Validation</title>
    <style>
        .error {
            color: red;
            margin-top: 10px;
        }
        .success {
            color: green;
            margin-top: 10px;
        }
    </style>
</head>
<body>
    <h2>Time Validation</h2>
    <form id="timeForm">
        <label for="timeInput">Enter Time (HH:MM):</label>
        <input type="text" id="timeInput" name="timeInput" placeholder="e.g., 14:30"><br><br>
        <button type="submit">Validate</button>
    </form>
    <div id="message"></div>

    <script src="validation4.js"></script>
</body>
</html>
JavaScript File (validation4.js)
// Select the form and message container
const timeForm = document.getElementById("timeForm");
const message = document.getElementById("message");

// Add a submit event listener to the form
timeForm.addEventListener("submit", function (event) {
    // Prevent default form submission
    event.preventDefault();

    // Clear previous messages
    message.innerHTML = "";

    // Get time input value
    const timeInput = document.getElementById("timeInput").value.trim();

    // Regular expression for 24-hour time format HH:MM
    const timeRegex = /^([01]?[0-9]|2[0-3]):[0-5][0-9]$/;

    // Validate time
    if (timeRegex.test(timeInput)) {
        message.innerHTML = "<p class='success'>Time is valid!</p>";
    } else {
        message.innerHTML = "<p class='error'>Invalid time format. Please enter time in HH:MM format (e.g., 14:30).</p>";
    }
});
Explanation:
- Event Listener:
- The submit event prevents the default form submission behavior, enabling custom validation logic.
- Regex Pattern:
- ^([01]?[0-9]|2[0-3]): Matches valid hours:
- ([01]?[0-9]): Matches 0-9 or 10-19.
- 2[0-3]: Matches 20-23.
- :[0-5][0-9]: Matches valid minutes (00-59).
- Validation Message:
- If the input fits the regex, a success message is displayed.
- When input is deemed invalid, an error message is displayed.
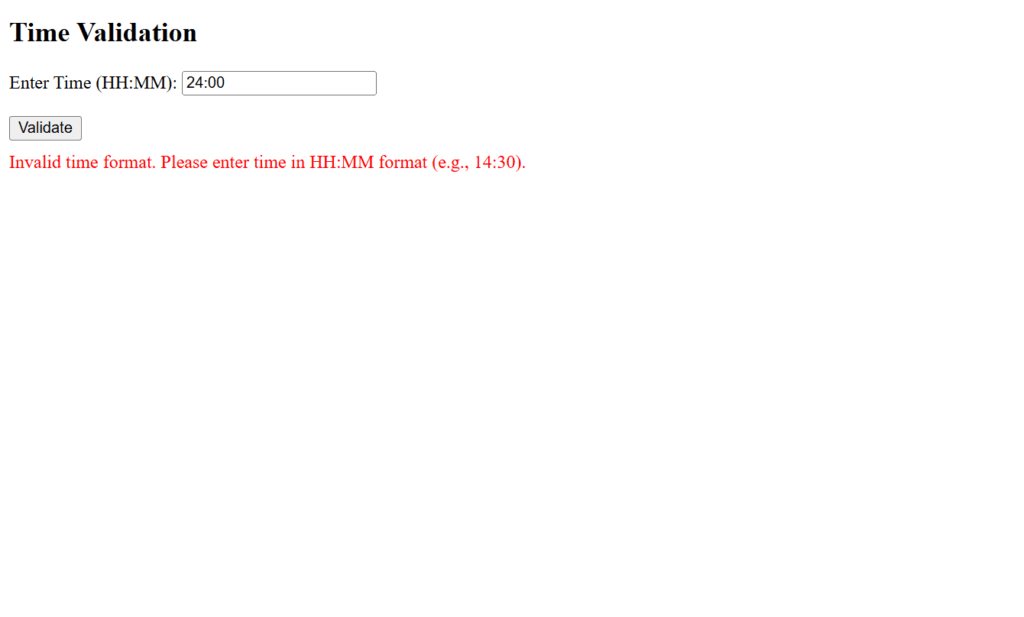
Figure 12 – Displaying the output of validating time (Invalid Input)

Figure 13 – Valid Inputs
These examples show how to use JavaScript to validate time inputs in 12-hour and 24-hour formats while providing the user with unambiguous feedback.
Validating Date:
Date validation guarantees that the input adheres to a correct date format, such as MM/DD/YYYY, DD/MM/YYYY, or YYYY-MM-DD. Verification might also involve looking for reasonable numbers, like making sure the day corresponds with the month and year (for example, February 30).
Validation Criteria:
- Date Format Validation:
- Verify that the date is formatted correctly (e.g., YYYY-MM-DD).
- Validate components such as the day, month, and year.
- Logical Date Validation:
- Ensure the date is realistic (e.g., no month > 12, day > 31, or invalid leap years).
Example: Validating Date in YYYY-MM-DD Format (HTML Form)
<!DOCTYPE html>
<html lang="en">
<head>
    <meta charset="UTF-8">
    <meta name="viewport" content="width=device-width, initial-scale=1.0">
    <title>Date Validation</title>
    <style>
        .error {
            color: red;
            margin-top: 10px;
        }
        .success {
            color: green;
            margin-top: 10px;
        }
    </style>
</head>
<body>
    <h2>Date Validation</h2>
    <form id="dateForm">
        <label for="dateInput">Enter Date (YYYY-MM-DD):</label>
        <input type="text" id="dateInput" name="dateInput" placeholder="e.g., 2023-12-31"><br><br>
        <button type="submit">Validate</button>
    </form>
    <div id="message"></div>

    <script src="validation5.js"></script>
</body>
</html>
JavaScript File (validation5.js)
// Select the form and message container
const dateForm = document.getElementById("dateForm");
const message = document.getElementById("message");

// Add a submit event listener to the form
dateForm.addEventListener("submit", function (event) {
    // Prevent default form submission
    event.preventDefault();

    // Clear previous messages
    message.innerHTML = "";

    // Get date input value
    const dateInput = document.getElementById("dateInput").value.trim();

    // Regular expression for YYYY-MM-DD format
    const dateRegex = /^\d{4}-(0[1-9]|1[0-2])-(0[1-9]|[12]\d|3[01])$/;

    // Check if the date matches the format
    if (dateRegex.test(dateInput)) {
        const [year, month, day] = dateInput.split('-').map(Number);

        // Check if the date is valid
        const isValidDate = (new Date(year, month - 1, day).getDate() === day);

        if (isValidDate) {
            message.innerHTML = "<p class='success'>Date is valid!</p>";
        } else {
            message.innerHTML = "<p class='error'>Invalid date. Please enter a realistic date.</p>";
        }
    } else {
        message.innerHTML = "<p class='error'>Invalid date format. Use YYYY-MM-DD (e.g., 2023-12-31).</p>";
    }
});
Explanation:
- Regex Pattern:
- ^\d{4}: Matches a 4-digit year.
- -(0[1-9]|1[0-2]): Matches months from 01 to 12.
- -(0[1-9]|[12]\d|3[01]): Matches days from 01 to 31.
- Logical Validation:
- The Date object in JavaScript handles overflow (e.g., 2023-02-30 becomes 2023-03-02).
- By checking if the new Date(year, month – 1, day).getDate() equals the input day; we ensure the date is realistic.
- Messages:
- If the date is valid, a success message is displayed.
- When a date or format is considered unreasonable, an error notice is displayed.
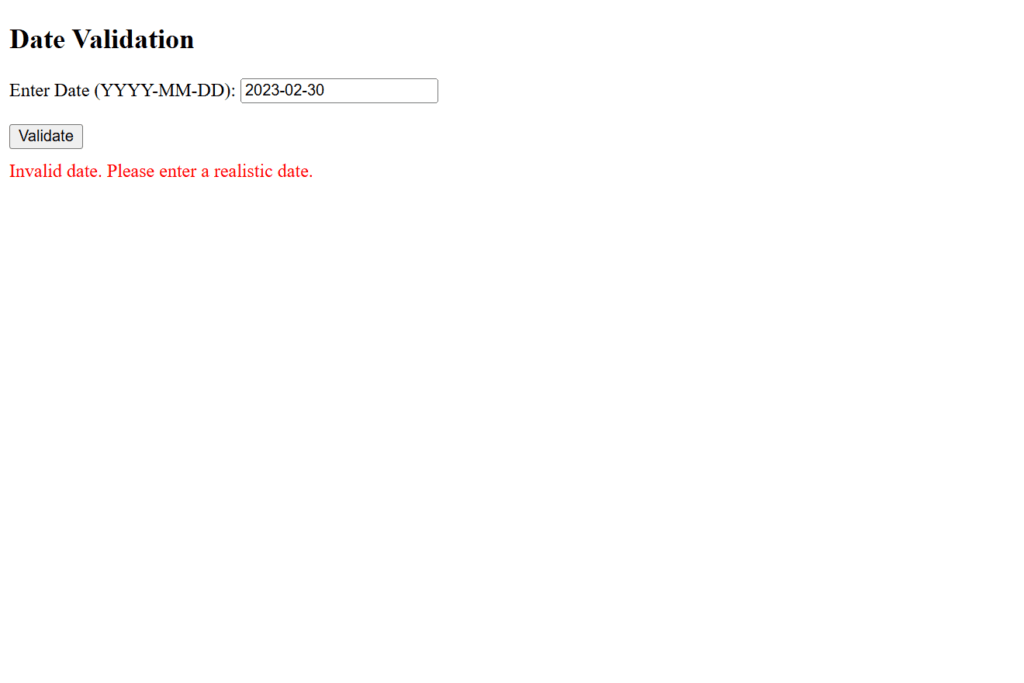
Figure 14 – Displaying the output of validating date (Invalid Date)
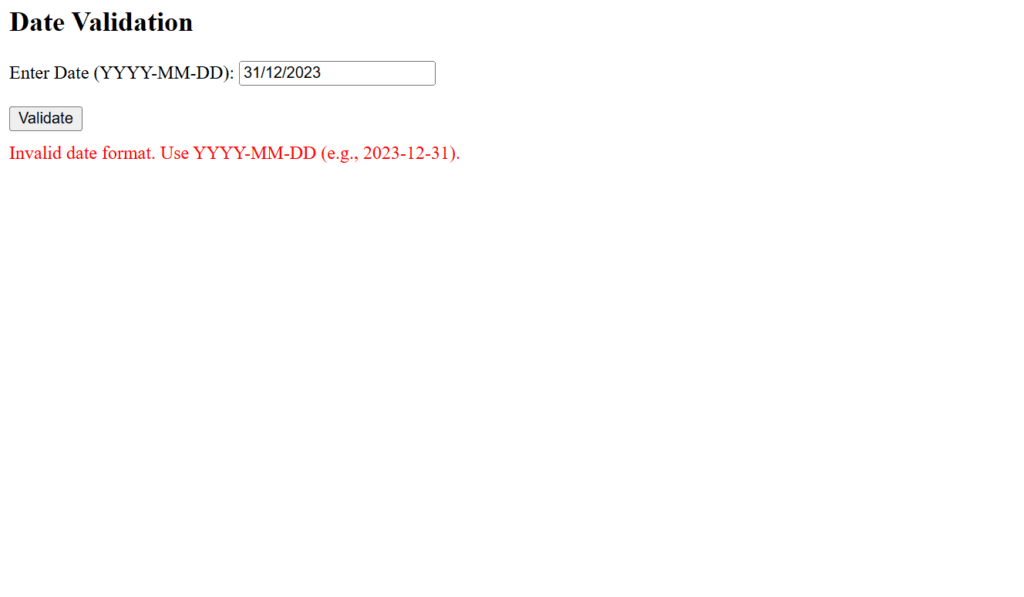
Figure 15 – Invalid Date Format
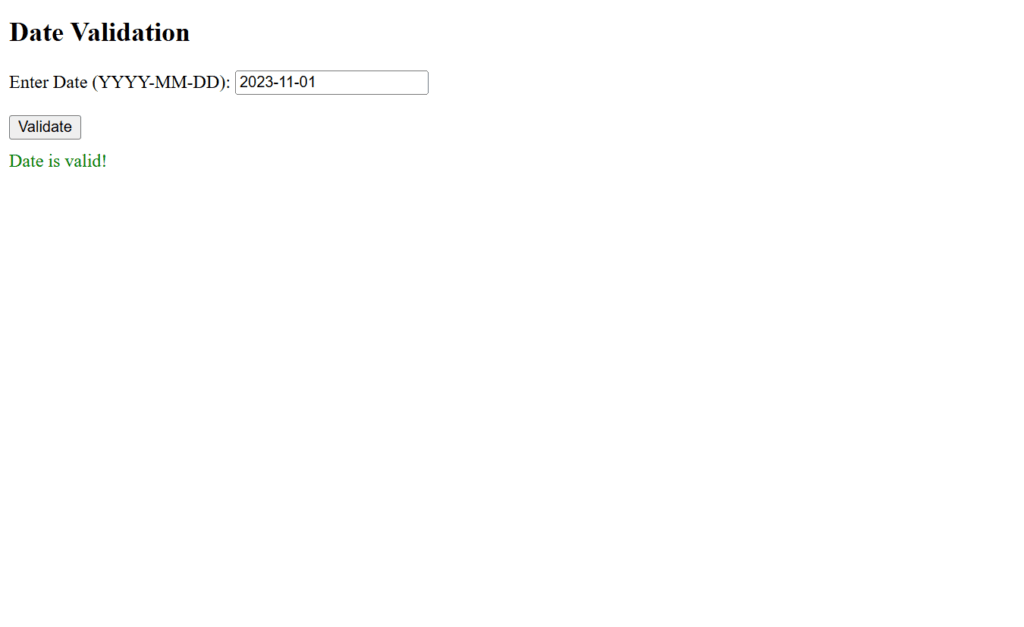
Figure 16 – Valid Date
These examples show how to use JavaScript to validate dates, ensuring that the input is formatted and logically correct.
Validating Credit Cards:
Credit card validation ensures that the input is a valid credit card number format and adheres to the Luhn algorithm, which is widely used for validation purposes.
Features of This Example:
- Sanitization:
- takes hyphens and spaces out of the input so that user-friendly formats like 4111-1111-1111-1111 can be used.
- Regex Validation:
- Ensures the input contains only numeric characters and is 13–19 digits long.
- Luhn Algorithm:
- uses the checksum to validate the authenticity of the credit card number.
- User Feedback:
- Provides clear success or error messages.
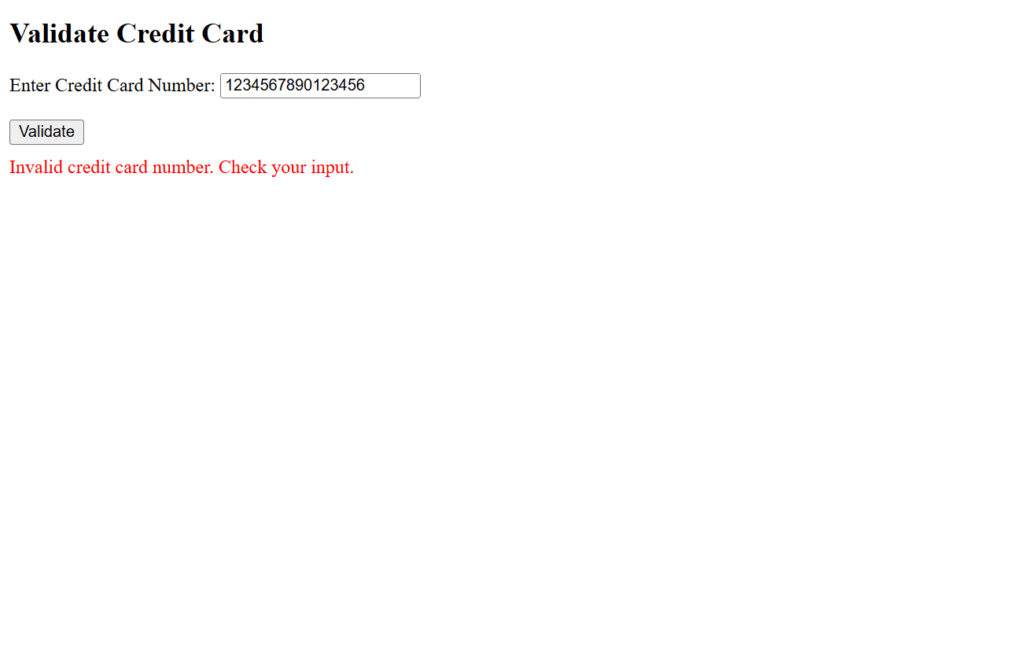
Figure 17 – Displaying the output of validating credit cards (Invalid card number)

Figure 18 – Invalid card number format
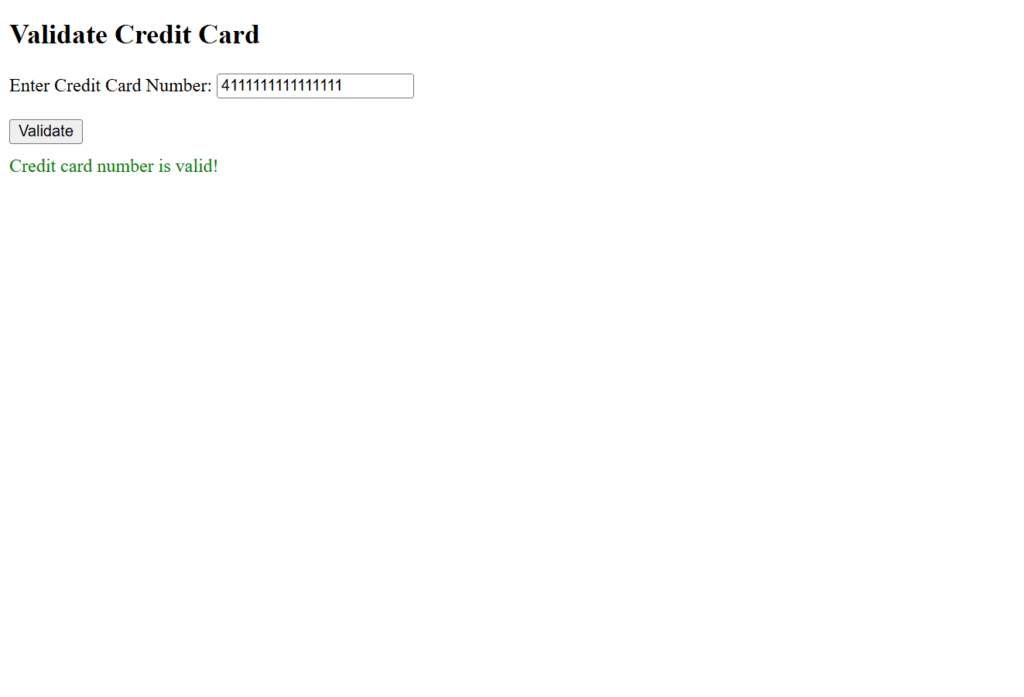
Figure 19 – Valid card number
While maintaining compliance with practical criteria such as format checks and logical validation, this version of credit card validation offers simplicity.
Validating Zip Code: (Validating Indian PIN Code in JavaScript:)
Postal codes (PIN codes) in India are six-digit, numeric codes. The successful validation of Indian PIN codes is shown in this example.
Validation Criteria for Indian PIN Codes:
- Length:
- Must be exactly 6 digits.
- Numeric Only:
- Contains only digits (no letters or special characters).
- First Digit:
- Cannot start with 0.
Example: Validating Indian PIN Code (HTML Form)
<!DOCTYPE html>
<html lang="en">
<head>
    <meta charset="UTF-8">
    <meta name="viewport" content="width=device-width, initial-scale=1.0">
    <title>Indian PIN Code Validation</title>
    <style>
        .error {
            color: red;
            margin-top: 10px;
        }
        .success {
            color: green;
            margin-top: 10px;
        }
    </style>
</head>
<body>
    <h2>Validate Indian PIN Code</h2>
    <form id="pinCodeForm">
        <label for="pinCode">Enter PIN Code:</label>
        <input type="text" id="pinCode" name="pinCode" placeholder="e.g., 560001"><br><br>
        <button type="submit">Validate</button>
    </form>
    <div id="message"></div>

    <script>
        // Select the form and message container
        const pinCodeForm = document.getElementById("pinCodeForm");
        const message = document.getElementById("message");

        // Event listener for form submission
        pinCodeForm.addEventListener("submit", function (event) {
            event.preventDefault(); // Prevent default form submission

            // Clear previous messages
            message.innerHTML = "";

            // Get PIN code input value
            const pinCode = document.getElementById("pinCode").value.trim();

            // Regular expression for Indian PIN codes
            const pinCodeRegex = /^[1-9][0-9]{5}$/;

            // Validate the PIN code
            if (pinCodeRegex.test(pinCode)) {
                message.innerHTML = "<p class='success'>PIN Code is valid!</p>";
            } else {
                message.innerHTML = "<p class='error'>Invalid PIN Code. Please enter a valid 6-digit PIN Code starting with 1-9.</p>";
            }
        });
    </script>
</body>
</html>
Explanation:
- Regex Pattern:
- ^[1-9]: Ensures the first digit is between 1 and 9 (cannot start with 0).
- [0-9]{5}: Matches exactly 5 more digits after the first.
- ^ and $: Ensure the entire input matches this format.
- Validation Process:
- Validates that the input is exactly 6 numeric digits.
- Ensures the first digit is non-zero.
- User Feedback:
- If the input is valid, a success message is displayed.
- When input turns out to be invalid, an error message is displayed.
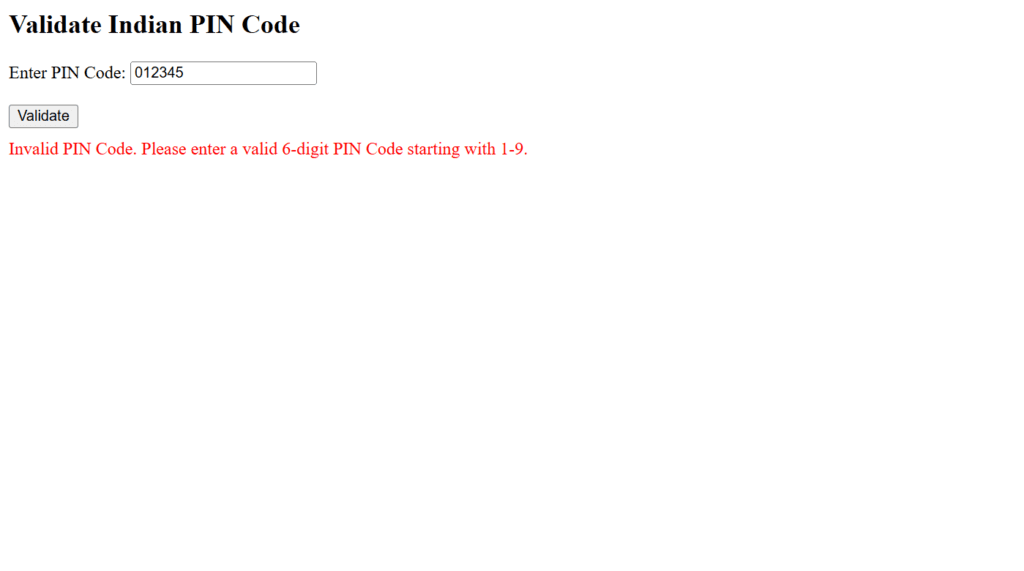
Figure 20 – Displaying the output of validating zip code (Invalid code)

Figure 21 – Valid Code
This example validates Indian PIN codes with clear user feedback, covering both format and logical constraints.
Using Regular Expression to Validate Email Address
To make sure that user-provided email addresses follow accepted formats, email validation is necessary. Email addresses can be successfully validated using a regular expression (regex).
Validation Criteria for an Email Address:
- Structure:
- Starts with a valid local part (before
@), which may include:- Letters, digits, hyphens, and periods.
- No consecutive dots.
- Contains exactly one
@symbol. - Domain part (after
@) includes:- The domain name and TLD should be separated by at least one period.
- TLD and domain are valid, and no special characters are used.
- Starts with a valid local part (before
- Regex for Validation:
/^[a-zA-Z0-9._%+-]+@[a-zA-Z0-9.-]+\.[a-zA-Z]{2,}$/Example: Email Validation (HTML Form)
<!DOCTYPE html>
<html lang="en">
<head>
    <meta charset="UTF-8">
    <meta name="viewport" content="width=device-width, initial-scale=1.0">
    <title>Email Validation</title>
    <style>
        .error {
            color: red;
            margin-top: 10px;
        }
        .success {
            color: green;
            margin-top: 10px;
        }
    </style>
</head>
<body>
    <h2>Validate Email Address</h2>
    <form id="emailForm">
        <label for="email">Enter Email Address:</label>
        <input type="text" id="email" name="email" placeholder="e.g., user@example.com"><br><br>
        <button type="submit">Validate</button>
    </form>
    <div id="message"></div>

    <script>
        // Select the form and message container
        const emailForm = document.getElementById("emailForm");
        const message = document.getElementById("message");

        // Event listener for form submission
        emailForm.addEventListener("submit", function (event) {
            event.preventDefault(); // Prevent default form submission

            // Clear previous messages
            message.innerHTML = "";

            // Get the email input value
            const email = document.getElementById("email").value.trim();

            // Regular expression for email validation
            const emailRegex = /^[a-zA-Z0-9._%+-]+@[a-zA-Z0-9.-]+\.[a-zA-Z]{2,}$/;

            // Validate the email address
            if (emailRegex.test(email)) {
                message.innerHTML = "<p class='success'>Email address is valid!</p>";
            } else {
                message.innerHTML = "<p class='error'>Invalid email address. Please enter a valid email in the format user@example.com.</p>";
            }
        });
    </script>
</body>
</html>
Explanation:
- Regex Breakdown:
- ^[a-zA-Z0-9.%+-]+: Matches the local part of the email (letters, digits, and special characters like ., , %, +, -).
- @: Ensures exactly one @ symbol.
- [a-zA-Z0-9.-]+: Matches the domain part (letters, digits, periods, and hyphens).
- .[a-zA-Z]{2,}$: Matches the top-level domain (TLD) with at least 2 characters.
- Validation Process:
- compares the email string entered with the regex pattern.
- When an email address is valid, a success message is displayed.
- When a format is invalid, an error message is displayed.
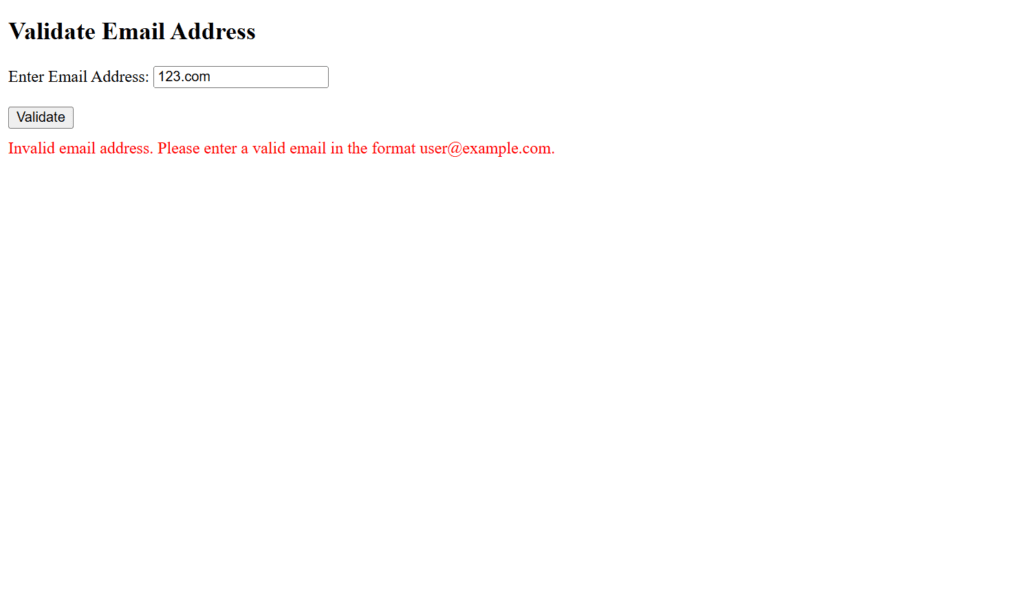
Figure 22 – Displaying the output of validating email address (Invalid email)

Figure 23 – Valid Email Address
Handling Exceptions:
Exception handling in JavaScript allows developers to handle errors gracefully and guarantees that runtime errors do not result in program crashes. The try…catch block is the one most frequently utilized to manage exceptions.
Key Components of Exception Handling:
- try Block:
- includes code that might trigger an error.
- Execution immediately stops and control moves to the catch block in the event of an error.
- catch Block:
- manages the errors that are thrown in the try block.
- gives information about the error through the error object.
- manages the errors that are thrown in the try block.
- finally Block (Optional):
- includes code that executes regardless of whether an error occurred, following the try and catch blocks.
- throw Statement:
- Used to create custom errors.
Example: Handling Exceptions in JavaScript: (Scenario: Dividing Two Numbers)
When dividing two numbers, this example shows how to deal with exceptions. Custom error handling for invalid inputs is part of it.
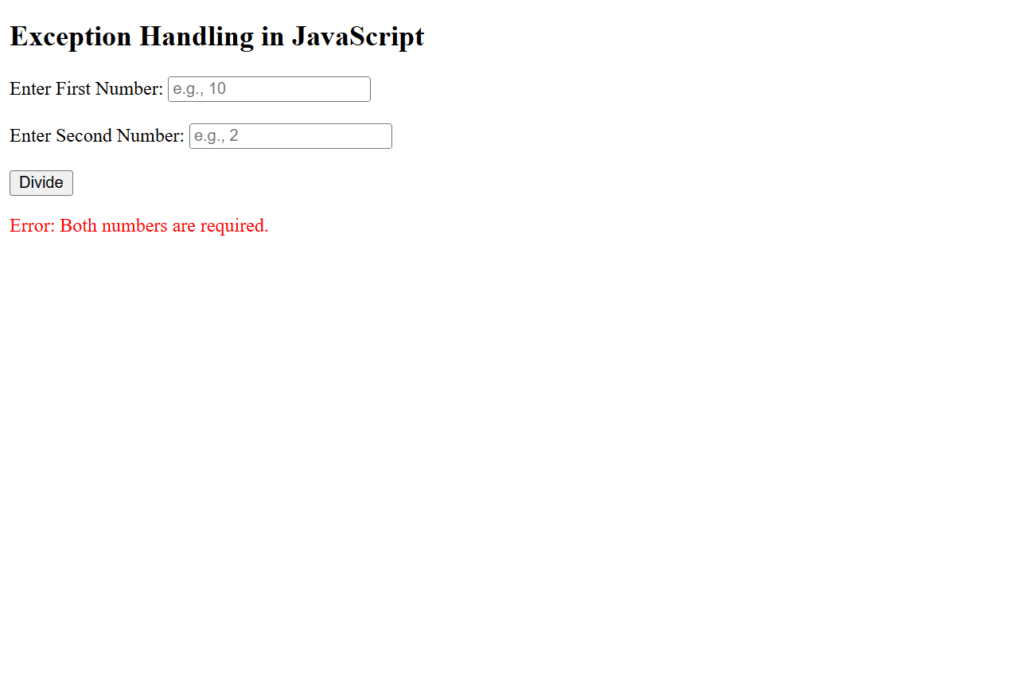
Figure 24 – Empty input (Error: “Both numbers are required.”)
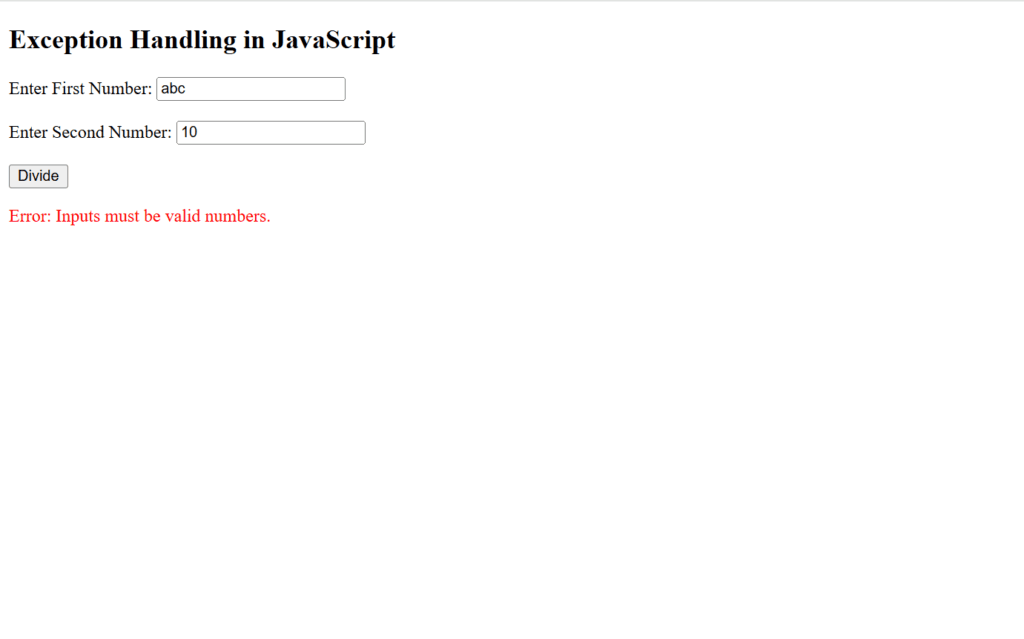
Figure 25 – Non-numeric input (Error: “Inputs must be valid numbers.”)
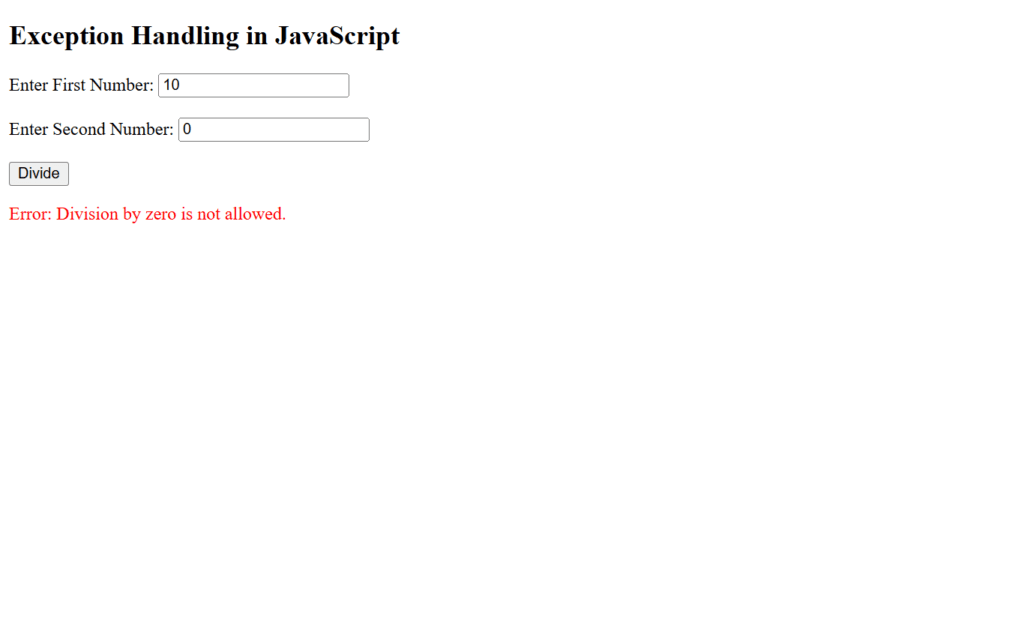
Figure 26 – Division by zero (Error: “Division by zero is not allowed.”)
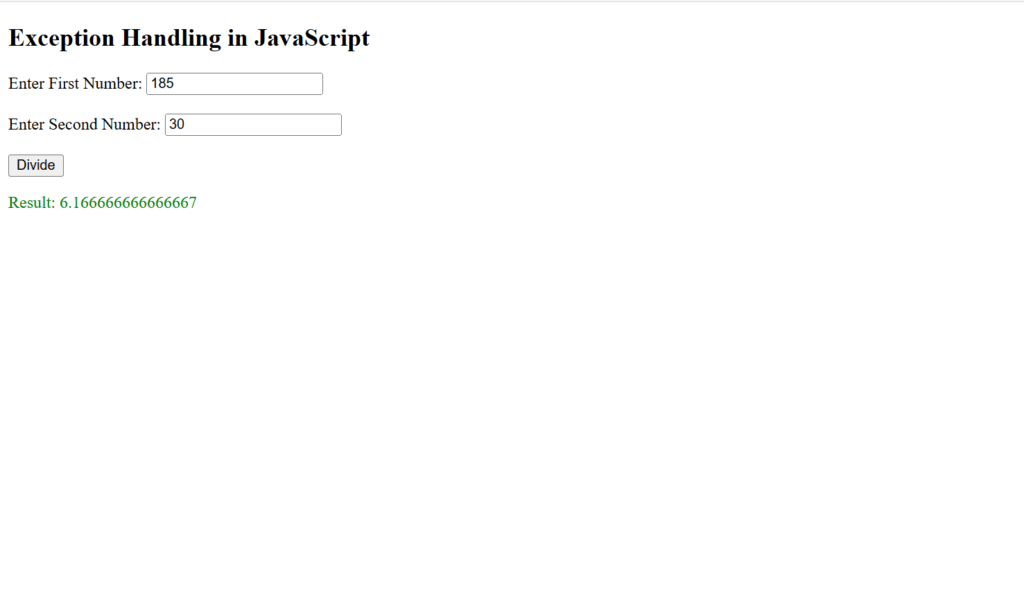
Figure 27 – Displaying the output of Using Handling Exception (Valid input)
Even in the event of errors, try…catch guarantees that the program will run smoothly. Better user experience and debugging support are offered by custom errors. For cleanup tasks like terminating connections or resetting user interface elements, the finally block is perfect.