Simple Methods of Using Objects in Javascript: To begin, first refer to – objects-in-javascript
Working with Templates of an Object:
Creating objects with comparable structures or constructing additional objects from a basic object are examples of using templates for objects. There are various ways to accomplish this, from simple methods to more complex ones. Here is a simple illustration:
Creating and Using Templates in HTML:
Use the <template> tag to define an HTML template first. Although not displayed on the website, this tag contains the HTML element’s structure. After that, clone the template, fill it with data, and insert it into the DOM using JavaScript.
<!DOCTYPE html>
<html lang="en">
<head>
    <meta charset="UTF-8">
    <meta name="viewport" content="width=device-width, initial-scale=1.0">
    <title>Object Templates in HTML</title>
</head>
<body>
    <!-- Template definition -->
    <template id="person-template">
        <div class="person">
            <h2 class="name"></h2>
            <p class="age"></p>
        </div>
    </template>

    <!-- Container for the generated content -->
    <div id="people-container"></div>

    <script>
        // JavaScript code to populate the template
        document.addEventListener('DOMContentLoaded', function() {
            const template = document.getElementById('person-template');
            const container = document.getElementById('people-container');

            // Data for the objects
            const people = [
                { name: 'Alice', age: 25 },
                { name: 'Bob', age: 30 }
            ];

            // Function to create a person element
            function createPerson(person) {
                const clone = template.content.cloneNode(true);
                clone.querySelector('.name').textContent = person.name;
                clone.querySelector('.age').textContent = `Age: ${person.age}`;
                container.appendChild(clone);
            }

            // Create and append person elements
            people.forEach(createPerson);
        });
    </script>
</body>
</html>
HTML Template: The elements for the name and age of a person object are contained in the <template> tag.
Container: The filled-in templates will be placed inside the <div id=”people-container”>.
- Check that the script executes after loading the DOM (DOMContentLoaded).
- template: Choose the element in the template.
- container: Chooses the element in the container where the filled-in templates will be placed.
- people: A collection of items with information for each person element.
- createPerson: A function that copies the template, adds the person object’s data, and attaches it to the container.
- forEach: Creates and appends a person element for each entry as iterates over the people array.
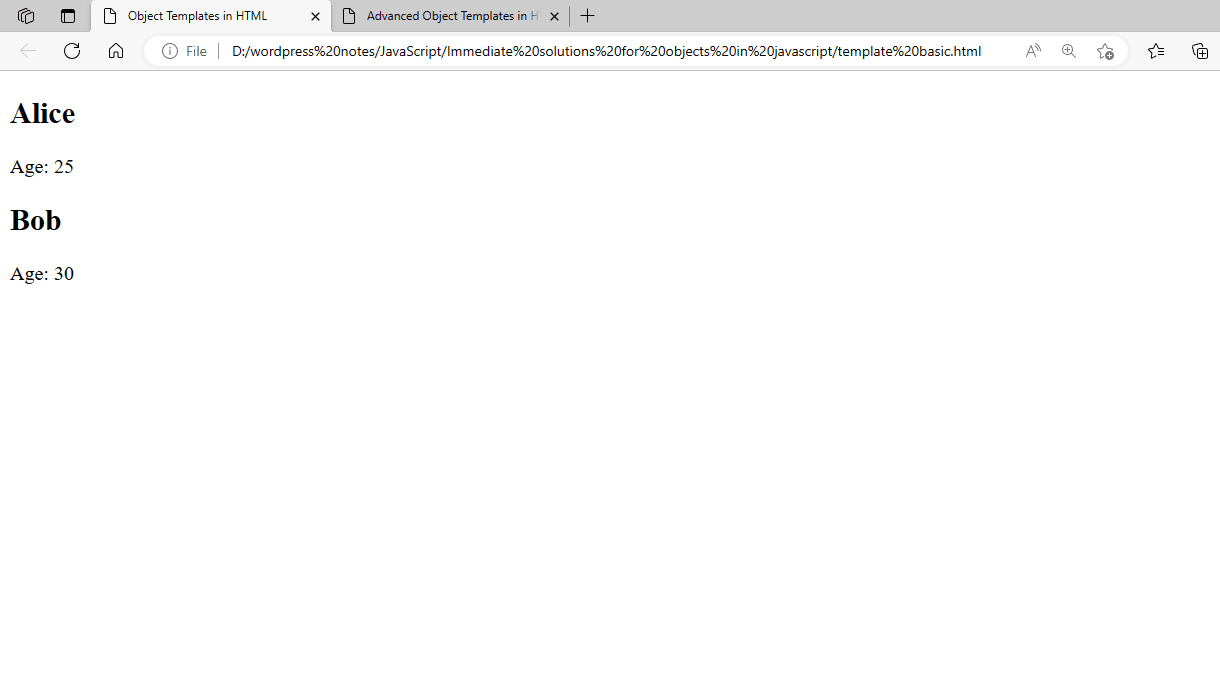
Figure 1 – Displaying the Basic Example of Using Templates of an Object in JavaScript
The script uses the supplied data and the template to construct and insert items when the page loads. The template structure will show the names and ages of each individual.
We may combine JavaScript classes, more dynamic data handling, and the <template> element for a more complex example of working with templates in HTML. This example will show how to use event listeners, dynamically update a list of person objects, and create the list.
Dynamic Templates with JavaScript Classes:
Using the <template> tag, define an HTML template with components for the person’s name, age, and an update button. To manage the dynamic creation and updating of person objects, create a JavaScript class.
<!DOCTYPE html>
<html lang="en">
<head>
    <meta charset="UTF-8">
    <meta name="viewport" content="width=device-width, initial-scale=1.0">
    <title>Advanced Object Templates in HTML</title>
    <style>
        .person {
            border: 1px solid #ccc;
            padding: 10px;
            margin: 10px;
        }
    </style>
</head>
<body>
    <!-- Template definition -->
    <template id="person-template">
        <div class="person">
            <h2 class="name"></h2>
            <p class="age"></p>
            <button class="update-age">Update Age</button>
        </div>
    </template>

    <!-- Container for the generated content -->
    <div id="people-container"></div>

    <script>
        // JavaScript class to handle person objects
        class Person {
            constructor(name, age) {
                this.name = name;
                this.age = age;

                // Clone the template
                const template = document.getElementById('person-template').content.cloneNode(true);

                // Set the name and age
                this.element = template.querySelector('.person');
                this.element.querySelector('.name').textContent = this.name;
                this.ageElement = this.element.querySelector('.age');
                this.ageElement.textContent = `Age: ${this.age}`;

                // Add event listener to the update button
                this.element.querySelector('.update-age').addEventListener('click', () => this.updateAge());

                // Append the element to the container
                document.getElementById('people-container').appendChild(this.element);
            }

            // Method to update the age
            updateAge() {
                this.age += 1;
                this.ageElement.textContent = `Age: ${this.age}`;
            }
        }

        // JavaScript code to create and handle person objects
        document.addEventListener('DOMContentLoaded', function() {
            // Data for the objects
            const peopleData = [
                { name: 'Alice', age: 25 },
                { name: 'Bob', age: 30 },
                { name: 'Charlie', age: 35 }
            ];

            // Create person objects
            const people = peopleData.map(data => new Person(data.name, data.age));
        });
    </script>
</body>
</html>- HTML Template: Specifies every person’s object’s name, age, and update button.
- JavaScript Class: The Person class contains the code necessary to create, update, and manage DOM interactions for a person element.
- Constructor: Adds an event listener, sets the name and age, clones the template, initializes the object, and appends the element to the container.
- updateAge Method: This method raises the age and modifies the DOM’s age display.
- Data handling: The person object’s initial data set is stored in the peopleData array.
- Dynamic Creation: Person instances produced with the peopleData are stored in the people array.
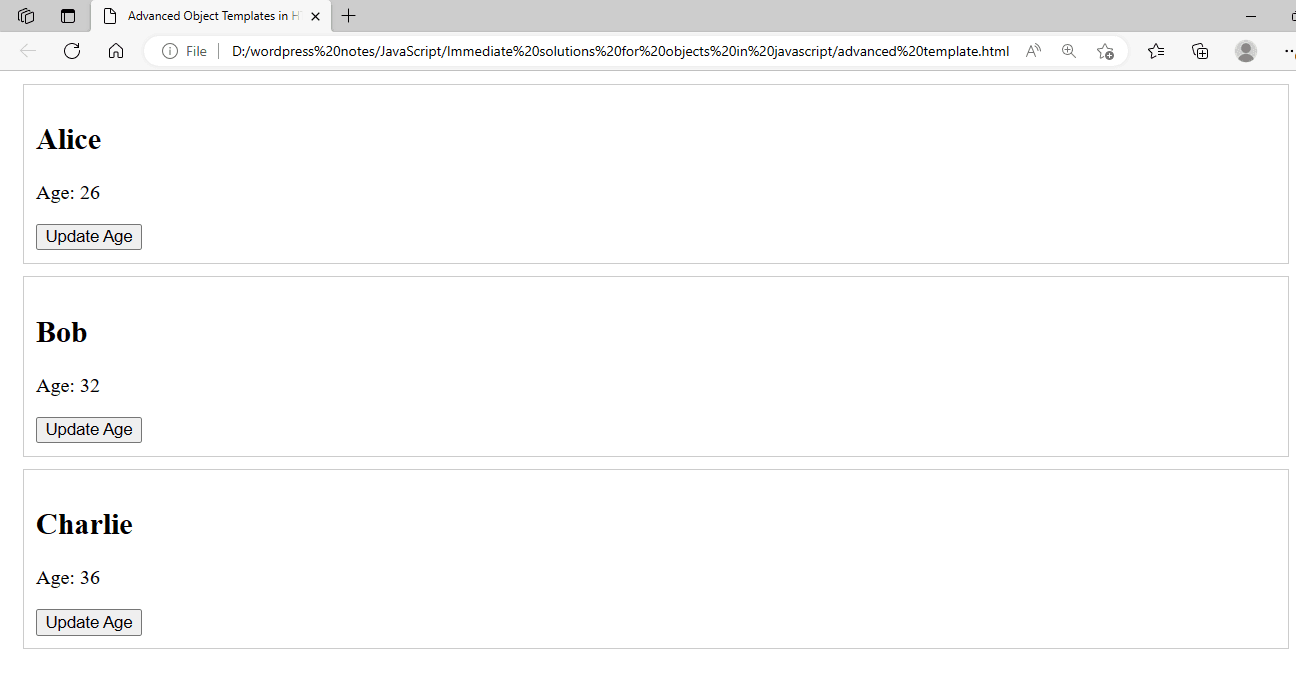
Figure 2 – Displaying the Advanced Example of Using Templates of an Object in JavaScript
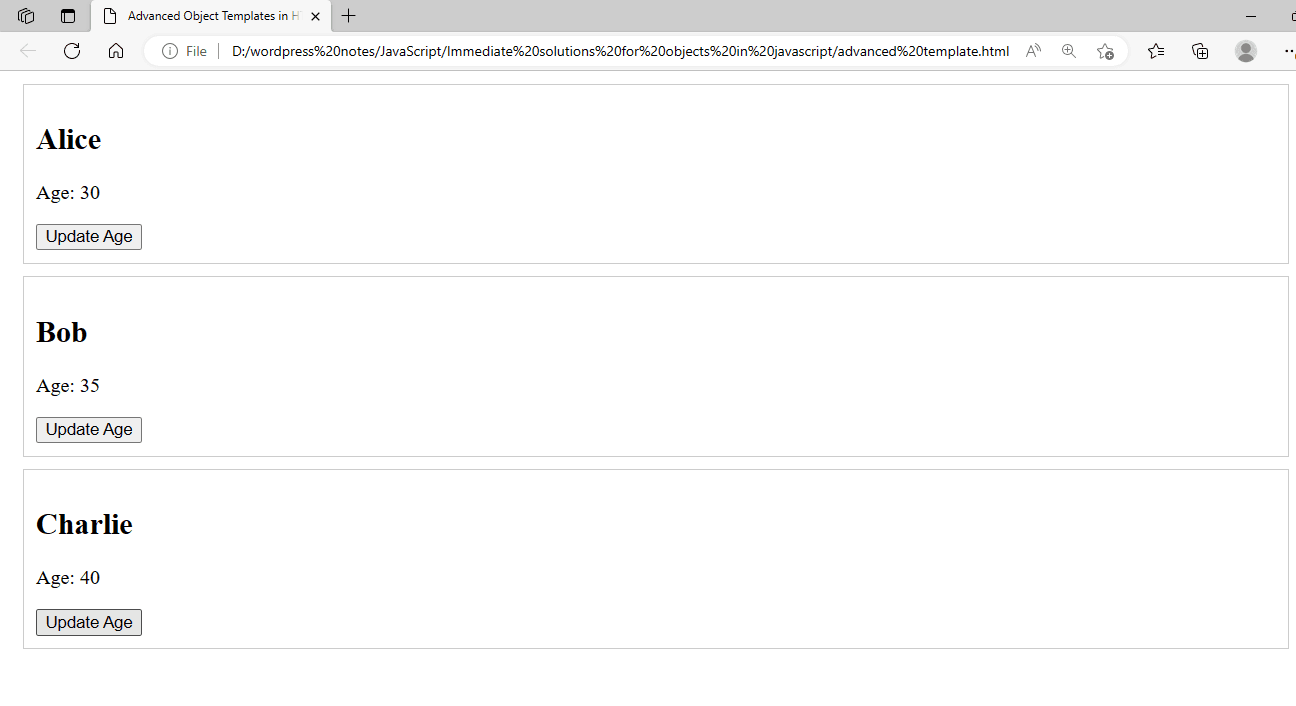
Figure 3 – Displaying the Advanced Example of Using Templates of an Object in JavaScript after Updating the Age
When the page loads, the script will generate and show people elements based on the data. Each human element will include a button to change the age, showcasing dynamic interaction with the template.
Working with the String Object:
There are numerous ways to deal with and manipulate strings in JavaScript, thanks to the String object. In this section, we’ll go over both basic and sophisticated instances of manipulating strings within an HTML document.
Simple Example: Basic String Methods:
Several fundamental string functions, including length, toUpperCase(), toLowerCase(), and slice(), will be shown in this example:
<!DOCTYPE html>
<html lang="en">
<head>
    <meta charset="UTF-8">
    <meta name="viewport" content="width=device-width, initial-scale=1.0">
    <title>Simple String Methods in JavaScript</title>
</head>
<body>
    <h1>Simple String Methods</h1>
    <div id="output"></div>

    <script>
        // Simple string example
        const str = "Hello, JavaScript!";

        // Getting the length of the string
        const length = str.length;

        // Converting the string to uppercase
        const upperCaseStr = str.toUpperCase();

        // Converting the string to lowercase
        const lowerCaseStr = str.toLowerCase();

        // Slicing the string
        const slicedStr = str.slice(7, 18);

        // Displaying the results
        document.getElementById('output').innerHTML = `
            <p>Original string: ${str}</p>
            <p>Length: ${length}</p>
            <p>Uppercase: ${upperCaseStr}</p>
            <p>Lowercase: ${lowerCaseStr}</p>
            <p>Sliced: ${slicedStr}</p>
        `;
    </script>
</body>
</html>- length: gives back the string’s length.
- toUpperCase(): This function raises the case of the string.
- Lowercase the string using the toLowerCase() function.
- slice(start, end): Takes a portion of the string and returns it.
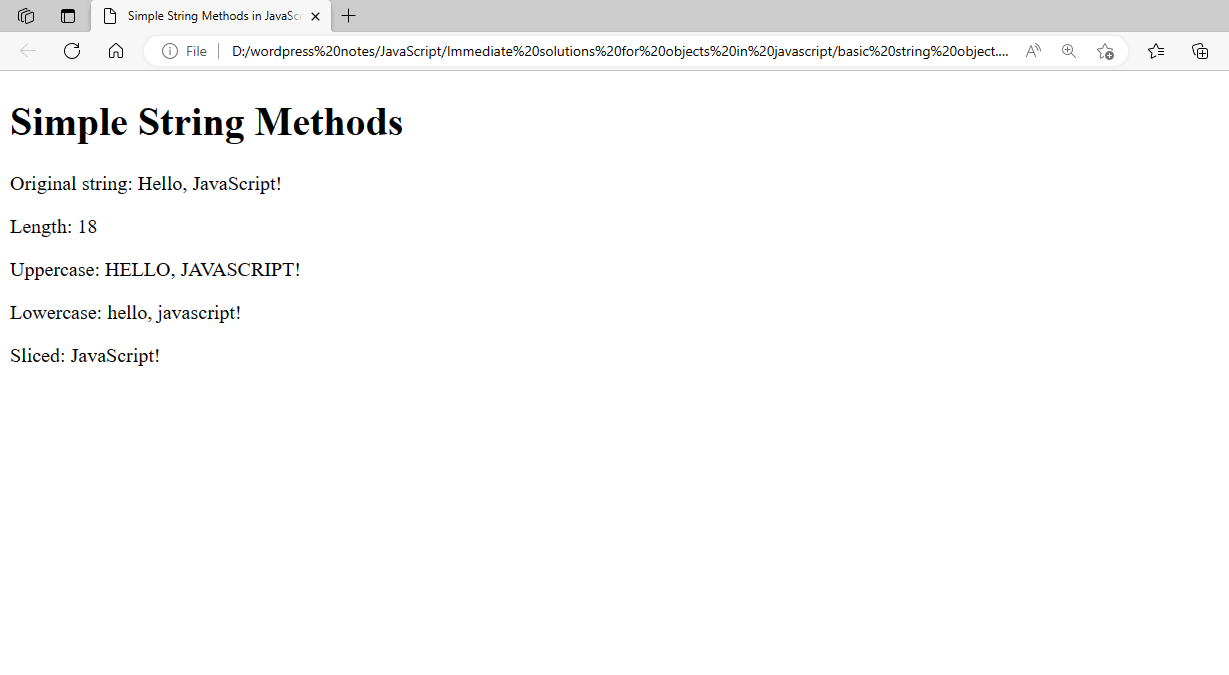
Figure 4 – Displaying the Output of Basic Example Using String Object in JavaScript
The goal of this advanced example is to construct a tiny application that allows the user to input a string, which we can then process using several string techniques. Substring(), includes(), split(), and replace() are some of the techniques we’ll utilize.
<!DOCTYPE html>
<html lang="en">
<head>
    <meta charset="UTF-8">
    <meta name="viewport" content="width=device-width, initial-scale=1.0">
    <title>Advanced String Methods in JavaScript</title>
    <style>
        #output p {
            margin: 5px 0;
        }
    </style>
</head>
<body>
    <h1>Advanced String Methods</h1>
    <input type="text" id="userInput" placeholder="Enter a string">
    <button onclick="processString()">Process String</button>

    <div id="output"></div>

    <script>
        function processString() {
            // Get user input
            const str = document.getElementById('userInput').value;

            // Check if the string includes a substring
            const includesJS = str.includes('JavaScript');

            // Replace a substring within the string
            const replacedStr = str.replace('JavaScript', 'JS');

            // Split the string into an array of words
            const words = str.split(' ');

            // Get a substring
            const substring = str.substring(0, 10);

            // Display the results
            document.getElementById('output').innerHTML = `
                <p>Original string: ${str}</p>
                <p>Includes 'JavaScript': ${includesJS}</p>
                <p>Replaced 'JavaScript' with 'JS': ${replacedStr}</p>
                <p>Words: ${words.join(', ')}</p>
                <p>Substring (first 10 characters): ${substring}</p>
            `;
        }
    </script>
</body>
</html>- includes(substring): Determines whether the given substring is present in the string.
- replace (substring, newSubstring): Inserts a new substring in place of the given substring.
- split(separator): This function divides the string according to the separator into an array of substrings.
- Characters from the string between the given indices are extracted using the substring function (start, end).

Figure 5 – Displaying the Output of Advanced Example Using String Object in JavaScript
Simple Form with a String Object in HTML:
Let’s build a basic HTML form that accepts user input as a string and uses JavaScript to display several string transformations. This will involve standard operations like as obtaining the length, slicing the string, and converting to uppercase, lowercase, and back again.
<!DOCTYPE html>
<html lang="en">
<head>
    <meta charset="UTF-8">
    <meta name="viewport" content="width=device-width, initial-scale=1.0">
    <title>String Object Form Example</title>
    <style>
        body {
            font-family: Arial, sans-serif;
            margin: 20px;
        }
        input[type="text"] {
            margin-bottom: 10px;
        }
    </style>
</head>
<body>
    <h1>String Object Form Example</h1>
    <form id="stringForm">
        <label for="userInput">Enter a string:</label><br>
        <input type="text" id="userInput" name="userInput"><br>
        <input type="submit" value="Submit">
    </form>

    <div id="output"></div>

    <script>
        document.getElementById('stringForm').addEventListener('submit', function(event) {
            event.preventDefault();

            // Get the input value
            const str = document.getElementById('userInput').value;

            // Perform string operations
            const length = str.length;
            const upperCaseStr = str.toUpperCase();
            const lowerCaseStr = str.toLowerCase();
            const slicedStr = str.slice(0, 10); // Slicing first 10 characters

            // Display the results
            document.getElementById('output').innerHTML = `
                <p>Original string: ${str}</p>
                <p>Length: ${length}</p>
                <p>Uppercase: ${upperCaseStr}</p>
                <p>Lowercase: ${lowerCaseStr}</p>
                <p>Sliced (first 10 characters): ${slicedStr}</p>
            `;
        });
    </script>
</body>
</html>- The form has a submit button and a text input field where the user can enter a string.
- A <div> containing the id output will display the result of the string operations.
- Simple styling improves the readability of the form and its output.
- The form now has an event listener attached to handle the submit event.
- Calling event.preventDefault() stops the form from submitting using the conventional method.
- The str variable contains the value that was retrieved and stored.
- The input string is subjected to several string methods, including:
- length: Returns the string’s length.
- toUpperCase(): This function raises the case of the string.
- Lowercase the string using the toLowerCase() function.
- slice(0, 10): Takes out the string’s first ten characters.
- The output div contains the results of these operations.
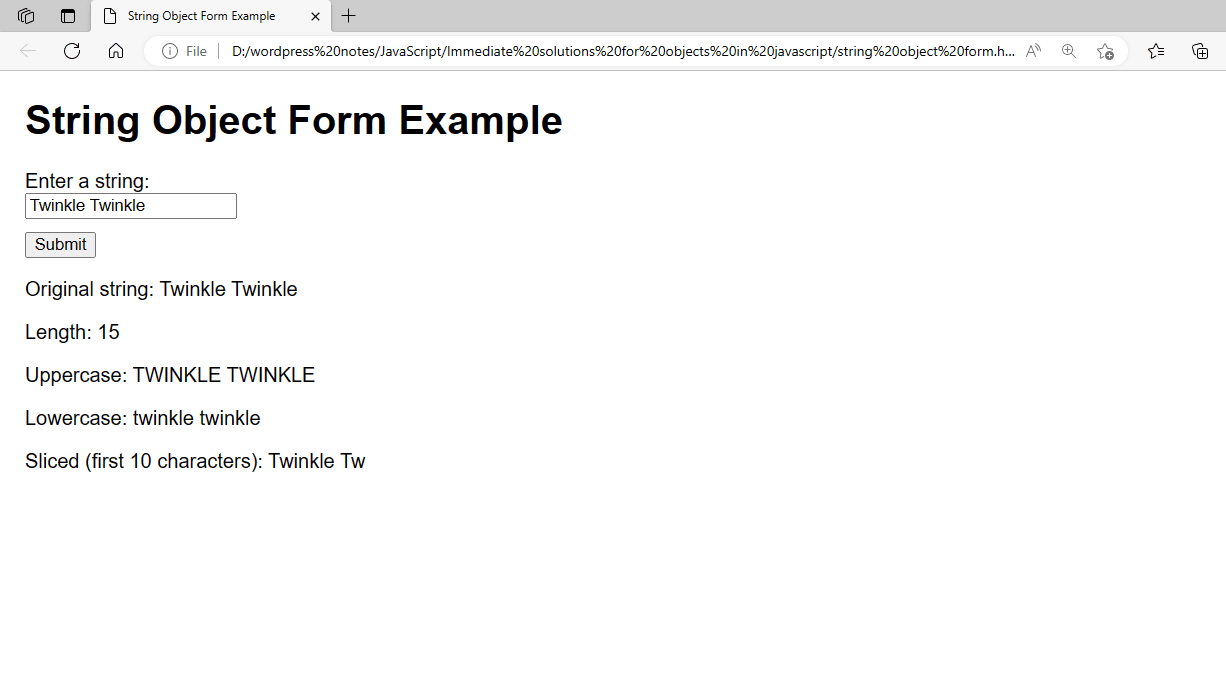
Figure 6 – Displaying the Output of Simple Form with a String Object in HTML
These examples demonstrate how to use JavaScript’s basic and advanced string methods within an HTML document to manipulate and interact with string data dynamically. They also demonstrate how to create a basic form that uses the String object to perform basic string operations and dynamically displays the results on the web page.
Working with the Boolean Object:
Let’s build an example to show how to use the JavaScript Boolean object. We’ll set up an HTML form that allows the user to enter a value, and JavaScript will assess the value’s Boolean representation and show the outcome.
This is an example that shows how to use JavaScript to determine and display whether an input value is considered true or false, along with a form for user input.
<!DOCTYPE html>
<html lang="en">
<head>
    <meta charset="UTF-8">
    <meta name="viewport" content="width=device-width, initial-scale=1.0">
    <title>Boolean Object Example</title>
    <style>
        body {
            font-family: Arial, sans-serif;
            margin: 20px;
        }
        input[type="text"] {
            margin-bottom: 10px;
        }
        #output {
            margin-top: 20px;
        }
    </style>
</head>
<body>
    <h1>Boolean Object Example</h1>
    <form id="booleanForm">
        <label for="userInput">Enter a value:</label><br>
        <input type="text" id="userInput" name="userInput"><br>
        <input type="submit" value="Submit">
    </form>

    <div id="output"></div>

    <script>
        document.getElementById('booleanForm').addEventListener('submit', function(event) {
            event.preventDefault();

            // Get the input value
            const inputValue = document.getElementById('userInput').value;

            // Convert input to a Boolean
            const booleanValue = Boolean(inputValue);

            // Display the result
            document.getElementById('output').innerHTML = `
                <p>Original value: "${inputValue}"</p>
                <p>Boolean value: ${booleanValue}</p>
            `;
        });
    </script>
</body>
</html>- The form has a text input field with a submit button where the user can enter a value.
- The boolean evaluation’s result will be shown in a <div> along with the id result.
- Simple styling to improve the readability of the form and its output.
- The form now has an event listener attached to handle the submit event.
- Calling event.preventDefault() stops the form from submitting using the conventional method.
- Using document.getElementById(‘userInput’).value, the input value is obtained.
- The input value is transformed into a Boolean using the Boolean constructor.
- InnerHTML is used to display the conversion’s result inside the output div.
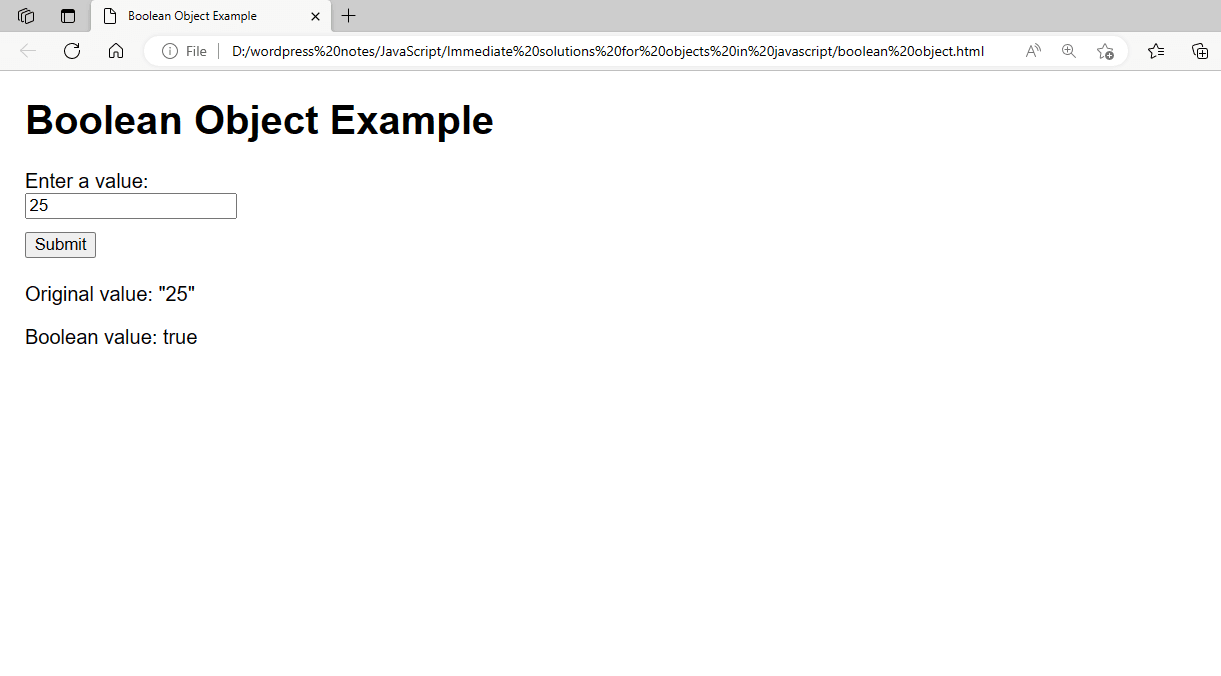
Figure 7 – Displaying the Output of Using Boolean Object in JavaScript
Any value can be converted to its Boolean counterpart and its truthiness or falsity can be ascertained by using the Boolean constructor. This example shows how to work with the Boolean object in JavaScript and provides a useful example of how user input may be processed and displayed dynamically.
Working with the Number Object:
In JavaScript, the Number object offers operations on numbers. Let’s build an example that shows off some of the fundamental features of the Number object, like how to convert numbers between various formats and parse strings into numbers. This is an example that shows a form that allows the user to enter a number, which JavaScript then parses and displays in several formats.
<!DOCTYPE html>
<html lang="en">
<head>
    <meta charset="UTF-8">
    <meta name="viewport" content="width=device-width, initial-scale=1.0">
    <title>Number Object Example</title>
    <style>
        body {
            font-family: Arial, sans-serif;
            margin: 20px;
        }
        input[type="text"] {
            margin-bottom: 10px;
        }
        #output {
            margin-top: 20px;
        }
    </style>
</head>
<body>
    <h1>Number Object Example</h1>
    <form id="numberForm">
        <label for="userInput">Enter a number:</label><br>
        <input type="text" id="userInput" name="userInput"><br>
        <input type="submit" value="Submit">
    </form>

    <div id="output"></div>

    <script>
        document.getElementById('numberForm').addEventListener('submit', function(event) {
            event.preventDefault();

            // Get the input value
            const inputValue = document.getElementById('userInput').value;

            // Parse input as a number
            const numberValue = parseFloat(inputValue);

            // Display the result
            document.getElementById('output').innerHTML = `
                <p>Original value: "${inputValue}"</p>
                <p>Number value: ${numberValue}</p>
                <p>Number value as fixed-point notation: ${numberValue.toFixed(2)}</p>
                <p>Number value as exponential notation: ${numberValue.toExponential()}</p>
            `;
        });
    </script>
</body>
</html>- The form has a text input field with a number entry option and a submit button.
- A <div> containing the id output will display the number parsing and formatting output.
- Simple styling improves the readability of the form and its output.
- The form now has an event listener attached to handle the submit event.
- Calling event.preventDefault() stops the form from submitting using the conventional method.
- Using document.getElementById(‘userInput’).value, the input value is obtained.
- To parse the supplied value as a floating-point number, use the parseFloat function.
- Using the toFixed and toExponential methods of the Number object, the parsed number is formatted as fixed-point and exponential notation and shown in its original form.
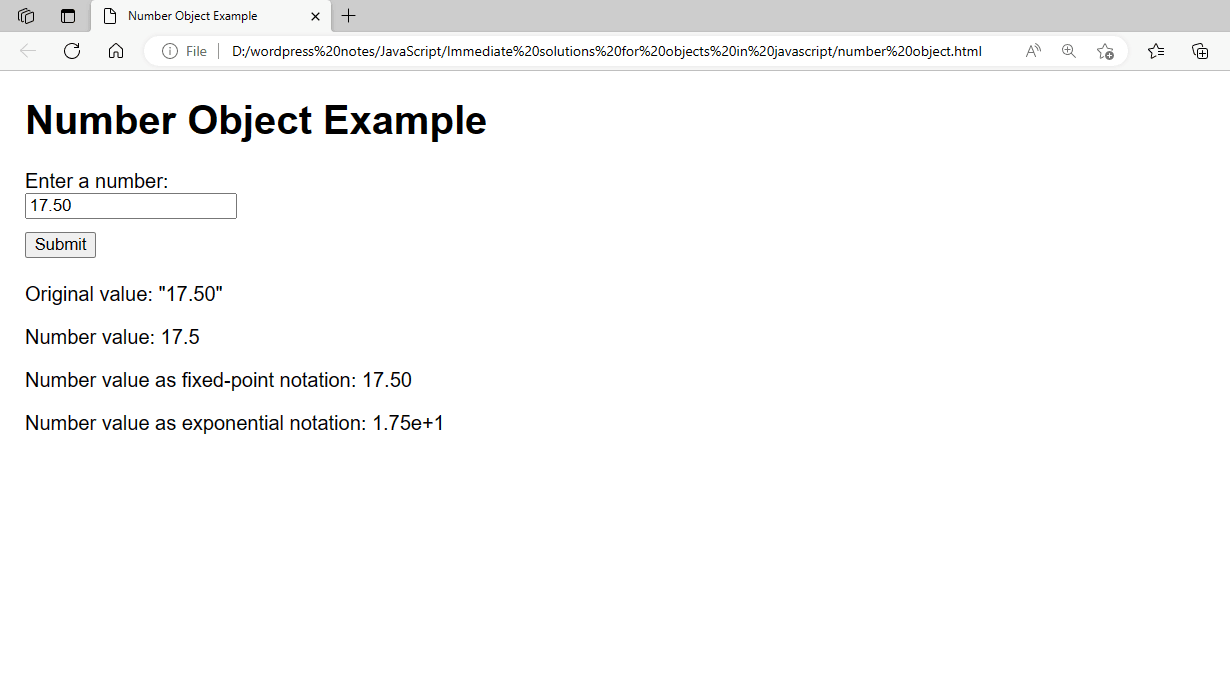
Figure 8 – Displaying the Output of Using the Number Object in JavaScript
These methods offer an excellent example of working with the Number object and may be used to manipulate and format numbers in JavaScript.
JavaScript’s Array object offers numerous methods for manipulating arrays. Let’s build an example that shows off some of the fundamental features of the Array object, like array creation, element addition and removal, and array iteration. This example contains a form that allows the user to enter values to be added to an array. After that, JavaScript will work with the array and show the outcome.
<!DOCTYPE html>
<html lang="en">
<head>
    <meta charset="UTF-8">
    <meta name="viewport" content="width=device-width, initial-scale=1.0">
    <title>Array Object Example</title>
    <style>
        body {
            font-family: Arial, sans-serif;
            margin: 20px;
        }
        input[type="text"] {
            margin-bottom: 10px;
        }
        #output {
            margin-top: 20px;
        }
    </style>
</head>
<body>
    <h1>Array Object Example</h1>
    <form id="arrayForm">
        <label for="userInput">Enter a value to add to the array:</label><br>
        <input type="text" id="userInput" name="userInput"><br>
        <input type="submit" value="Add to Array">
    </form>

    <div id="output"></div>

    <script>
        let myArray = [];

        document.getElementById('arrayForm').addEventListener('submit', function(event) {
            event.preventDefault();

            // Get the input value
            const inputValue = document.getElementById('userInput').value;

            // Add the input value to the array
            myArray.push(inputValue);

            // Display the result
            document.getElementById('output').innerHTML = `
                <p>Array: [${myArray.join(', ')}]</p>
                <p>Length: ${myArray.length}</p>
            `;
        });
    </script>
</body>
</html>- The form has a text input field where the user can enter data, and when the field is submitted, the value is added to an array.
- A <div> containing the id output will display the result of the array operation.
- Simple styling improves the readability of the form and its output.
- The values are initialized into an empty array called myArray.
- The form now has an event listener attached to handle the submit event.
- Calling event.preventDefault() stops the form from submitting using the conventional method.
- Using document.getElementById(‘userInput’).value, the input value is obtained.
- The input value is appended to the array using the push technique.
- Join(‘, ‘) is used to show the array’s length and in a comma-separated format.
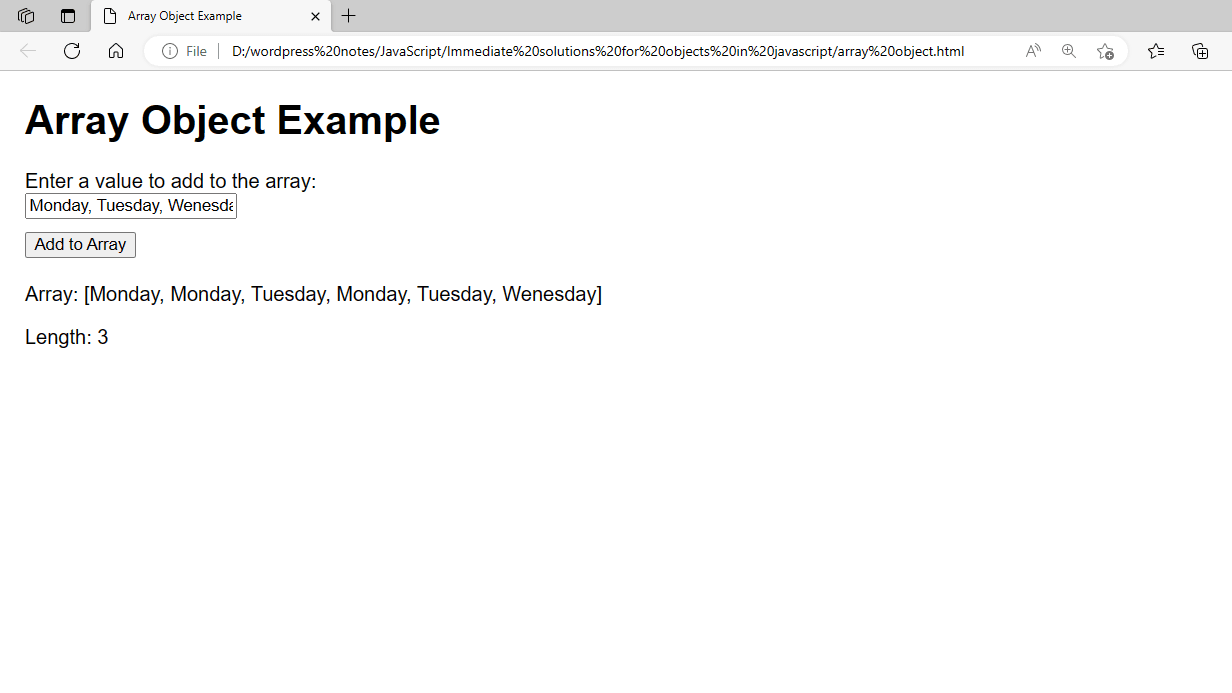
Figure 9 – Displaying the Output of Using the Array Object in JavaScript
JavaScript’s Array object offers numerous methods for manipulating arrays, including element addition and removal, array iteration, and element search. This example shows how to work with the Array object in JavaScript virtually by adding components to the array dynamically based on user input.
Working with the Date Object:
JavaScript’s Date object is used to manipulate dates and times. To illustrate some of the fundamental features of the Date object, including how to construct one, get the current date and time, and format dates, let’s make an example. This sample includes a basic method to show the time and date, along with a form that allows the user to enter a date to show it in a certain manner.
<!DOCTYPE html>
<html lang="en">
<head>
    <meta charset="UTF-8">
    <meta name="viewport" content="width=device-width, initial-scale=1.0">
    <title>Date Object Example</title>
    <style>
        body {
            font-family: Arial, sans-serif;
            margin: 20px;
        }
        input[type="text"] {
            margin-bottom: 10px;
        }
        #output {
            margin-top: 20px;
        }
    </style>
</head>
<body>
    <h1>Date Object Example</h1>
    <p id="currentDate"></p>
    <form id="dateForm">
        <label for="userInput">Enter a date (YYYY-MM-DD):</label><br>
        <input type="text" id="userInput" name="userInput"><br>
        <input type="submit" value="Format Date">
    </form>

    <div id="output"></div>

    <script>
        // Display the current date and time
        const currentDateElement = document.getElementById('currentDate');
        const currentDate = new Date();
        currentDateElement.textContent = `Current date and time: ${currentDate.toString()}`;

        // Format a user-input date
        document.getElementById('dateForm').addEventListener('submit', function(event) {
            event.preventDefault();

            // Get the input value
            const inputValue = document.getElementById('userInput').value;

            // Create a new date object from the input value
            const inputDate = new Date(inputValue);

            // Check if the input date is valid
            if (isNaN(inputDate.getTime())) {
                document.getElementById('output').textContent = 'Invalid date. Please enter a valid date in the format YYYY-MM-DD.';
            } else {
                // Display the formatted date
                document.getElementById('output').textContent = `Formatted date: ${inputDate.toDateString()}`;
            }
        });
    </script>
</body>
</html>- The current date and time are displayed on the website in a paragraph with the id currentDate.
- The form has a text input field where users can enter dates in the MM-DD format. The date can be formatted by clicking the submit button.
- The formatted date will be shown with the id output in a <div>.
- Simple styling improves the readability of the form and its output.
- The current date and time are presented using the Date object and its toString() function.
- The form now has an event listener attached to handle the submit event.
- Calling event.preventDefault() stops the form from submitting the conventional method.
- Using document.getElementById(‘userInput’).value, the input value is obtained.
- The input value is used to construct a new Date object.
- The validity of the input date is verified using the getTime() function. GetTime() returns NaN if the date is invalid and returns the milliseconds since January 1, 1970, if the date is valid.
- If the date entered is legitimate, the Date object’s toDateString() method formats the date and displays it.
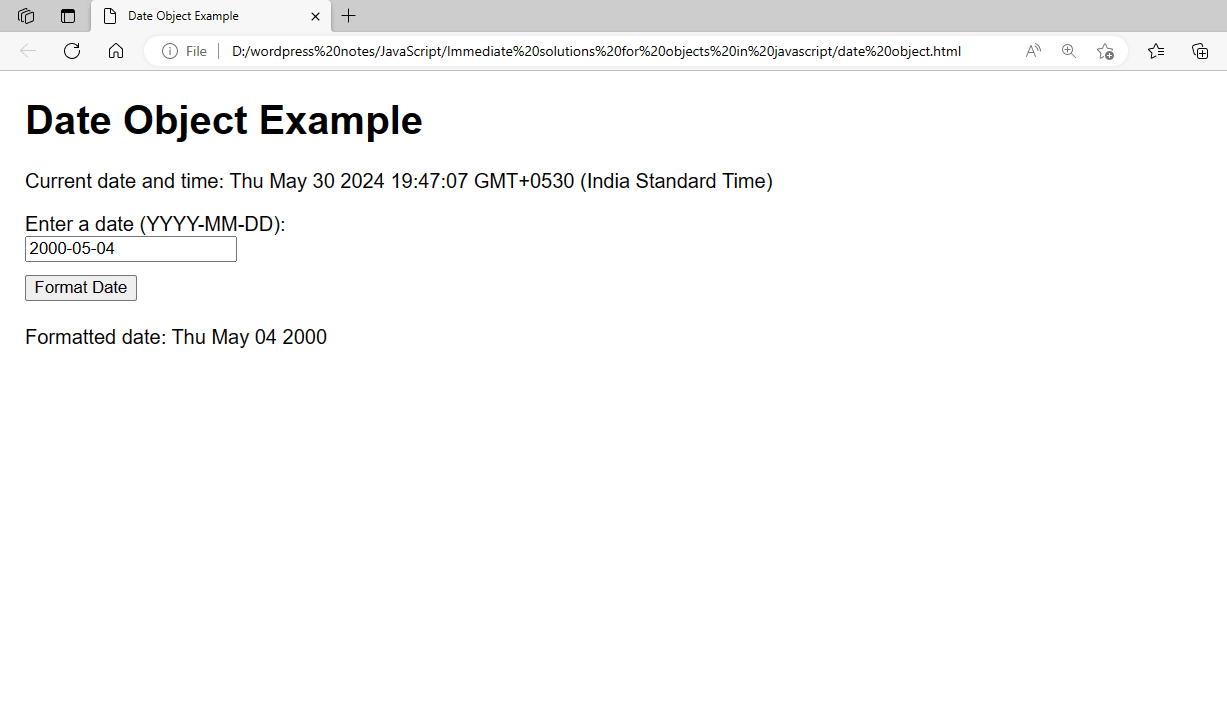
Figure 10 – Displaying the Output of Using the Date Object in JavaScript
JavaScript’s Date object offers numerous methods for manipulating dates and times, including the ability to create new Date objects, retrieve and set different date components (such as the year, month, day, hour, minute, second, and millisecond), and format dates in various ways. This example gives a practical example of using the Date object in JavaScript by showing how to format a user-inputted date and display the current date and time.
Working with the Math Object:
JavaScript’s Math object offers mathematical functions and constants. Now let’s build an example that shows off some of the fundamental functions of the Math object, such as calculating trigonometric functions, rounding integers, and producing random numbers. This example shows a form where the user can enter a number, and JavaScript uses the Math object to execute several mathematical operations and display the result.
<!DOCTYPE html>
<html lang="en">
<head>
    <meta charset="UTF-8">
    <meta name="viewport" content="width=device-width, initial-scale=1.0">
    <title>Math Object Example</title>
    <style>
        body {
            font-family: Arial, sans-serif;
            margin: 20px;
        }
        input[type="text"] {
            margin-bottom: 10px;
        }
        #output {
            margin-top: 20px;
        }
    </style>
</head>
<body>
    <h1>Math Object Example</h1>
    <form id="mathForm">
        <label for="userInput">Enter a number:</label><br>
        <input type="text" id="userInput" name="userInput"><br>
        <input type="submit" value="Perform Math Operations">
    </form>

    <div id="output"></div>

    <script>
        document.getElementById('mathForm').addEventListener('submit', function(event) {
            event.preventDefault();

            // Get the input value
            const inputValue = parseFloat(document.getElementById('userInput').value);

            // Check if the input value is a valid number
            if (!isNaN(inputValue)) {
                // Perform math operations
                const absoluteValue = Math.abs(inputValue);
                const squareRoot = Math.sqrt(inputValue);
                const roundedValue = Math.round(inputValue);
                const randomValue = Math.random();

                // Display the result
                document.getElementById('output').innerHTML = `
                    <p>Original value: ${inputValue}</p>
                    <p>Absolute value: ${absoluteValue}</p>
                    <p>Square root: ${squareRoot}</p>
                    <p>Rounded value: ${roundedValue}</p>
                    <p>Random value (between 0 and 1): ${randomValue}</p>
                `;
            } else {
                document.getElementById('output').textContent = 'Please enter a valid number.';
            }
        });
    </script>
</body>
</html>- To do math operations, the form has a text input field where the user can enter a number and a submit button.
- A <div> containing the ID output will display the result of the math operations.
- Simple styling improves the readability of the form and its output.
- The form now has an event listener attached to handle the submit event.
- Calling event.preventDefault() stops the form from submitting using the conventional method.
- ParseFloat(document.getElementById(‘userInput’).value) is used to extract the input value and convert it to a floating-point number.
- The Math object can be used to carry out several math operations, including Math.abs(), Math.sqrt(), Math.round(), and Math.random().
- The output div shows the outcomes of these processes.

Figure 11 – Displaying the Output of Using the Math Object in JavaScript
JavaScript’s Math object offers a variety of helpful ways for carrying out mathematical computations. A few often used functions include Math.abs(), which returns a number’s absolute value; Math.sqrt(), which returns the square root; Math.round(), which rounds to the next integer; and Math.random(), which generates a random number between 0 and 1. This example is a useful example of manipulating the Math object in JavaScript and shows how to utilize these methods to carry out simple math operations.