To begin, first refer to functions-events-image-maps-and-animations-in-javascript. JavaScript offers strong ways to improve web interaction. Functions enable you to package code for reuse and can be used to dynamically adjust a webpage’s content or style in response to events like key presses or clicks. Event listeners control JavaScript events and allow for real-time interactivity by reacting to user input. Image maps enhance user interaction and navigation by making portions of images clickable. JavaScript animations can produce seamless transitions and effects, improving websites’ visual appeal and user experience. They are often accomplished using the animate() method or libraries like GSAP.
Working with Functions:
Creating a Simple Function:
It’s easy to create a basic JavaScript function and add it to your HTML pages. To show you how to accomplish this, consider this simple example:
<!DOCTYPE html>
<html lang="en">
<head>
    <meta charset="UTF-8">
    <meta name="viewport" content="width=device-width, initial-scale=1.0">
    <title>Simple JavaScript Function</title>
    <script>
        // JavaScript function
        function showAlert() {
            alert("Hello, this is a simple function!");
        }
    </script>
</head>
<body>
    <h1>Welcome to My Web Page</h1>
    <button onclick="showAlert()">Click Me</button>
</body>
</html>
HTML Structure: The <!DOCTYPE HTML> declaration plus the necessary tags (<HTML>, <head>, <body>) make up the basic HTML structure of this file. JavaScript Function: The showAlert() basic JavaScript function is contained in the <script> tag, which is located inside the <head> section. This function displays a message box with the supplied text by using the alert() method. Button with Event information There is an element called a button in the <body> section. When the button is clicked, the showAlert() method is called using the onclick property.

Figure 1 – Displaying the Output of a Simple JavaScript Function
The phrase “Hello, this is a simple function!” will pop up in an alert window when you load this HTML file in a web browser and click the button. This shows how HTML and JavaScript interact in a basic way.
Creating a Function with Parameters:
A JavaScript function can be made more flexible and reusable by passing values into it through the use of arguments. Here’s an easy illustration:
<!DOCTYPE html>
<html lang="en">
<head>
    <meta charset="UTF-8">
    <meta name="viewport" content="width=device-width, initial-scale=1.0">
    <title>JavaScript Function with Parameters</title>
    <script>
        // JavaScript function with parameters
        function greetUser(name, greeting) {
            alert(greeting + ", " + name + "!");
        }
    </script>
</head>
<body>
    <h1>Welcome to My Web Page</h1>
    <button onclick="greetUser('Alice', 'Hello')">Greet Alice</button>
    <button onclick="greetUser('Bob', 'Hi')">Greet Bob</button>
</body>
</html>
JavaScript Function with Parameters: A JavaScript function called greetUser() is contained in the <script> tag inside the section. Name and greeting are the two parameters required by this function. It then shows a personalized alert message based on these criteria. Using event handlers on buttons: Within the <body> section, two button components can be found. Every button features an onclick attribute that, when clicked, invokes the greetUser() function with various parameters. For instance, the values “Alice” and “Hello” are passed by the first button, whereas “Bob” and “Hi” are passed by the second.
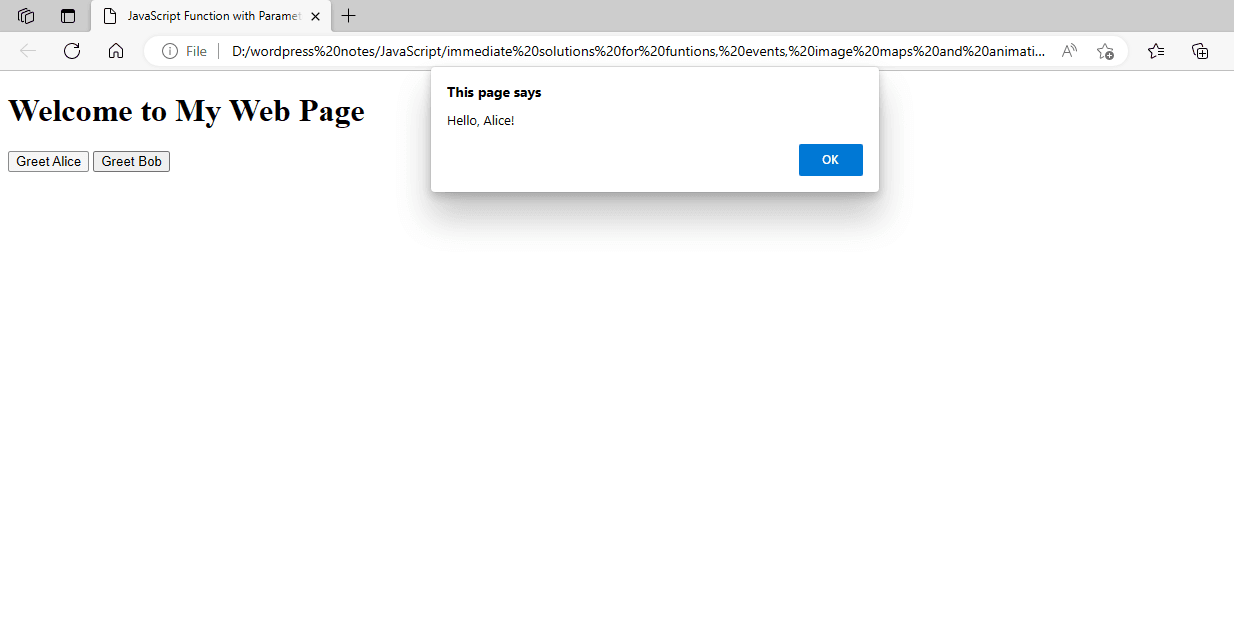
Figure 2 – Displaying the Output of Using Function with Parameters in JavaScript
A pop-up alert box containing a customized greeting message will show up when you open this HTML file in a web browser and click either button. This shows how to write a JavaScript function that takes parameters and uses them.
Using Function Arguments:
To give your functions the ability to operate based on the input they receive, you may send values into them using JavaScript function parameters. An illustration of using function arguments in JavaScript is provided here:
<!DOCTYPE html>
<html lang="en">
<head>
    <meta charset="UTF-8">
    <meta name="viewport" content="width=device-width, initial-scale=1.0">
    <title>JavaScript Function Arguments</title>
    <script>
        // JavaScript function with arguments
        function calculateSum(a, b) {
            var sum = a + b;
            alert("The sum is: " + sum);
        }
    </script>
</head>
<body>
    <h1>Calculate Sum</h1>
    <button onclick="calculateSum(5, 3)">Calculate 5 + 3</button>
    <button onclick="calculateSum(10, 15)">Calculate 10 + 15</button>
</body>
</html>
JavaScript Function with Arguments: The JavaScript function calculateSum() is contained in the <script> tag inside the <head> section. The total of the two arguments, a and b, is determined by this function. After that, an alert() is used to display the outcome. Buttons with Event Handlers: There are two button elements in the <body> section. Every button has an onclick attribute that, when clicked, uses various arguments to call the calculateSum() function. For instance, the numbers 5 and 3 are passed by the first button, but the values 10 and 15 are passed by the second.
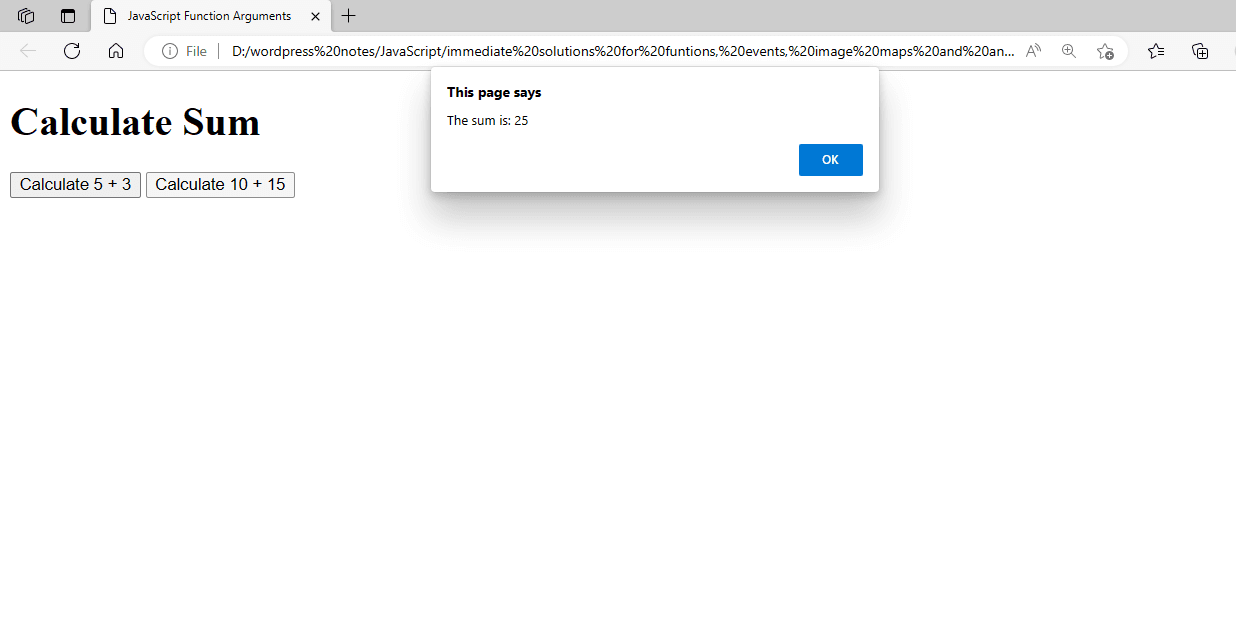
Figure 3 – Displaying the Output of Using Functions Argument in JavaScript
The total of the numbers supplied to the function will be shown in a pop-up alert box that appears when you load this HTML page in a web browser and click either button. This example shows you how to use function arguments to carry out tasks depending on the values that are entered.
Using a Return Statement:
You can return a value to the caller from a JavaScript function by using a return statement. When performing calculations or operations and needing to use the outcome somewhere else in your code, this can be helpful. As an illustration, consider this:
<!DOCTYPE html>
<html lang="en">
<head>
    <meta charset="UTF-8">
    <meta name="viewport" content="width=device-width, initial-scale=1.0">
    <title>JavaScript Return Statement</title>
    <script>
        // JavaScript function with a return statement
        function multiply(a, b) {
            return a * b;
        }

        function showResult() {
            var result = multiply(4, 5);
            alert("The result is: " + result);
        }
    </script>
</head>
<body>
    <h1>Multiply Numbers</h1>
    <button onclick="showResult()">Multiply 4 and 5</button>
</body>
</html>
JavaScript Function with Return Statement: The JavaScript function multiply() is contained in the <script> tag, which is located inside the <head> section. After multiplying the two inputs, a and b, this function uses the return statement to return the result.
The function that shows the result is: Another function called showResult() uses the arguments 4 and 5 to perform the multiply() function; the result is then stored in a variable called result, and an alert() is used to display it. Event Handler-equipped button: A button element in the <body> section has an onclick property that, when clicked, activates the showResult() method.
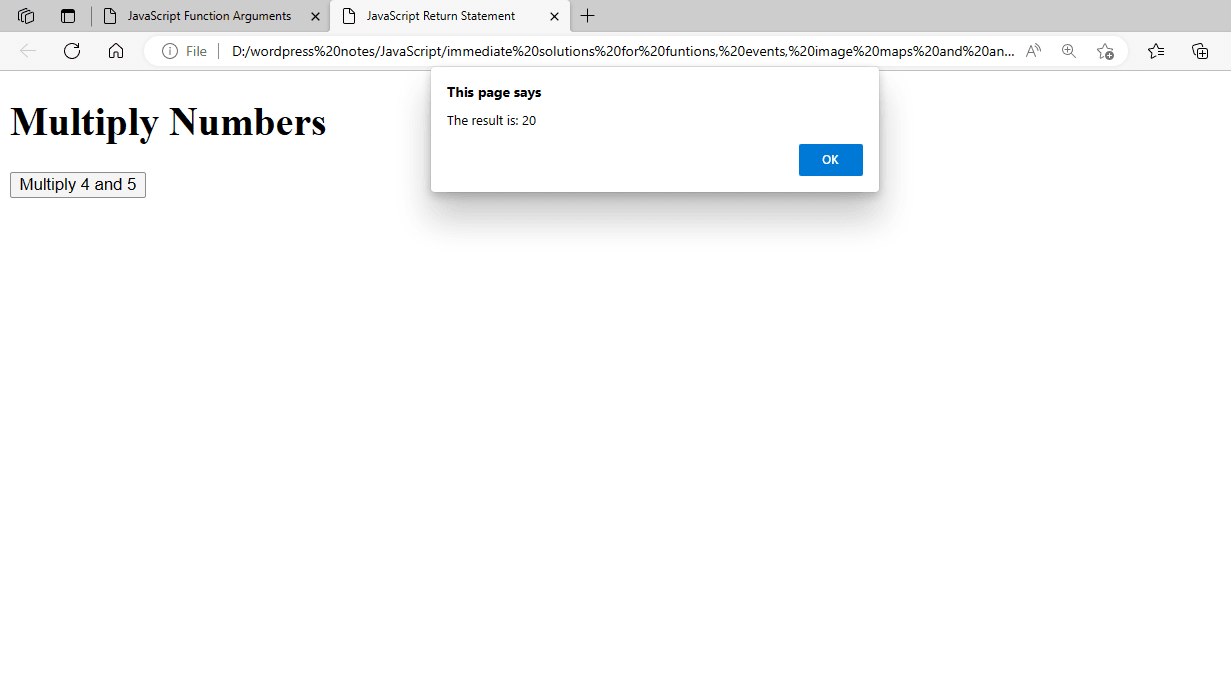
Figure 4 – Displaying the Output of Using a Return Statement in JavaScript
The multiplication result will show in a pop-up alert box that appears when you view this HTML file in a web browser and click the button. This example shows you how to return a value from a function using the return statement, so you may use it in other places in your code.
Using Function Scope and Closures:
Writing readable and efficient code in JavaScript requires an understanding of function scope and closures. Let’s examine an illustration to better understand these ideas:
<!DOCTYPE html>
<html lang="en">
<head>
    <meta charset="UTF-8">
    <meta name="viewport" content="width=device-width, initial-scale=1.0">
    <title>JavaScript Scope and Closures</title>
    <script>
        // Outer function creating a closure
        function createCounter() {
            let count = 0; // count is in the closure scope

            // Inner function that has access to count
            return function() {
                count += 1;
                return count;
            };
        }

        // Create a counter instance
        const counter = createCounter();

        function showCount() {
            alert("Current count: " + counter());
        }
    </script>
</head>
<body>
    <h1>Counter Example</h1>
    <button onclick="showCount()">Increment Counter</button>
</body>
</html>
The createCounter function is an example of an outer function. It defines a variable called count and returns an inner function that increases and returns count. By grabbing the count variable from its containing scope, the inner function creates a closure.
Closure: An inner function is established when an outer function returns it, and even after the outer function has completed running, the inner function can still access its scope. constructor counter = createCounter(); The createdCounter() function is called in this line, and the counter variable is assigned the returned inner function. The counter can now be used to increment and obtain the value of the current count. function showCount(): It increments the count by calling the counter() function and uses an alert() to display the current count. <button onclick=”showCount()”> Increment Counter </button>: The showCount() function is called when this button is clicked, and it calls the counter() function to increment the count and display the current count.
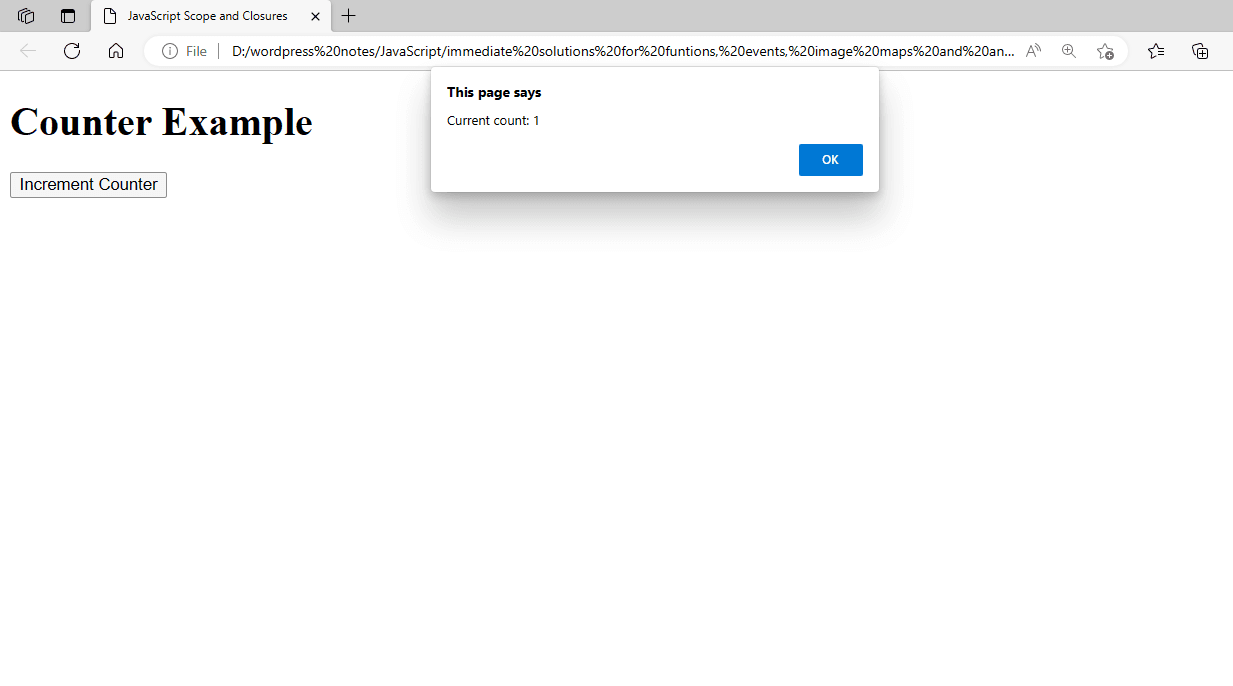
Figure 5 – Displaying the Output of Using Function Scope and Closures in JavaScript
The counter will increase by one each time you view this HTML file in a web browser and click the button; the current count will be displayed in a pop-up alert. The usage of function scope and closures in JavaScript is demonstrated by this example. To illustrate how closures work, the count variable is contained within the createCounter function while remaining accessible to the inner function.
Working with the setTimeout() Method:
In JavaScript, the setTimeout() method is used to run a function after a predetermined amount of time. You can use this to create delayed actions or timed events. This is a basic example that shows you how to use setTimeout():
<!DOCTYPE html>
<html lang="en">
<head>
    <meta charset="UTF-8">
    <meta name="viewport" content="width=device-width, initial-scale=1.0">
    <title>JavaScript setTimeout Example</title>
    <script>
        // Function to display a message after a delay
        function showDelayedMessage() {
            setTimeout(function() {
                alert("This message is shown after a delay!");
            }, 3000); // 3000 milliseconds = 3 seconds
        }
    </script>
</head>
<body>
    <h1>setTimeout Example</h1>
    <button onclick="showDelayedMessage()">Show Delayed Message</button>
</body>
</html>
showDelayedMessage Function: This function delays the execution of a function by three seconds (3000 milliseconds) using setTimeout(). The code to run and the delay in milliseconds are the two inputs required by the setTimeout() method. Anonymous Function: To show an alert message, an anonymous function is defined inside setTimeout(). With the <button onclick=”showDelayedMessage()”> Display Postponed Message</button>: The showDelayedMessage() method is called when this button is hit, and it sets a timer to display an alarm message after a 3-second delay.
Figure 6 – Displaying the Output of Using the setTimeout() Method
This HTML page shows how to use setTimeout() to run code after a predetermined amount of time. To see it in action, open it in a web browser and click the button. An alert message will then appear after a 3-second wait.
Working with the setInterval() Method:
In JavaScript, the setInterval() method is used to periodically run a function at predetermined intervals. For making animations, regular updates, or any other repetitive work, this can be helpful. Here’s an illustration of how to use setInterval():
<!DOCTYPE html>
<html lang="en">
<head>
    <meta charset="UTF-8">
    <meta name="viewport" content="width=device-width, initial-scale=1.0">
    <title>JavaScript setInterval Example</title>
    <script>
        let counter = 0; // Initialize a counter variable
        let intervalId; // Variable to store the interval ID

        // Function to start the interval
        function startCounter() {
            intervalId = setInterval(function() {
                counter++;
                document.getElementById("counterDisplay").innerText = "Counter: " + counter;
            }, 1000); // 1000 milliseconds = 1 second
        }

        // Function to stop the interval
        function stopCounter() {
            clearInterval(intervalId);
        }
    </script>
</head>
<body>
    <h1>setInterval Example</h1>
    <div id="counterDisplay">Counter: 0</div>
    <button onclick="startCounter()">Start Counter</button>
    <button onclick="stopCounter()">Stop Counter</button>
</body>
</html>
counter variable: The initial value of a counter variable is 0.
intervalId Variable: To clear the interval at a later time, this variable will hold the ID that setInterval() returned.
beginCounter Function: This function increments the counter variable once every second (1000 milliseconds) using setInterval(). To display the current counter value, it additionally modifies the counterDisplay element’s inner text.
haltCounter Function: By passing the intervalId, this function uses clearInterval() to end the interval.
Above: <div id=”counterDisplay”> The counter’s current value is shown in this division.
Buttons: The counter can be started and stopped using the two given buttons. Every button has an onclick property that triggers the associated function.
Figure 7 – Displaying the Output of Using the setInterval() Method
When you click the “Start Counter” button after opening this HTML file in a web browser, the counter will begin to count up by one every second. The counter can be made to cease incrementing by clicking the “Stop Counter” button. This example shows how to use clearInterval() to end the interval and setInterval() to run code repeatedly at predetermined intervals.
Working with the onclick Event:
JavaScript’s onclick event lets you run a script when an element is clicked. Button and other interactive element creation is a popular use for this. The following example shows you how to use the onclick event:
<!DOCTYPE html>
<html lang="en">
<head>
    <meta charset="UTF-8">
    <meta name="viewport" content="width=device-width, initial-scale=1.0">
    <title>JavaScript onclick Event Example</title>
    <script>
        // Function to display a message when the button is clicked
        function handleClick() {
            alert("Button clicked!");
        }
    </script>
</head>
<body>
    <h1>onclick Event Example</h1>
    <button onclick="handleClick()">Click Me</button>
</body>
</html>
handleClick Function: When invoked, this function shows an alert with the text “Button clicked!”
The <button onclick=”handleClick()”> Click the “Click Me” button. When the button is clicked, the handleClick() method is called under the onclick property on this button element.
Figure 8 – Displaying the Output of Using the onclick Event
This HTML file opens in a web browser; when you click the button, an alert box with the message “Button clicked!” will show up. This example shows how to use the onclick event to initiate a function when an element is clicked in a basic way.
Advanced Example with Dynamic Content Change:
An even more complex example that modifies a <div> element’s content upon button click is provided here:
<!DOCTYPE html>
<html lang="en">
<head>
    <meta charset="UTF-8">
    <meta name="viewport" content="width=device-width, initial-scale=1.0">
    <title>JavaScript onclick Event Example</title>
    <script>
        // Function to change the content of the div
        function changeContent() {
            document.getElementById("content").innerText = "The content has been changed!";
        }
    </script>
</head>
<body>
    <h1>onclick Event Example</h1>
    <div id="content">Click the button to change this content.</div>
    <button onclick="changeContent()">Change Content</button>
</body>
</html>
The <div> element with the ID content gets its inner text changed to “The content has been changed!” by the changeContent function. <div id=”content”>: The initial text displayed in this div is “Click the button to change this content.”
Onclick-capable button Event: When the button element is clicked, the changeContent() method is called under its onclick property.
Figure 9 – Displaying the Output of Using the Advanced onclick Event
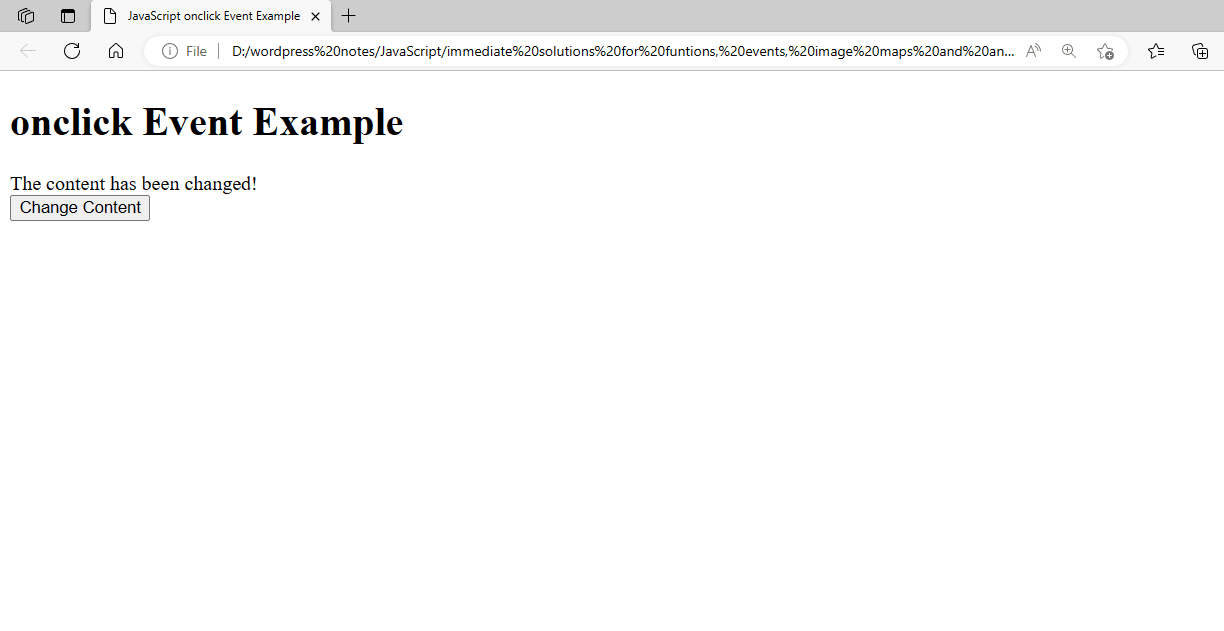
Figure 10 – Displaying the Output of Using the Advanced onclick Event after clicking on the Button
The text within the <div> element will change to “The content has been changed!” when you open this HTML file in a web browser and click the button. This example shows you how to dynamically update an HTML element’s content using the onclick event.
Working with the onload Event:
When an element in JavaScript has completed loading, the onload event is invoked. After the complete web page has loaded, it is frequently used in conjunction with the <body> element to run JavaScript code. Here’s an illustration showing you how to use the onload event:
<!DOCTYPE html>
<html lang="en">
<head>
    <meta charset="UTF-8">
    <meta name="viewport" content="width=device-width, initial-scale=1.0">
    <title>JavaScript onload Event Example</title>
    <script>
        // Function to display a message when the page loads
        function pageLoaded() {
            alert("The page has fully loaded!");
        }
    </script>
</head>
<body onload="pageLoaded()">
    <h1>onload Event Example</h1>
    <p>Welcome to the page. The onload event will trigger an alert when the page finishes loading.</p>
</body>
</html>
pageLoaded Function: Upon call, this function produces an alert stating, “The page has fully loaded!”
With <body onload=”pageLoaded()”>, when the page has fully loaded, the <body> tag’s onload attribute invokes the pageLoaded() method.

Figure 11 – Displaying the Output of Using the onload Event
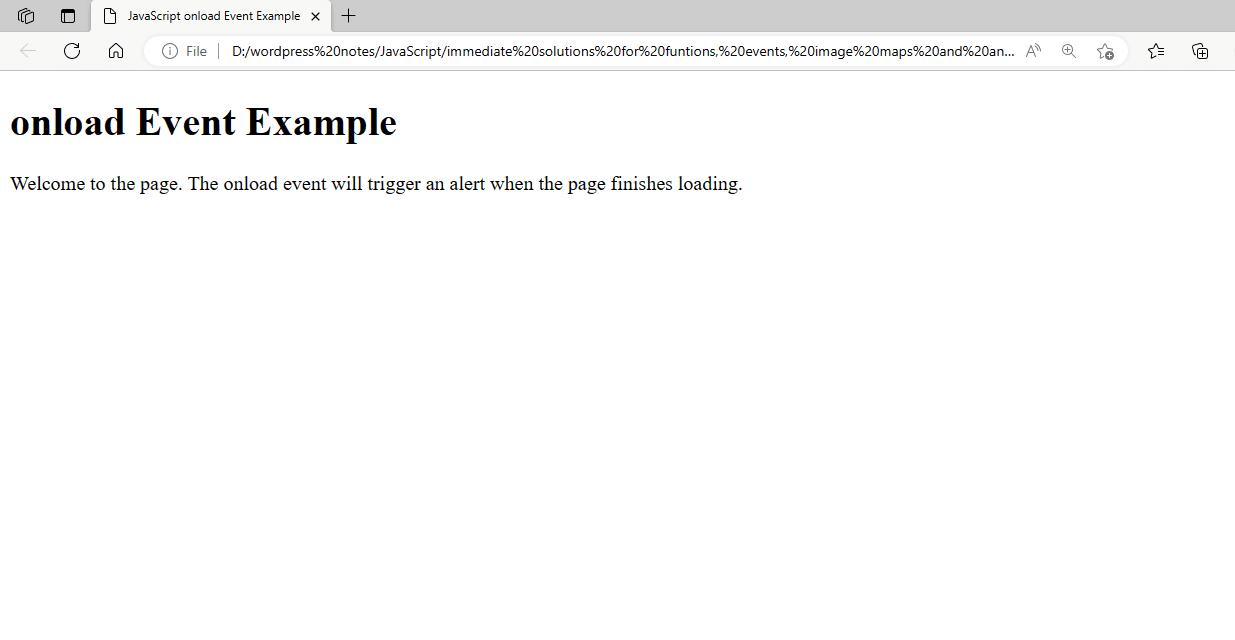
Figure 12 – Displaying the Output of Using the onload Event after clicking OK
As soon as the page loads completely, when you open this HTML file in a web browser, an alert box stating, “The page has fully loaded!” will show. This example shows how to use the onload event to run code when the page has finished loading.
Working with the Mouse Events:
JavaScript’s mouse events let you manage a variety of mouse-related user interactions, including clicks, movements, and hovers. The following is a list of typical mouse events and their actions:
onclick: Started in response to a click on an element.
When the mouse pointer passes over an element, the event is triggered.
when the mouse pointer leaves an element, the onmouseout event is triggered.
time the mouse cursor moves inside an element, the onmousemove event is triggered.
Here’s an example that demonstrates handling several mouse events:
<!DOCTYPE html>
<html lang="en">
<head>
    <meta charset="UTF-8">
    <meta name="viewport" content="width=device-width, initial-scale=1.0">
    <title>JavaScript Mouse Events Example</title>
    <style>
        #hoverBox {
            width: 200px;
            height: 200px;
            background-color: lightblue;
            text-align: center;
            line-height: 200px;
            margin: 20px;
            border: 2px solid blue;
        }
    </style>
    <script>
        // Function to handle click event
        function handleClick() {
            alert("Box clicked!");
        }

        // Function to handle mouse over event
        function handleMouseOver() {
            document.getElementById("hoverBox").style.backgroundColor = "lightgreen";
            document.getElementById("hoverBox").innerText = "Mouse Over";
        }

        // Function to handle mouse out event
        function handleMouseOut() {
            document.getElementById("hoverBox").style.backgroundColor = "lightblue";
            document.getElementById("hoverBox").innerText = "Hover Box";
        }

        // Function to handle mouse move event
        function handleMouseMove(event) {
            var x = event.clientX;
            var y = event.clientY;
            document.getElementById("coordinates").innerText = "Mouse Position: (" + x + ", " + y + ")";
        }
    </script>
</head>
<body>
    <h1>Mouse Events Example</h1>
    <div id="hoverBox"
         onclick="handleClick()"
         onmouseover="handleMouseOver()"
         onmouseout="handleMouseOut()"
         onmousemove="handleMouseMove(event)">
        Hover Box
    </div>
    <p id="coordinates">Mouse Position: (0, 0)</p>
</body>
</html>
The styled div #hoverBox responds to mouse events. It features a border, text that is centered, width, height, and background color.
handleClick: When a box is clicked, it shows an alert.
handleMouseOver: This function modifies the text to “Mouse Over” and changes the box’s background color to light green when the mouse pointer passes over it.
handleMouseOut: When the mouse pointer leaves the box, the text “Hover Box” is updated and the background color is changed back to light blue.
handleMouseMove: Refreshes the paragraph element’s text when the mouse pointer moves inside the box, using the current mouse position (x, y coordinates).
<div id=”hoverBox”>: This div element has several mouse event attributes (onclick, onmouseover, onmouseout, and onmousemove) that, when they happen, trigger the corresponding methods.
<p id=”coordinates”>: A paragraph element displaying the mouse position at that moment.
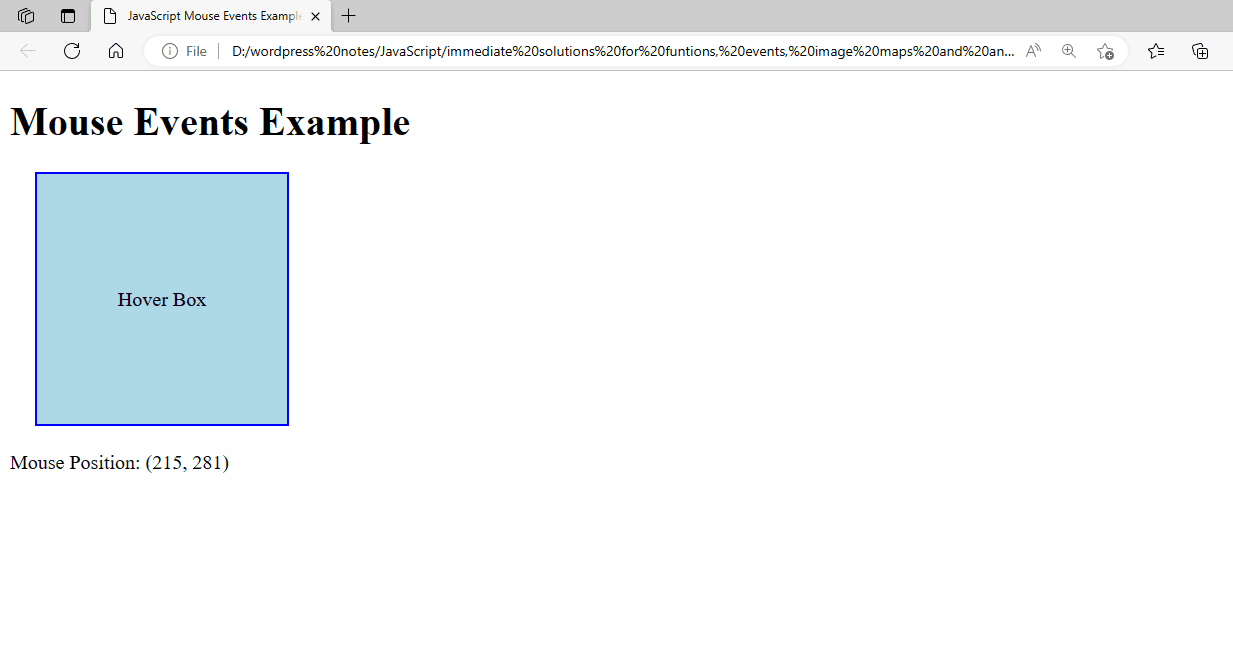
Figure 13 – Displaying the Output of Using the Mouse Events (MouseOut)
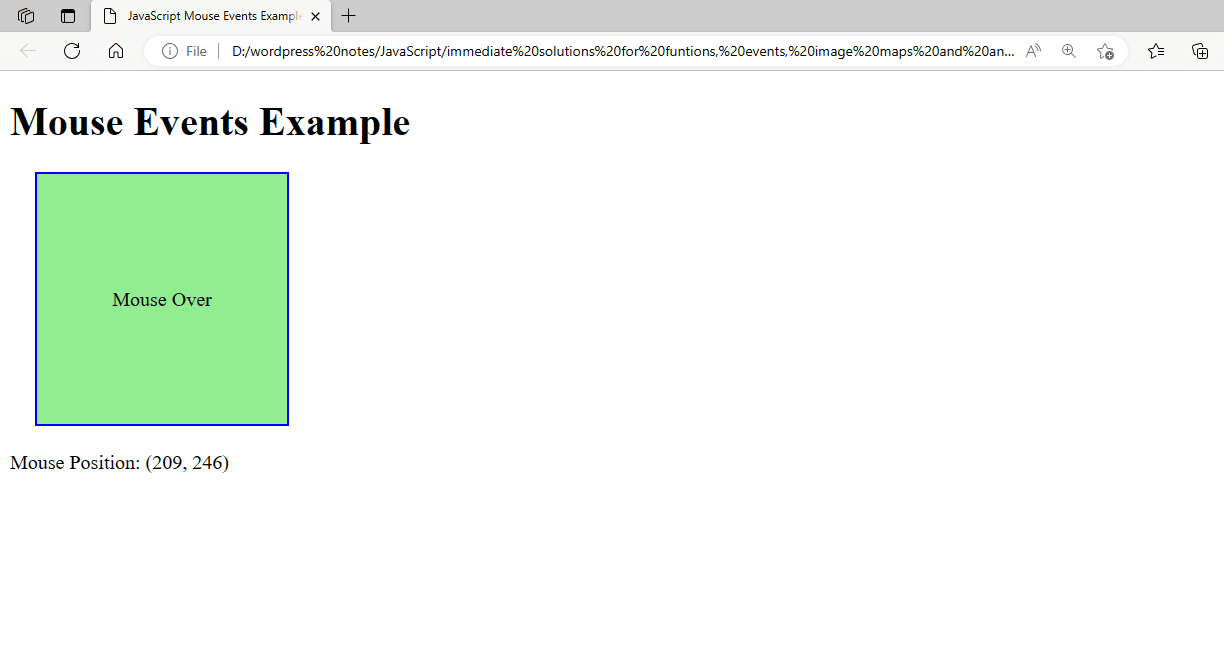
Figure 14 – Displaying the Output of Using the Mouse Events (MouseOver)

Figure 15 – Displaying the Output of Using the Mouse Events (MouseClick)
Working with the onreset Event:
In JavaScript, a form reset causes the onreset event to be invoked. By using this event, you can carry out tasks when a user resets a form, such as removing customized components or validating the reset transaction. Using the onreset event is illustrated by the following example:
<!DOCTYPE html>
<html lang="en">
<head>
    <meta charset="UTF-8">
    <meta name="viewport" content="width=device-width, initial-scale=1.0">
    <title>JavaScript onreset Event Example</title>
    <script>
        // Function to handle the form reset event
        function handleFormReset(event) {
            // Prevent the default form reset action to show a custom message
            event.preventDefault();

            // Show a confirmation dialog
            if (confirm("Are you sure you want to reset the form?")) {
                // If the user confirms, reset the form
                document.getElementById("myForm").reset();
            }
        }
    </script>
</head>
<body>
    <h1>onreset Event Example</h1>
<FORM onreset="alert('onreset event is triggered when the user clicks the RESET button')">
    <form id="myForm" onreset="handleFormReset(event)">
        <label for="name">Name:</label>
        <input type="text" id="name" name="name"><br><br>
        <label for="email">Email:</label>
        <input type="email" id="email" name="email"><br><br>
        <input type="submit" value="Submit">
        <input type="reset" value="Reset">
    </form>
</body>
</html>
Figure 16 – Displaying the Output of Using the onreset Event
When you open this HTML file in a web browser and click the “Reset” button, a confirmation dialog will appear, asking if you are sure you want to reset the form. If you confirm, the form will be reset. If you cancel, the form will not be reset. This example demonstrates how to handle the onreset event to provide a custom reset behavior for a form.
Working with the onsubmit Event:
When a form is submitted, JavaScript’s onsubmit event is initiated. This event can be used to prohibit form submission in specific circumstances or to validate form input before sending it to the server. Here’s an illustration showing you how to use the onsubmit event:
<!DOCTYPE html>
<html lang="en">
<head>
    <meta charset="UTF-8">
    <meta name="viewport" content="width=device-width, initial-scale=1.0">
    <title>JavaScript onsubmit Event Example</title>
    <script>
        // Function to handle form submission
        function handleFormSubmit(event) {
            // Prevent the default form submission action
            event.preventDefault();

            // Get form values
            const name = document.getElementById("name").value;
            const email = document.getElementById("email").value;

            // Simple validation
            if (name === "" || email === "") {
                alert("Both name and email are required!");
                return false;
            }

            // If validation passes, submit the form
            alert("Form submitted successfully!");
            document.getElementById("myForm").submit();
        }
    </script>
</head>
<body>
    <h1>onsubmit Event Example</h1>
    <form id="myForm" onsubmit="handleFormSubmit(event)">
        <label for="name">Name:</label>
        <input type="text" id="name" name="name"><br><br>
        <label for="email">Email:</label>
        <input type="email" id="email" name="email"><br><br>
        <input type="submit" value="Submit">
    </form>
</body>
</html>
handleFormSubmit Function: When a form is submitted, this function is called. It accepts as input the event object.
event.preventDefault(): This stops the form submission process by default, allowing you to manage it manually. Obtaining Values from Forms: retrieves the email and name input fields’ values. Basic Validation: Verifies if the email or name fields are empty. The form submission is halted, and an alert is displayed if either is empty. Form Submission: The form is programmatically submitted using the submit() method after validation is successful and a success alert is displayed.
<form onsubmit=”handleFormSubmit(event)” id=”myForm”>: When the form is submitted, the handleFormSubmit(event) function is called by the onsubmit attribute of the form element.
Form Fields: There are text input fields on the form for the names and emails. Submit Button: When the submit button (<input type=”submit”>) on the form is clicked, the onsubmit event is triggered.
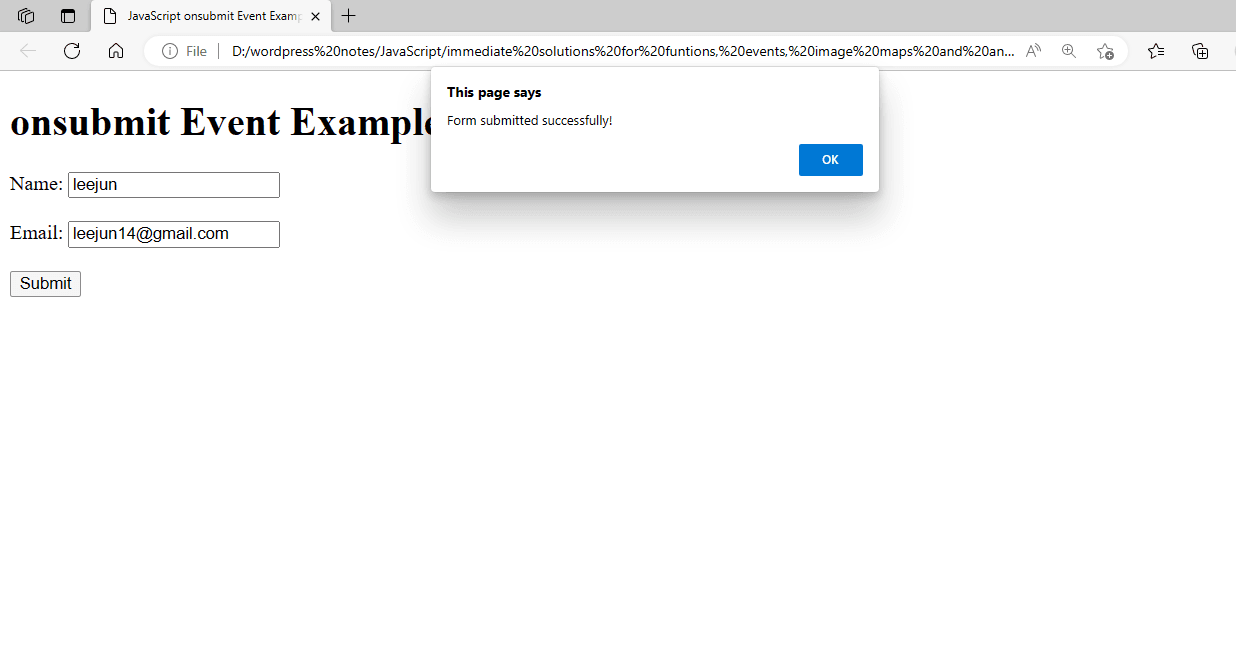
Figure 17 – Displaying the Output of Using the onsubmit Event
This HTML file will be opened in a web browser, and the handleFormSubmit function will be called when you click the “Submit” button. An alert will let you know that both the name and email boxes are necessary, and if one is left empty, the form won’t be submitted. The form will be submitted and a success message will appear if both fields are completed. Before enabling the form to be submitted, this example shows how to handle the onsubmit event and validate the form contents.
Working with Image Maps:
By defining clickable regions on an image, HTML image maps enable the creation of interactive graphics with numerous links. Each clickable region can have a distinct form, like a polygon, circle, or rectangle. An illustration of how to utilize picture maps may be found here:
<!DOCTYPE html>
<html lang="en">
<head>
    <meta charset="UTF-8">
    <meta name="viewport" content="width=device-width, initial-scale=1.0">
    <title>HTML Image Map Example</title>
</head>
<body>
    <h1>Image Map Example</h1>
    <img src="Image-map.jpg" alt="Image-map" usemap="#Image-map" width="600" height="417">

    <map name="Image-map">
        <!-- Rectangle Area -->
        <area shape="rect" coords="50,50,200,200" href="Rectangle Area.html" alt="Rectangle">

        <!-- Circle Area -->
        <area shape="circle" coords="400,150,75" href="circle Area.html" alt="Circle">

        <!-- Polygon Area -->
        <area shape="poly" coords="300,250,350,300,400,250,350,200" href="Polygon Area.html" alt="Polygon">
    </map>
</body>
</html>
<img> Tag: The picture is shown by the img tag. The picture is connected to the image map created by the map tag using the usemap property. An alternative text for the image is provided via the alt attribute. The path to the image file (image-map.jpg) is specified by the src attribute… length and height Properties: Adjust the picture’s dimensions.
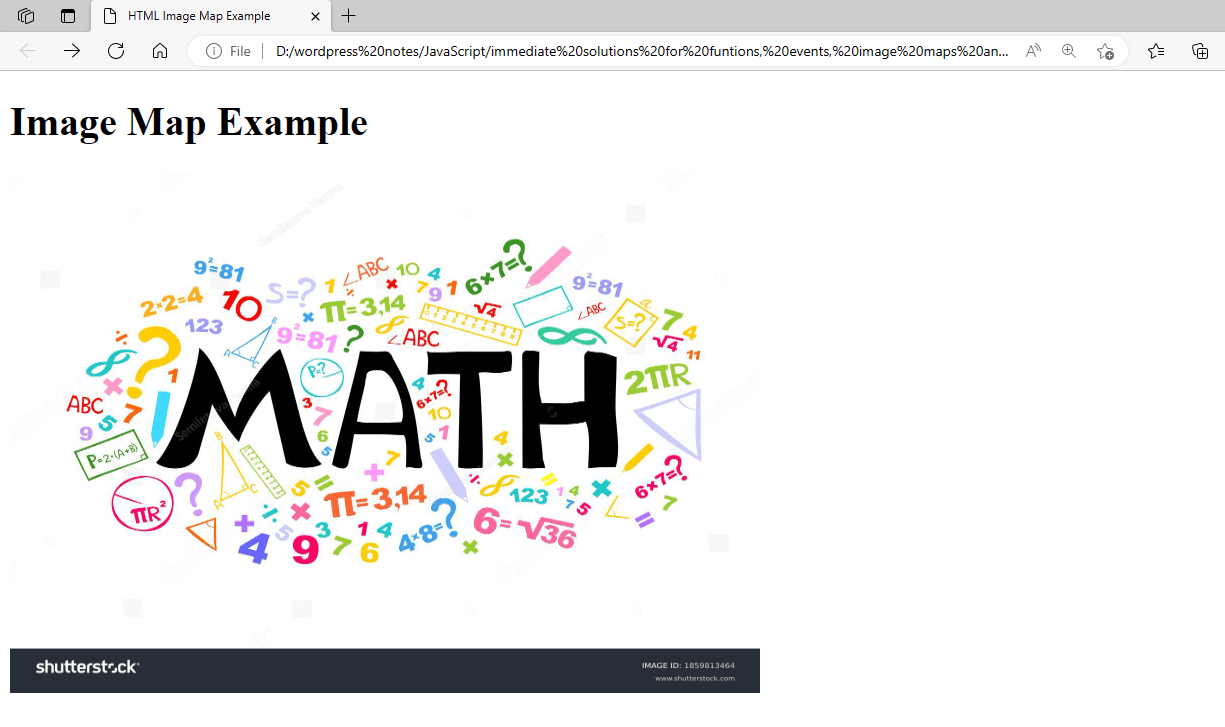
Figure 18 – Displaying the Output of Using the Image Maps
Under <map name=”Image-map”>, the name attribute gives the map a name, while the map tag describes the image map. This name is referred to in the usemap attribute of the picture. <area> Labels: Every area tag delineates a clickable region inside the picture. The area’s shape, coordinates, and URL are specified by the shape, coords, and alt attributes. When the area is clicked, the href attribute directs the user to the URL, and the alt attribute displays alternate text for the area.
Figure 19 – Displaying the Output of Rectangle Area.html File
form=”rect”: Describes a rectangular space.
coordinates=”50, 50, 200, 200″: Indicates the rectangle’s top-left and bottom-right corner coordinates.
When the rectangle is clicked, the URL href=”Rectangle Area.html” will be accessed.
alt=”Rectangle”: A text alternative for the area shaped like a rectangle.
Figure 20 – Displaying the Output of Circle Area.html File
form=”circle”: Describes a circle.
ordinates=”400,150,75,150,75″: Indicates the radius and center coordinates of the circle.
The URL that appears when the circle is clicked is href=”Circle Area.html”.
alt=”Circle”: An alternative description of the circle region.
Figure 21 – Displaying the Output of Polygon Area.html File
shape=”poly”: Indicates the area of a polygon.
coords=”300,250,350,300,400,250,350,200″: Indicates the polygon’s vertex coordinates.
When the polygon is clicked, the URL href=”Polygon Area.html” will be accessed.
The alternate text for the polygon area is alt=”Polygon”.
Working with Animations:
CSS is a simple and effective tool for creating animations in HTML. You may animate HTML components without JavaScript by using CSS animations. To get you started with CSS animations, consider this simple example:
<!DOCTYPE html>
<html lang="en">
<head>
    <meta charset="UTF-8">
    <meta name="viewport" content="width=device-width, initial-scale=1.0">
    <title>CSS Animation Example</title>
    <style>
        /* Define the keyframes for the animation */
        @keyframes slide {
            0% {
                transform: translateX(0);
            }
            50% {
                transform: translateX(100px);
            }
            100% {
                transform: translateX(0);
            }
        }

        /* Apply the animation to the element */
        .animated-box {
            width: 100px;
            height: 100px;
            background-color: #3498db;
            position: relative;
            animation: slide 2s infinite;
        }
    </style>
</head>
<body>
    <h1>CSS Animation Example</h1>
    <div class="animated-box"></div>
</body>
</html>
<HTML> is the HTML document’s root element. <head>: Holds the document title and metadata. <style>: Holds the CSS for the animations and styling. <body>: Holds the document’s content, which includes the animation element.
@keyframes slide: Specifies the animation’s keyframes. Keyframes define the styles used at various stages of the animation.
0%: The element is in its initial position (translateX(0)) at the beginning of the animation.
50%: The element travels 100 pixels to the right (translateX(100px)) at the halfway point of the animation.
100%: The element returns to its initial position (translateX(0)) at the conclusion of the animation.
.animated-box: A class that has been assigned to the animated element.
length and height: Decide on the element’s size.
background-color: Defines the element’s background color.
position: Establishes the element’s placement context. Here, relative is utilized to ensure that transform animations function as intended.
animation: Gives the element of the slide animation. The two-second animation repeats endlessly.
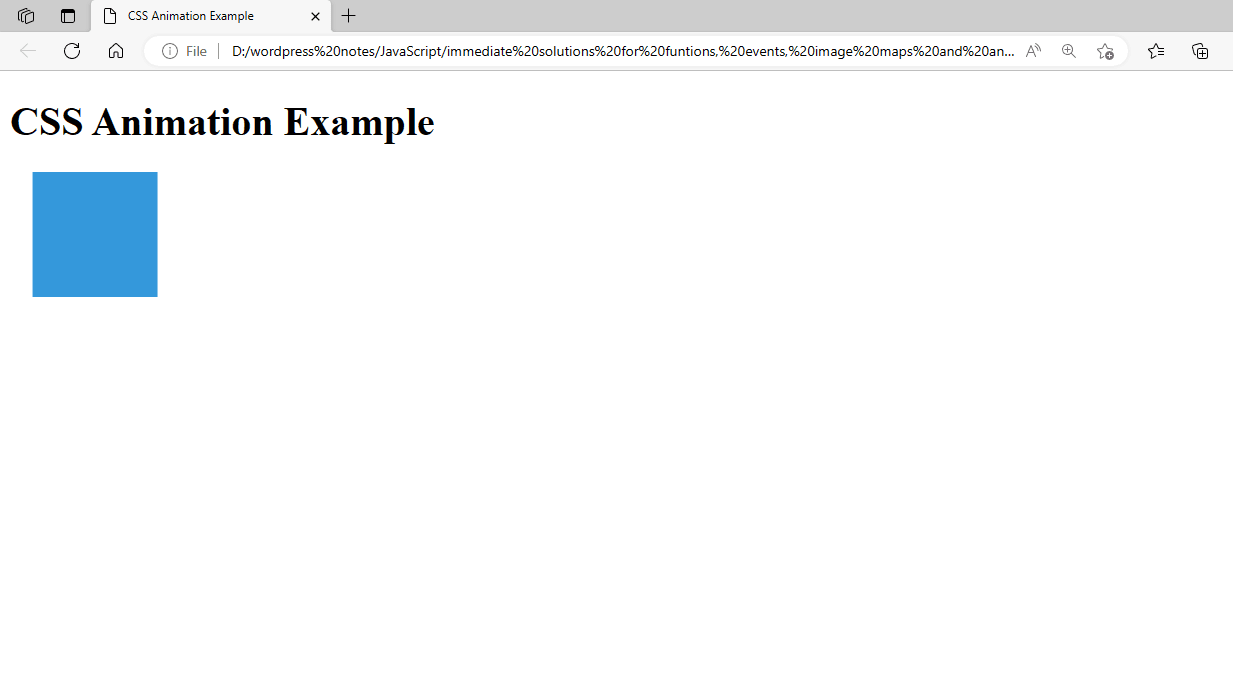

Figure 23 – Displaying the Output of Using the Animations
This HTML file opens in a web browser and displays a blue box that continuously loops back to its original position after sliding 100 pixels to the right.